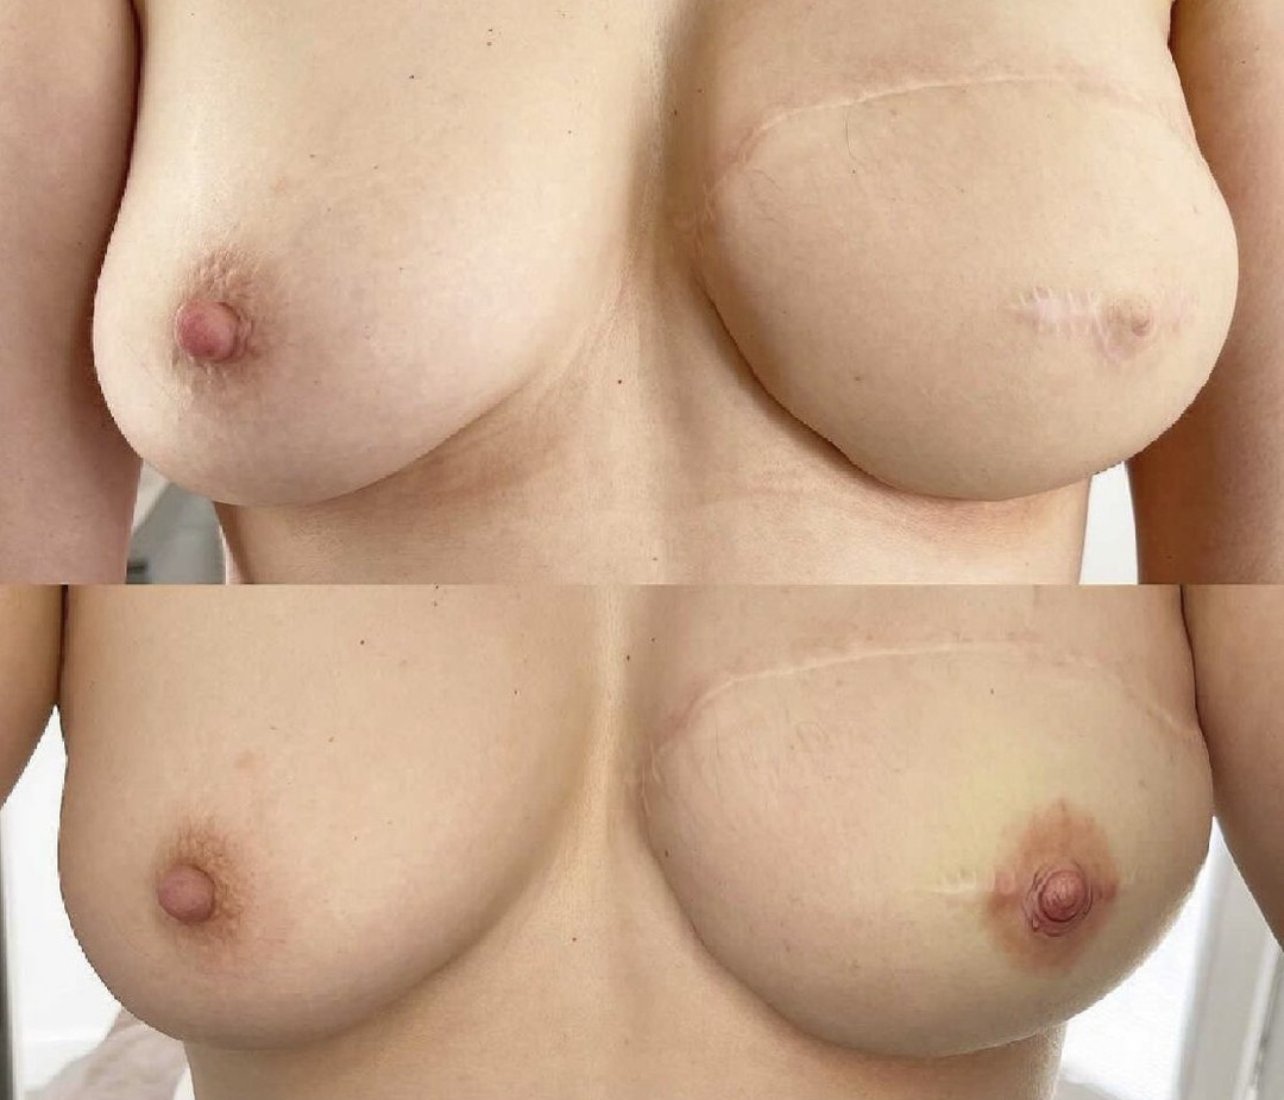
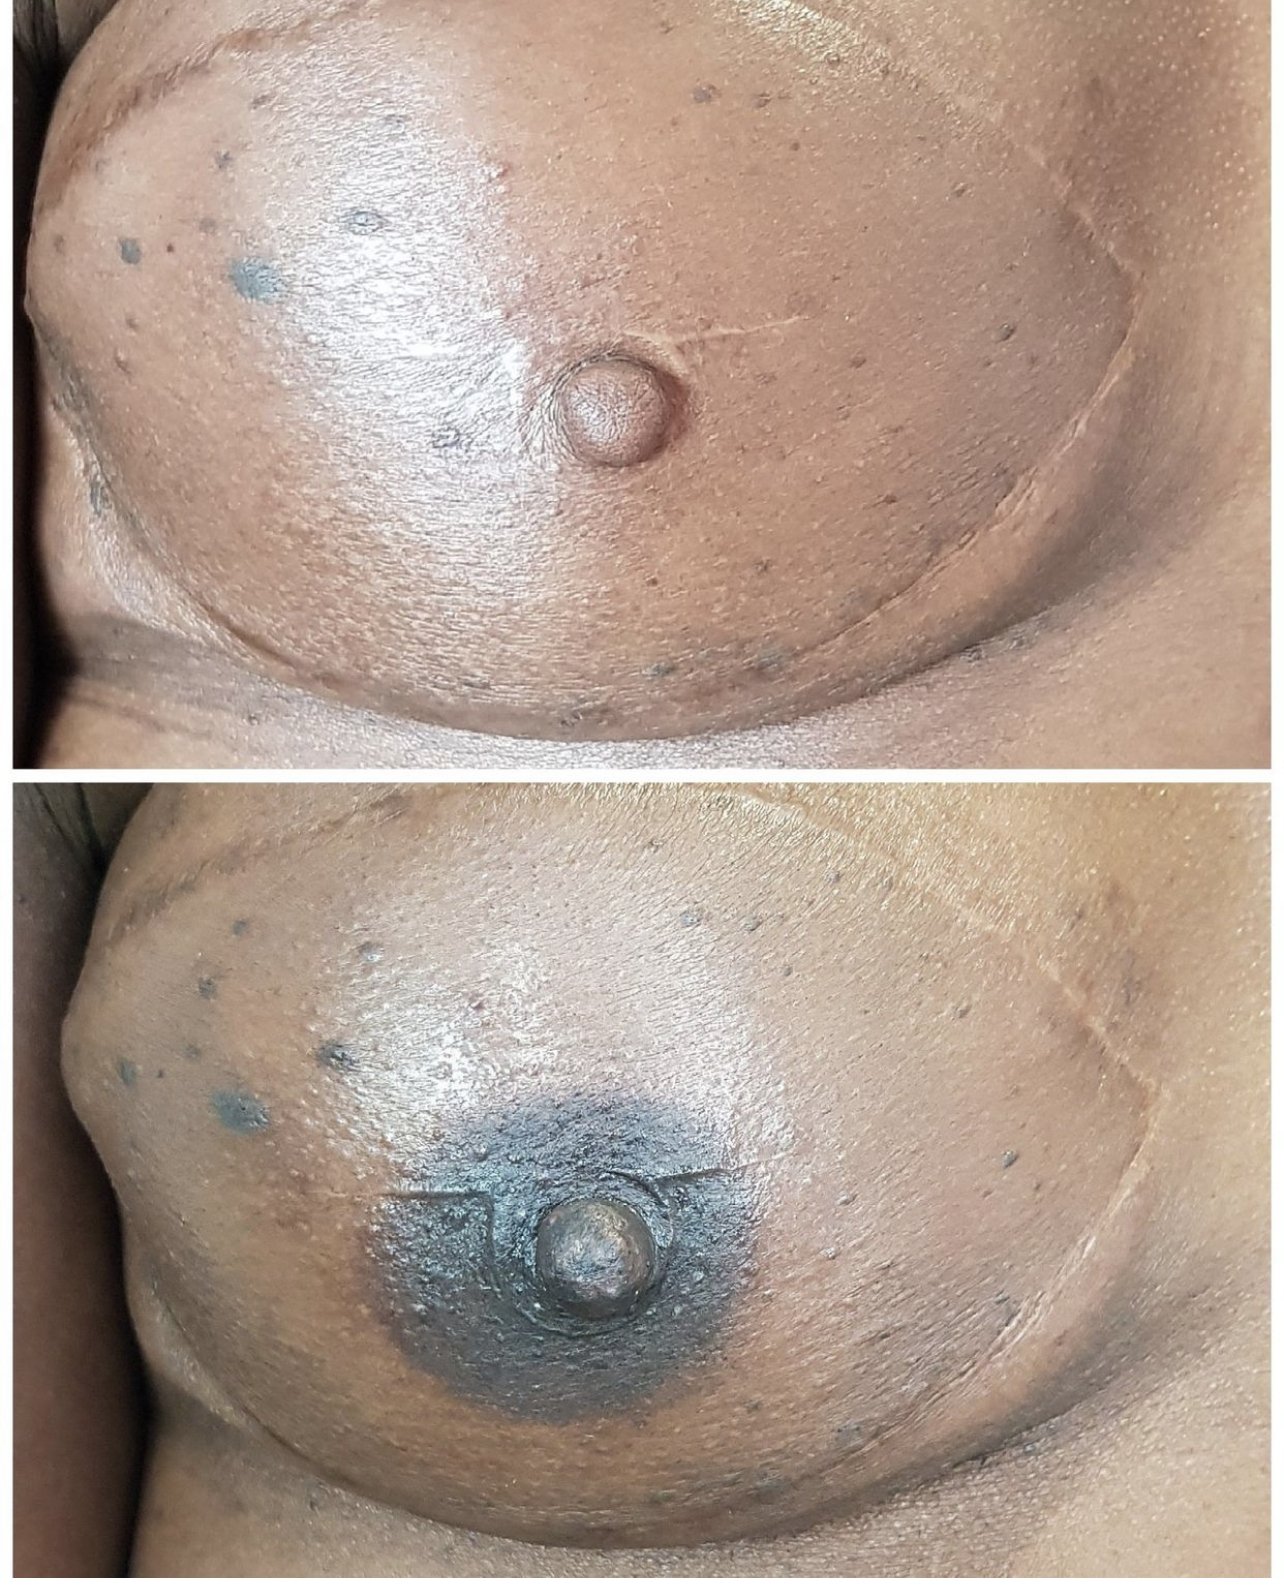
3D AREOLA TATTOO


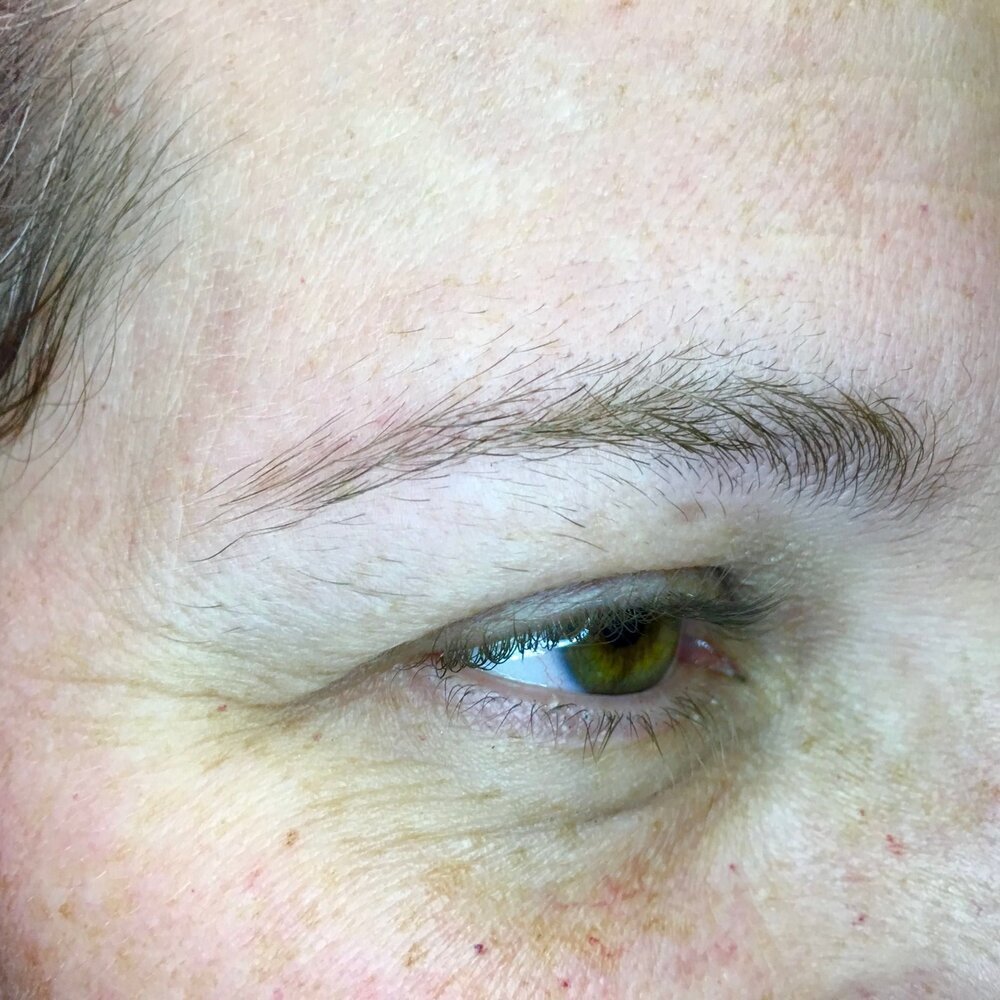
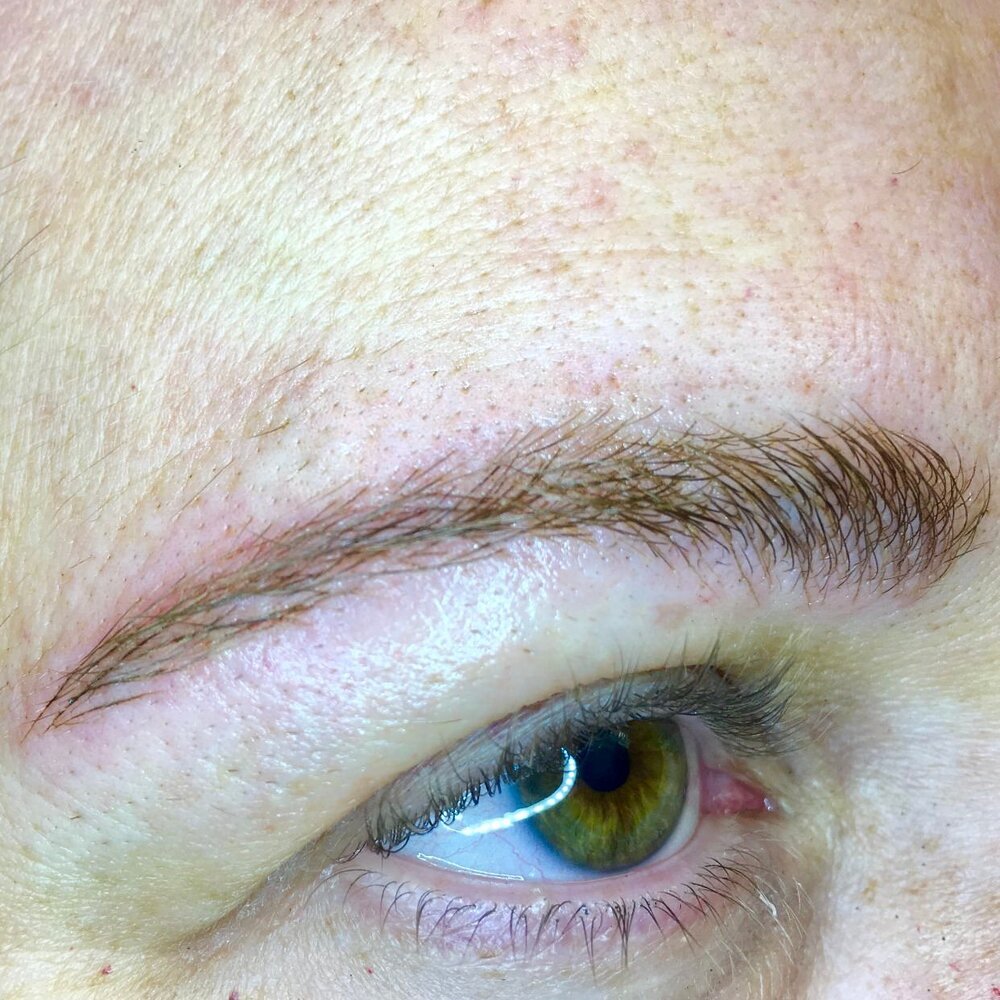
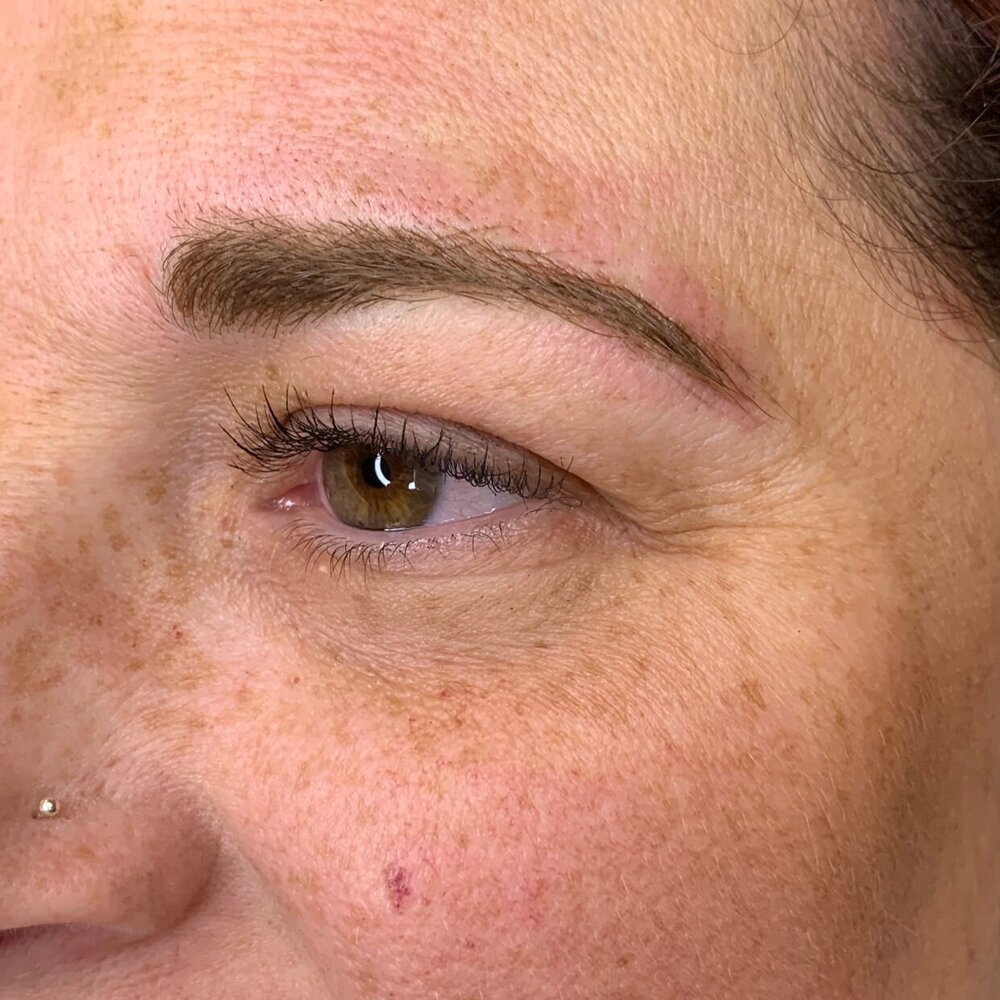
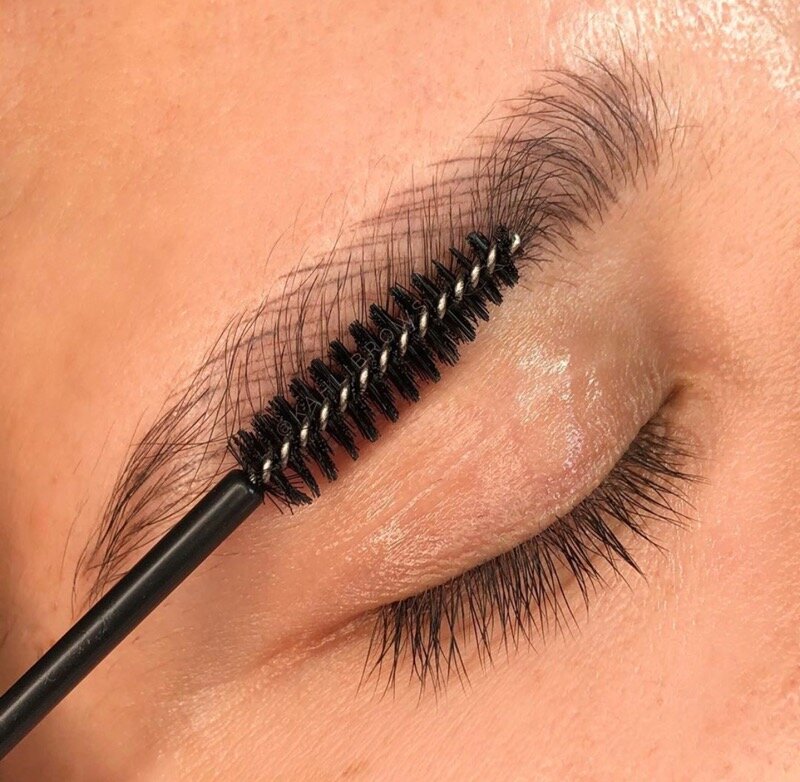
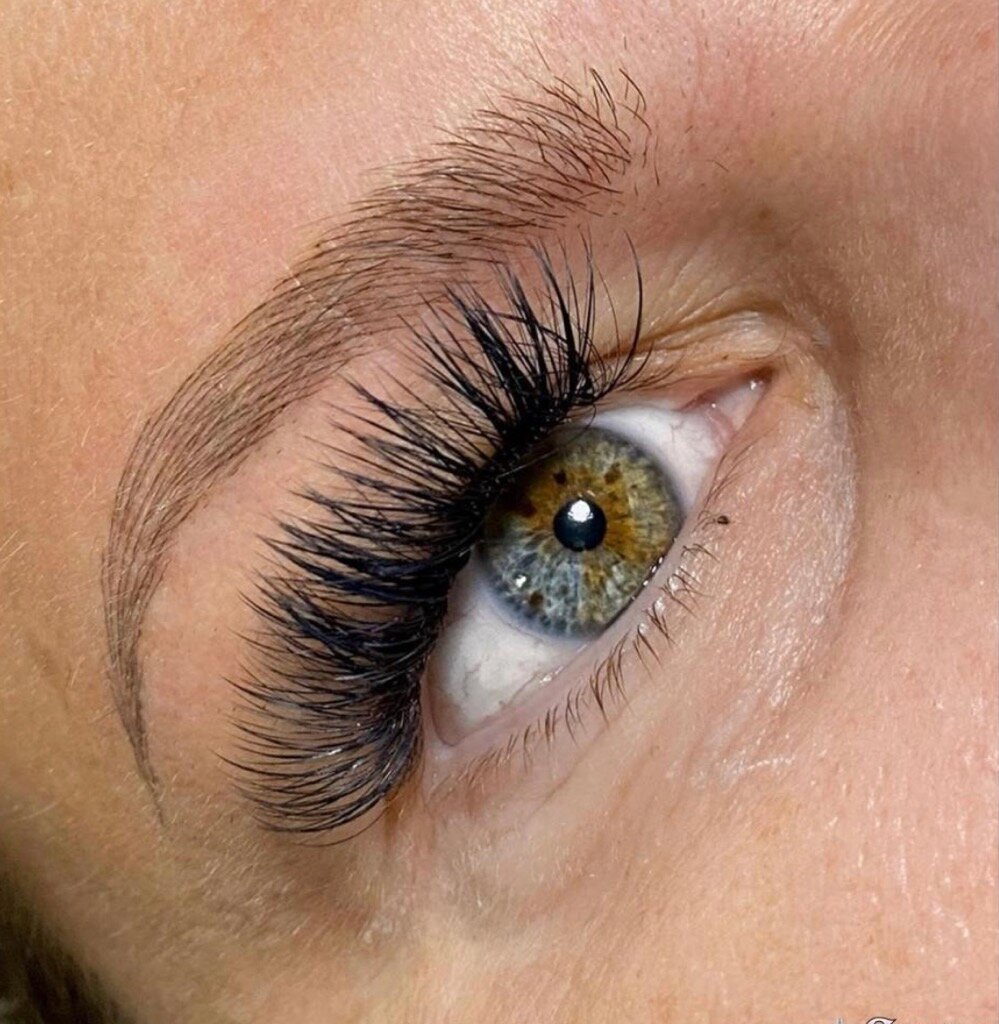
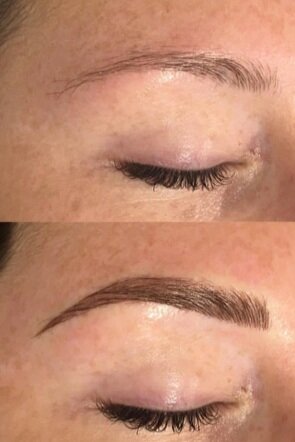
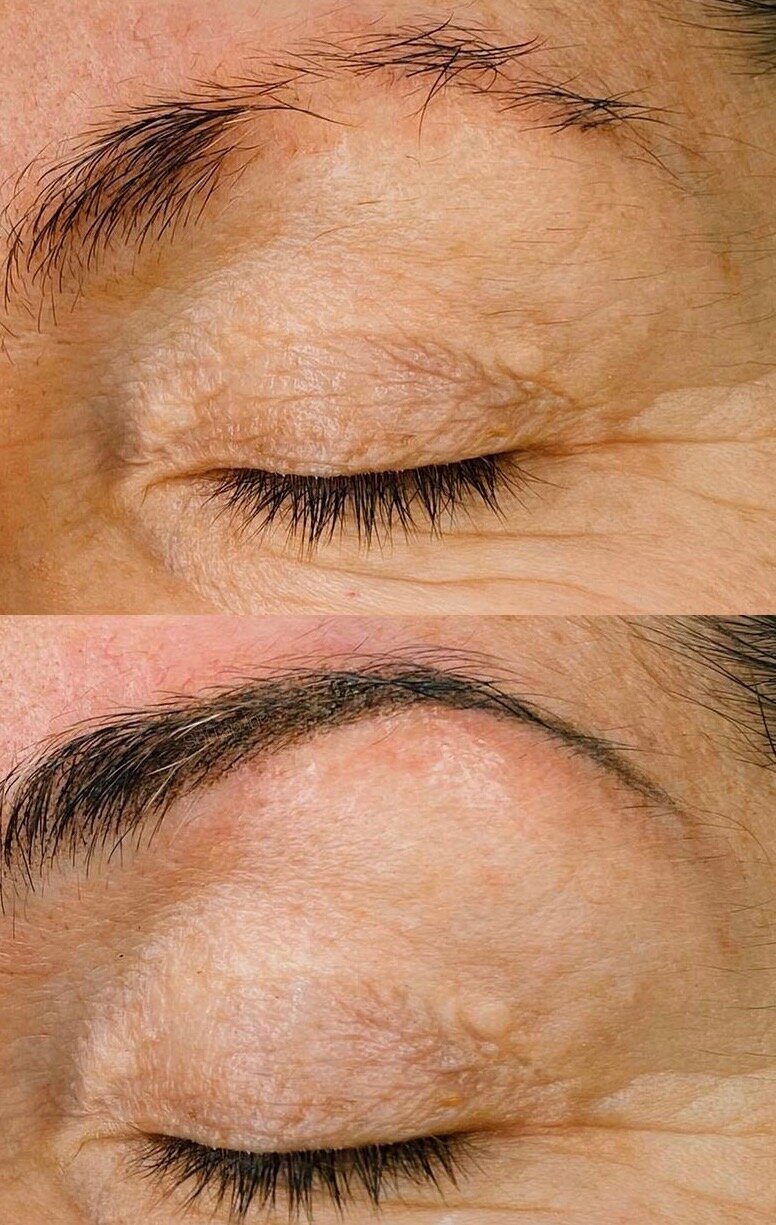
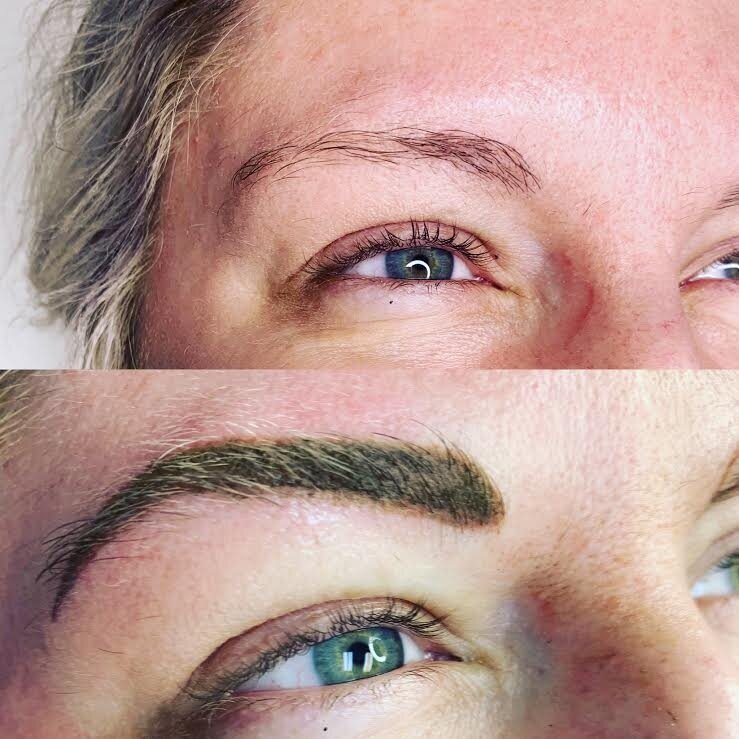
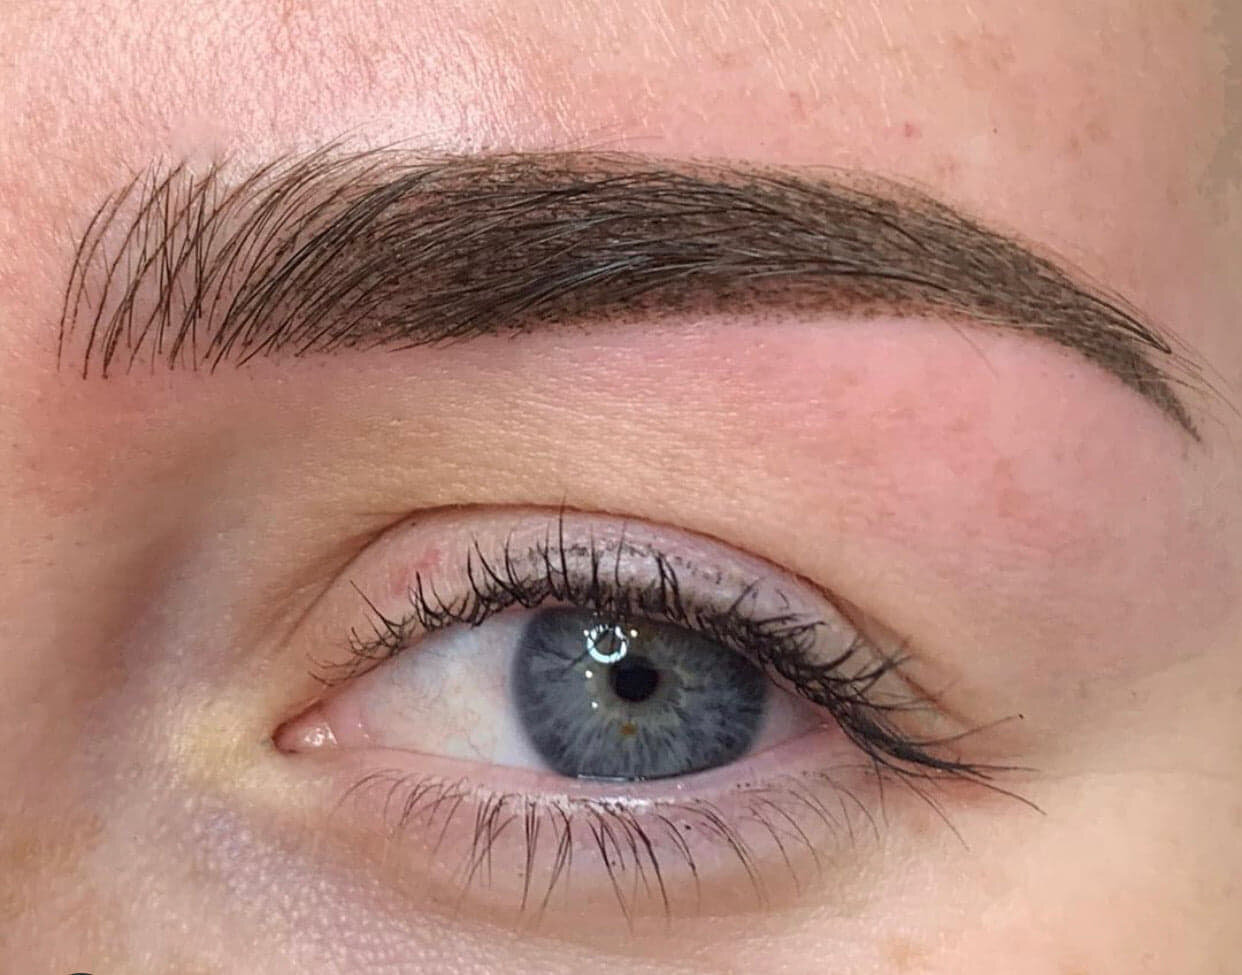
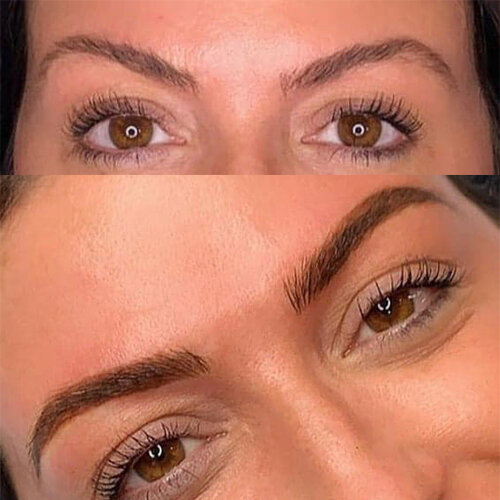
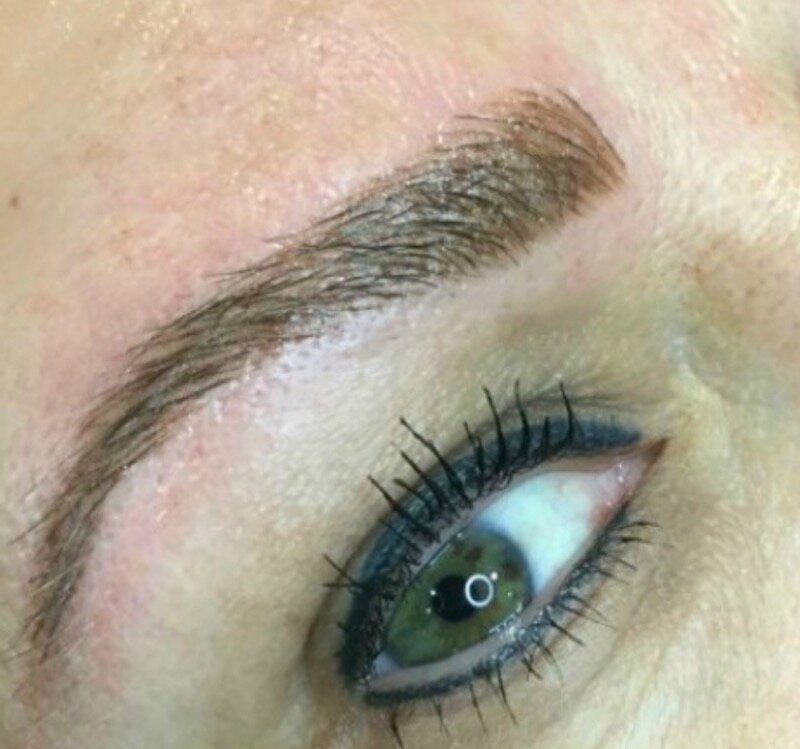
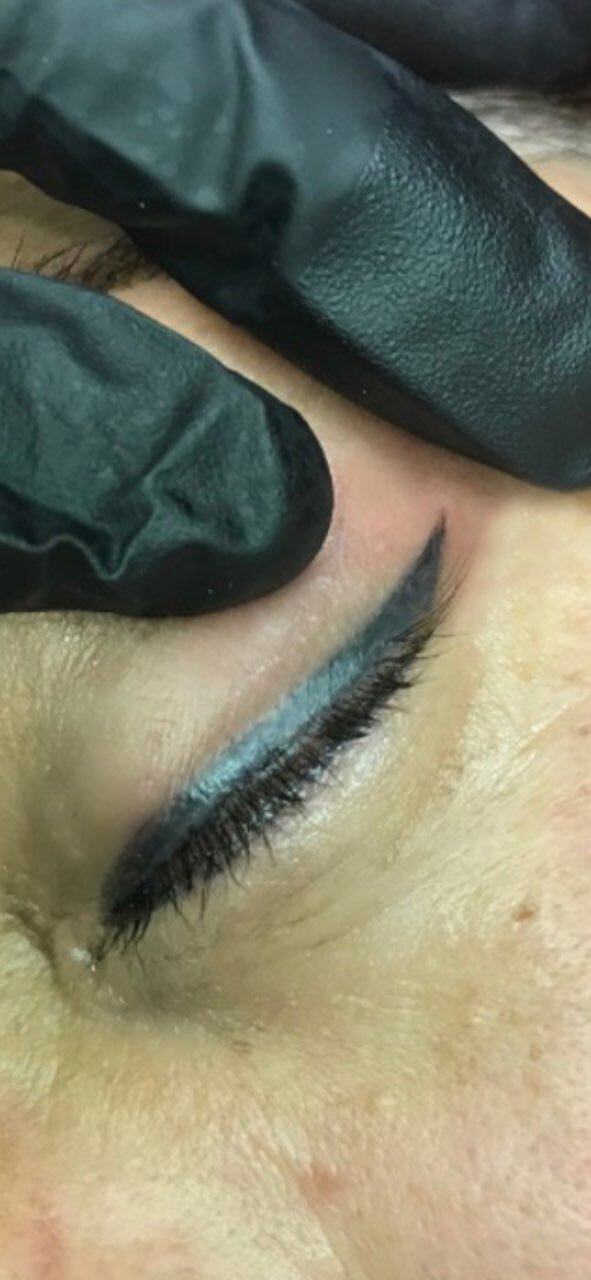
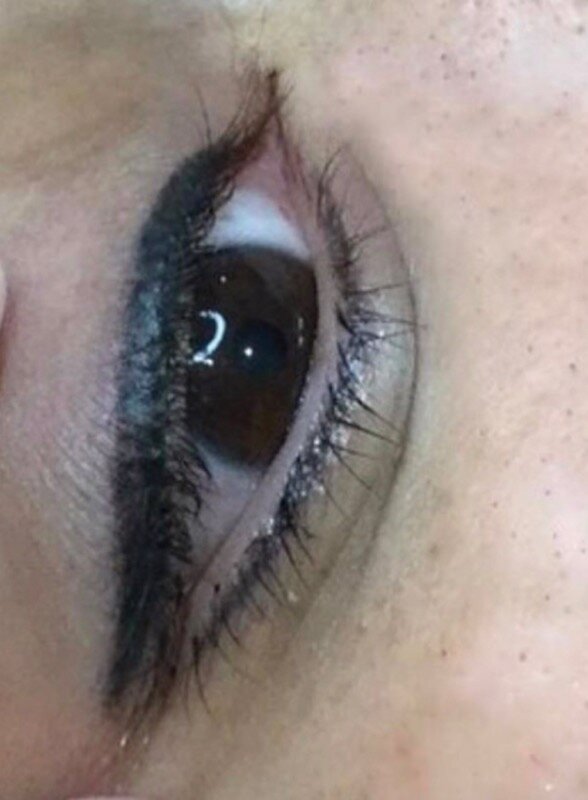
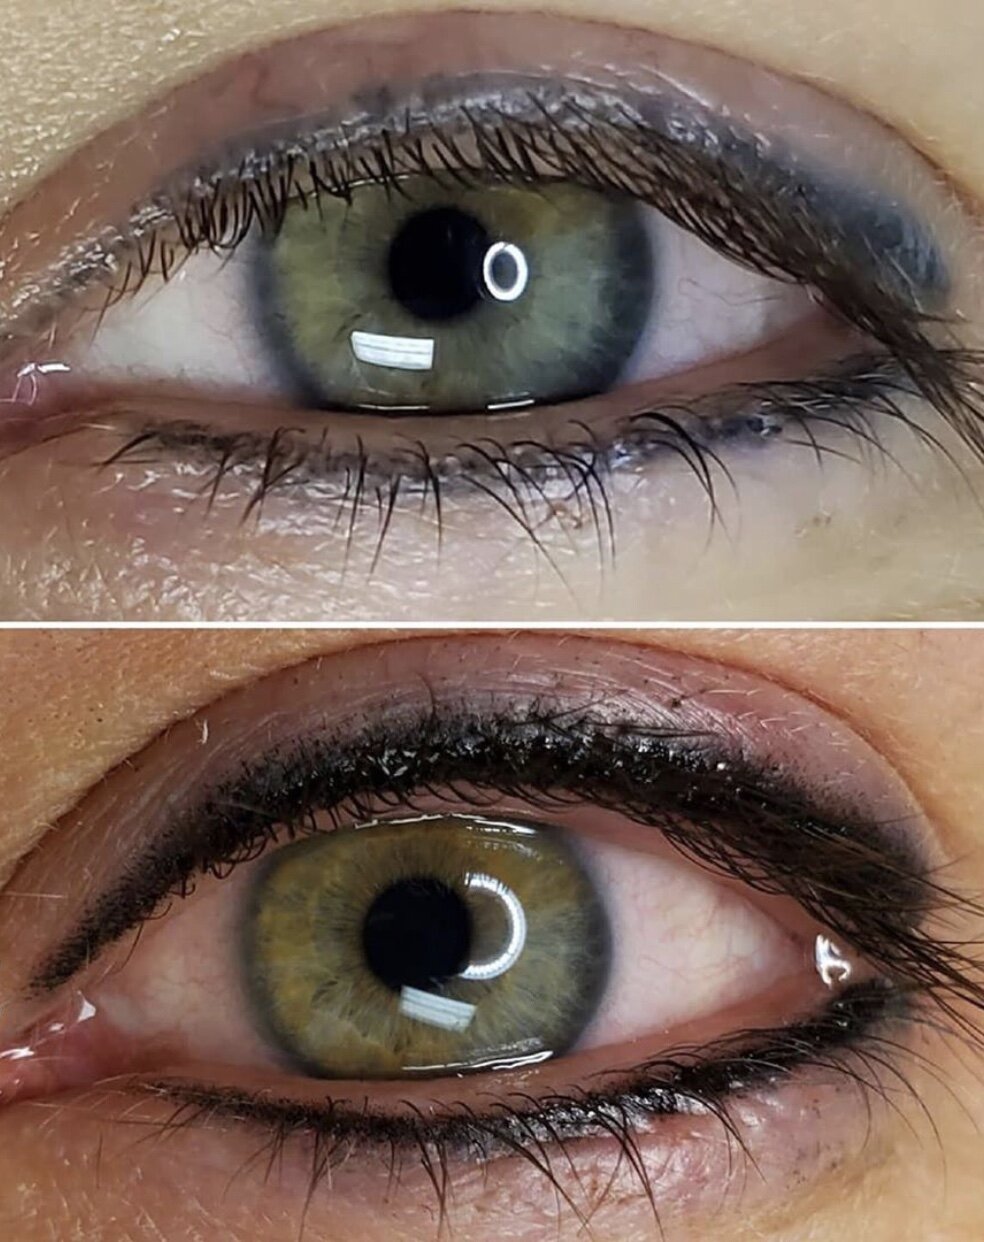
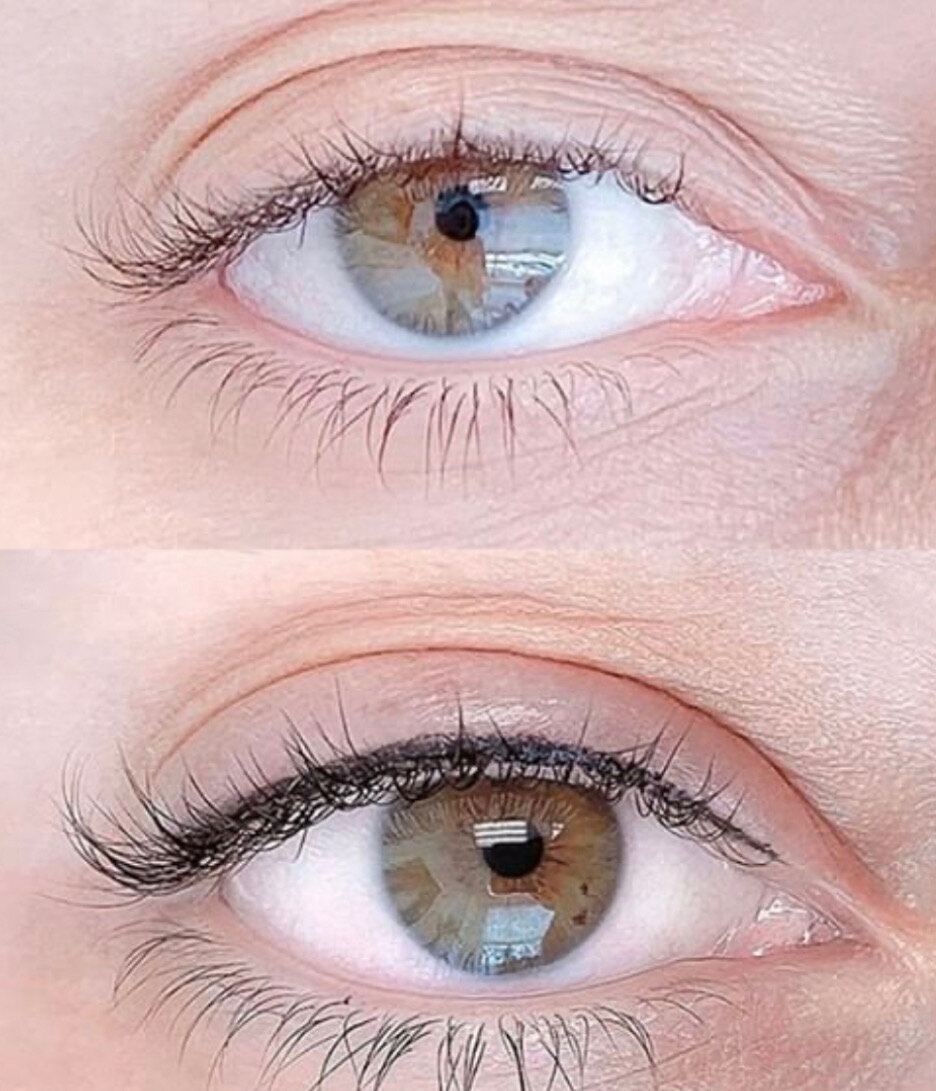
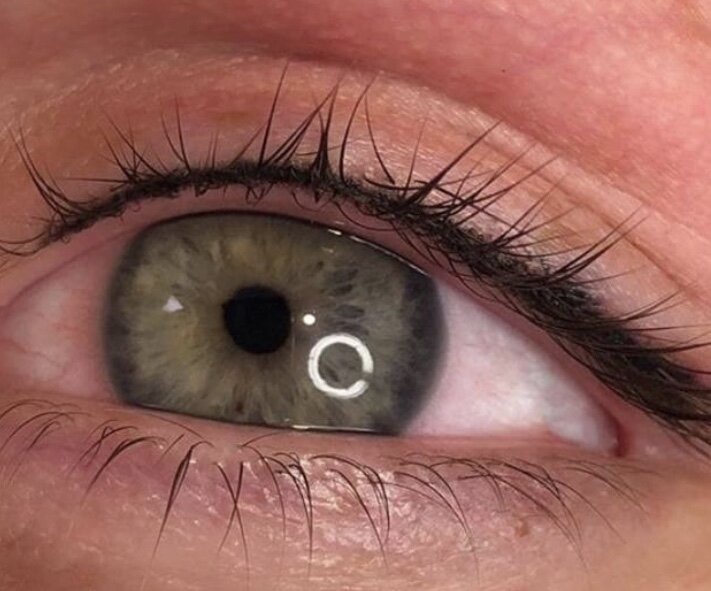
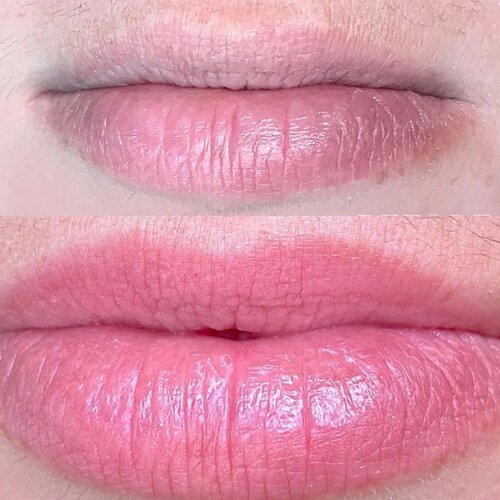
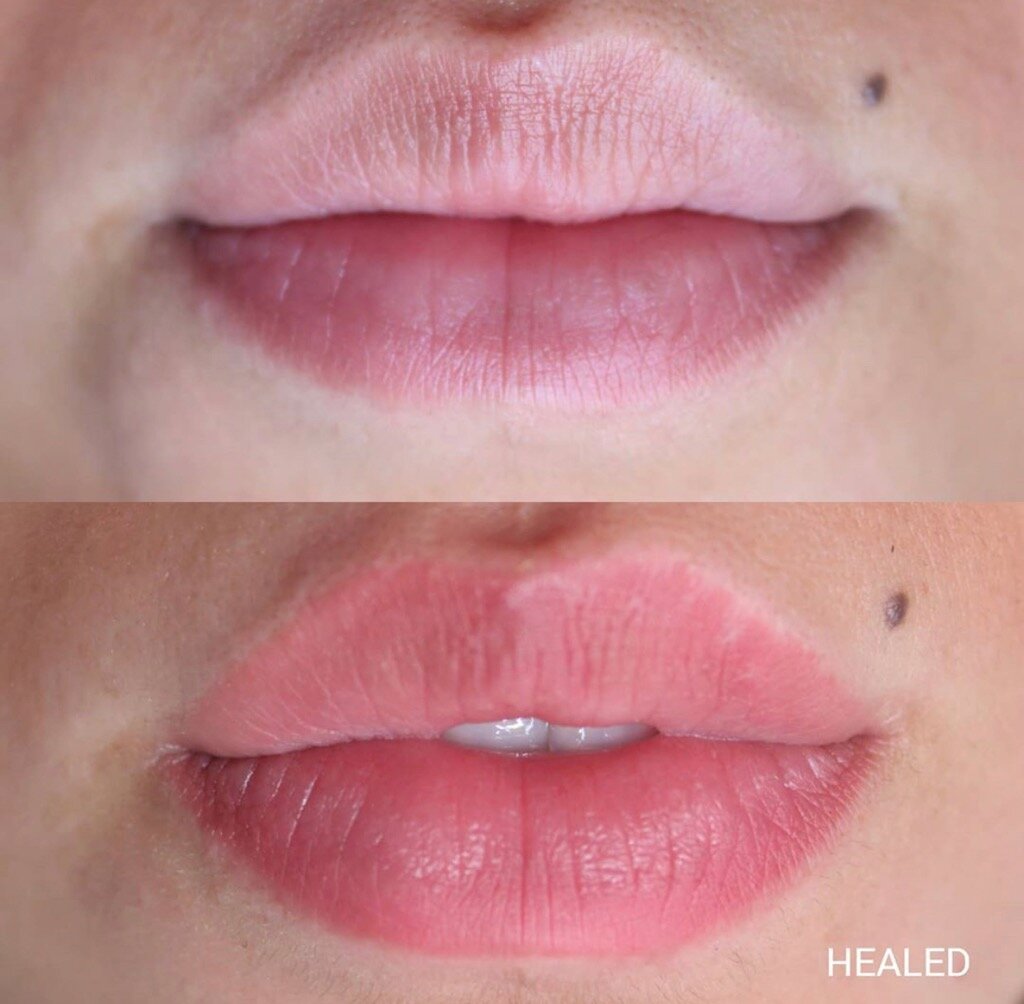
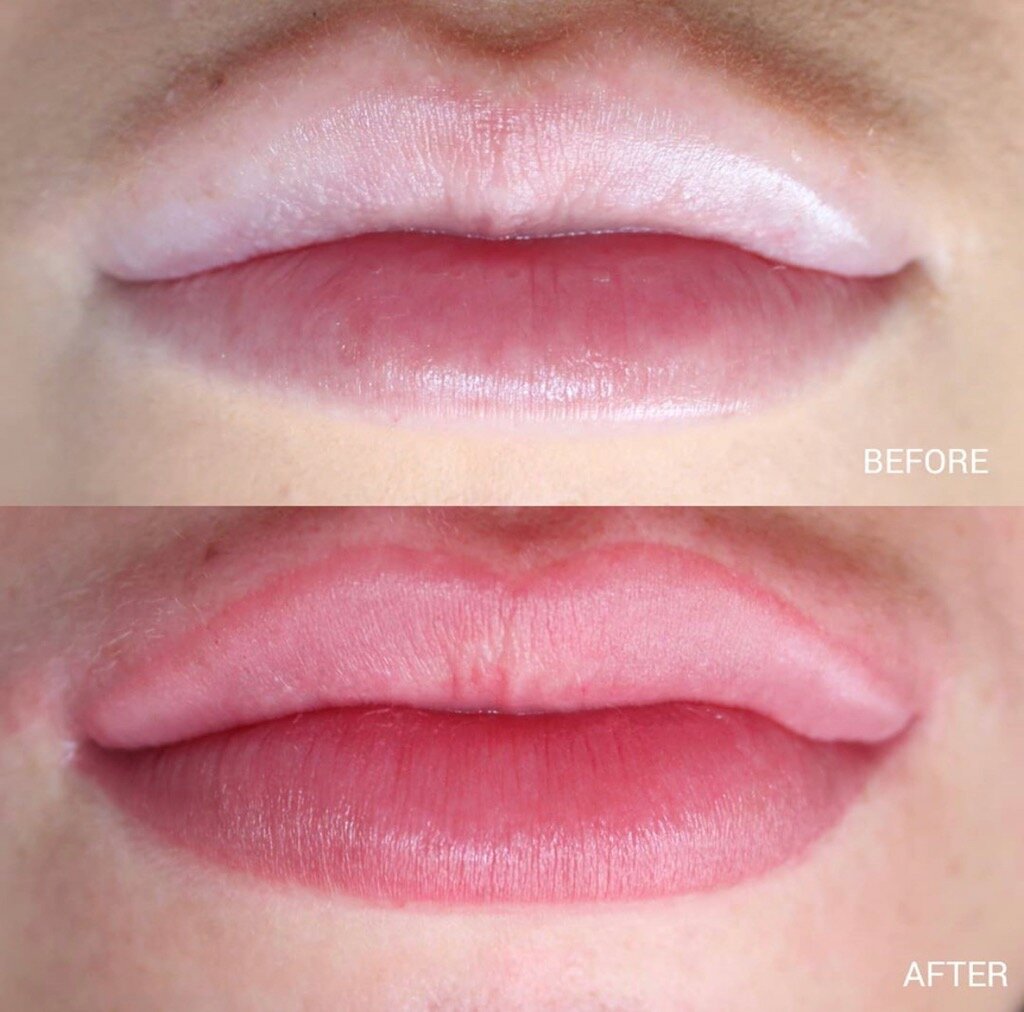
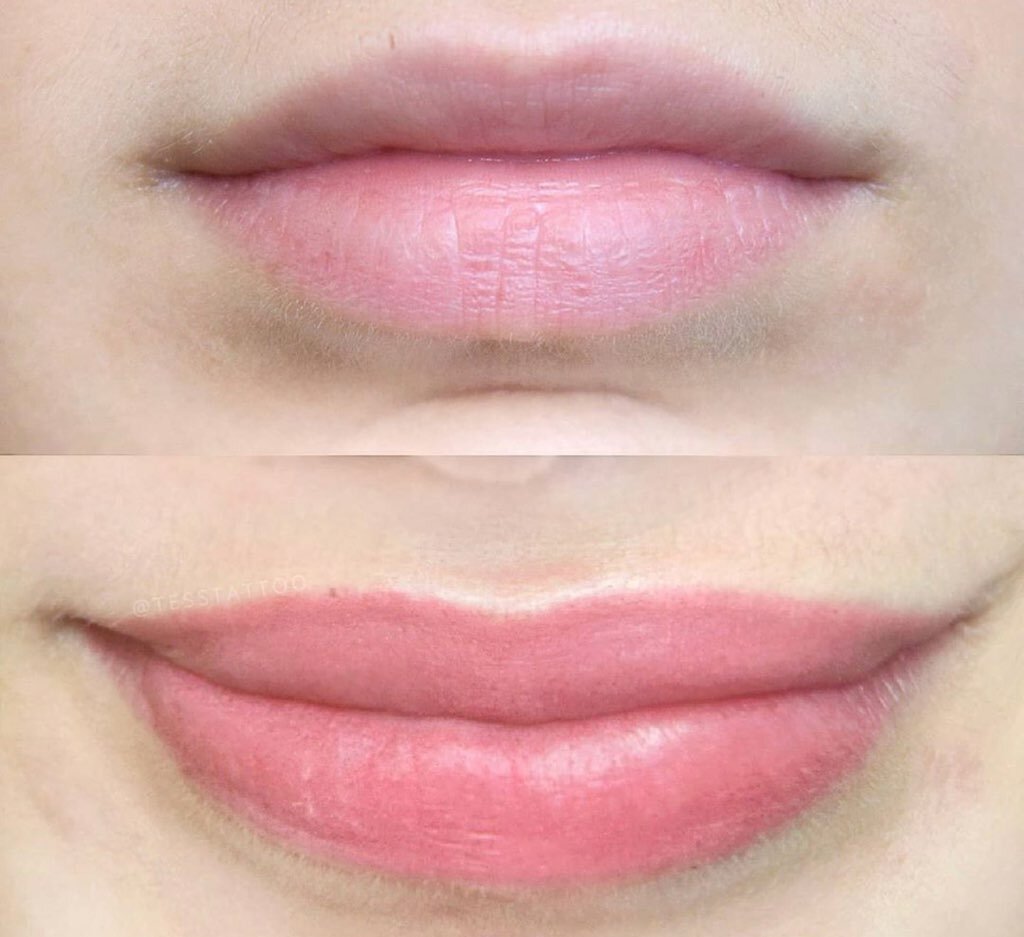
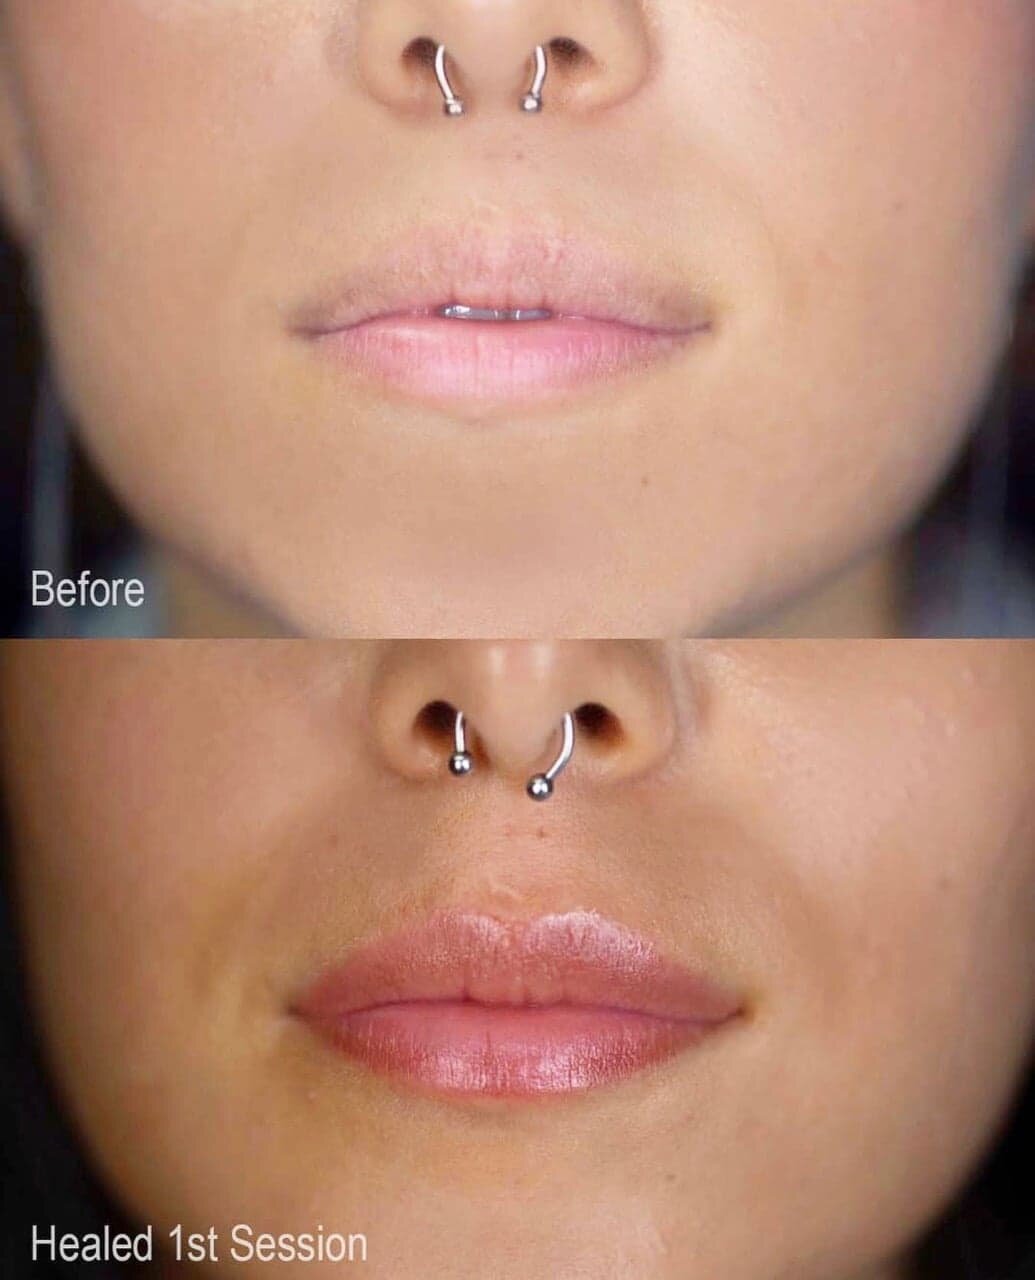
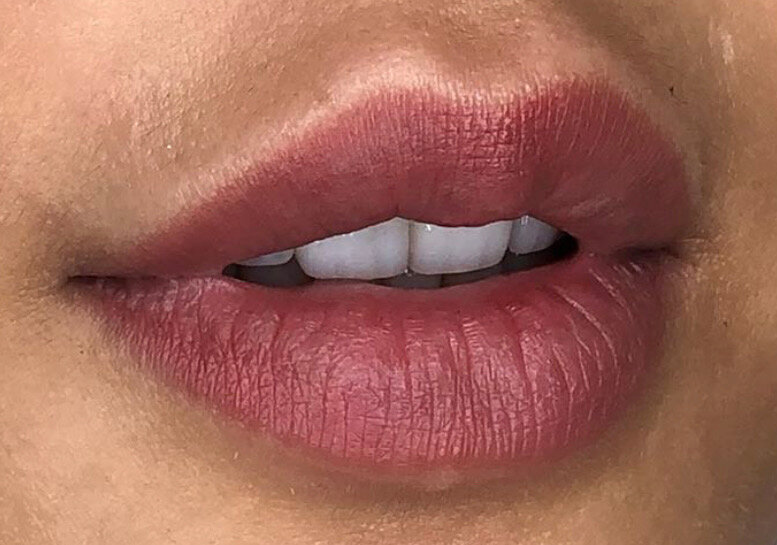
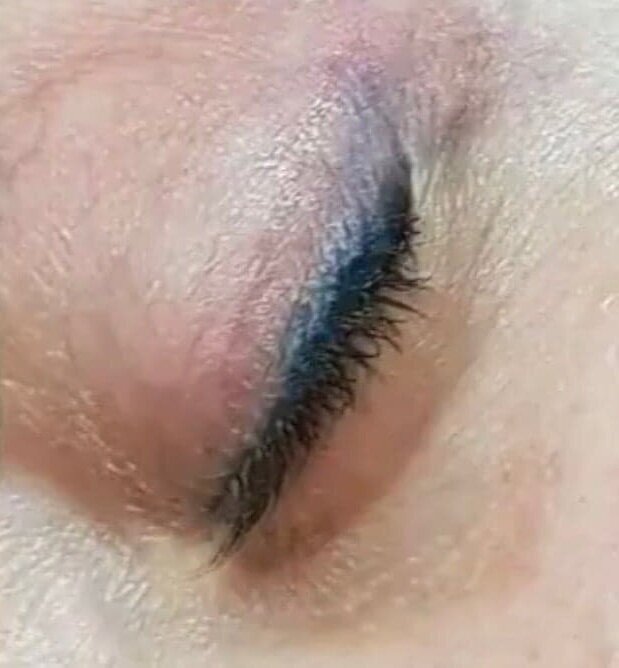
Permanent Makeup (PMU)


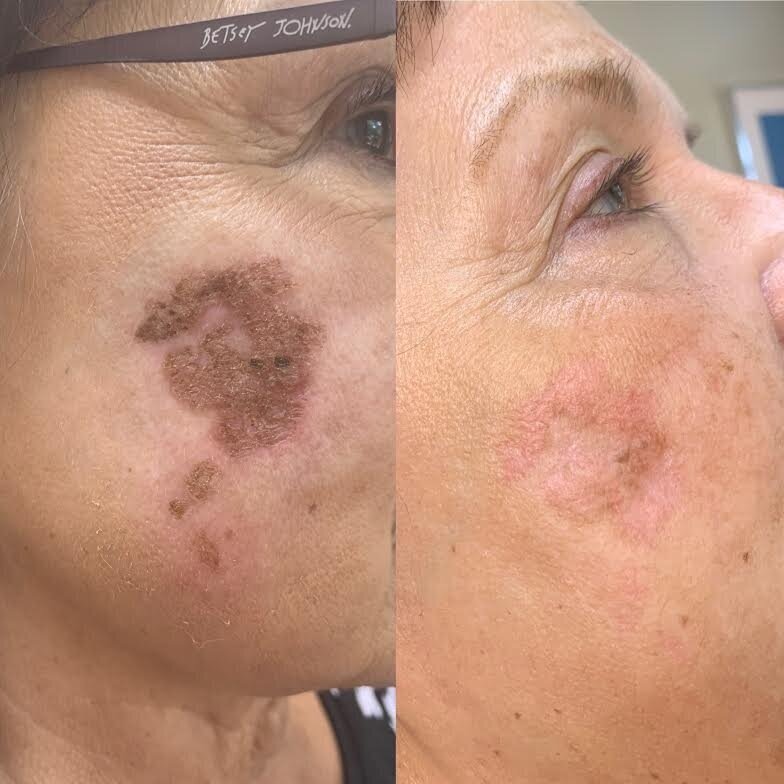
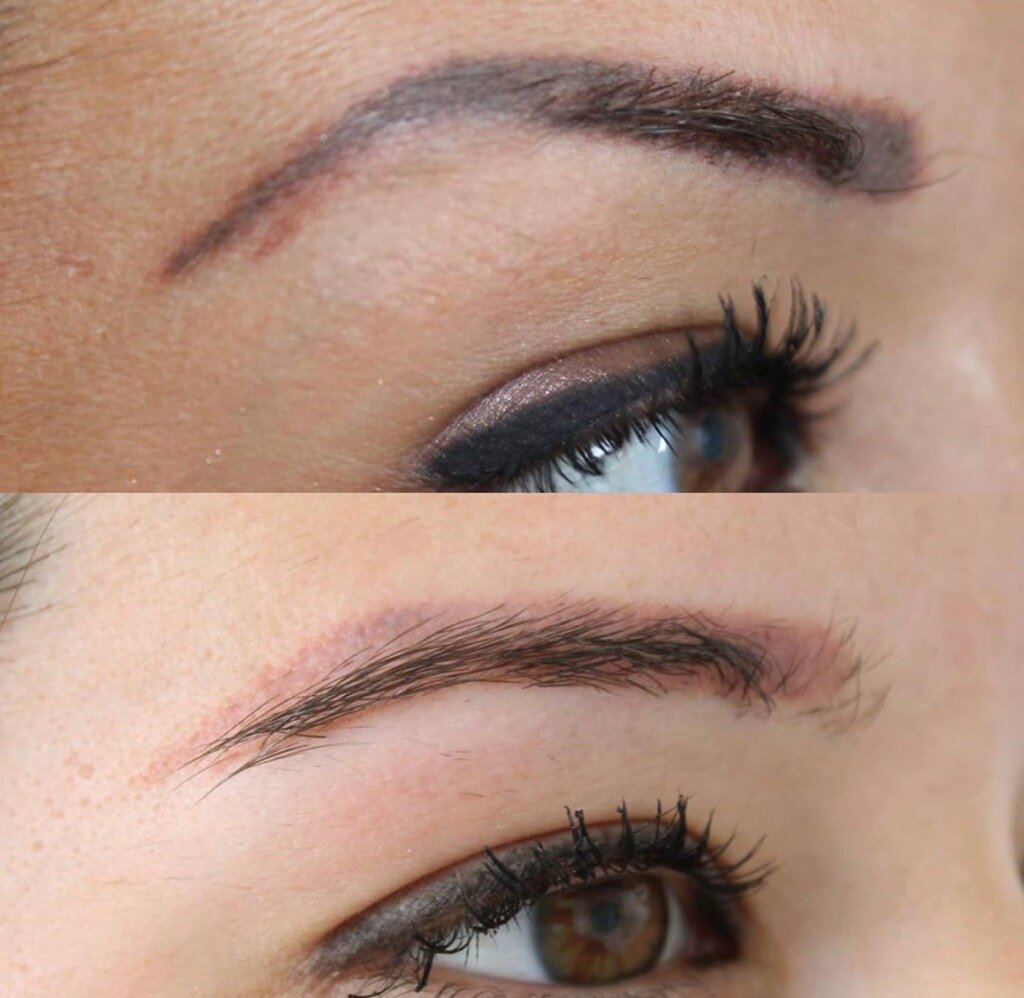
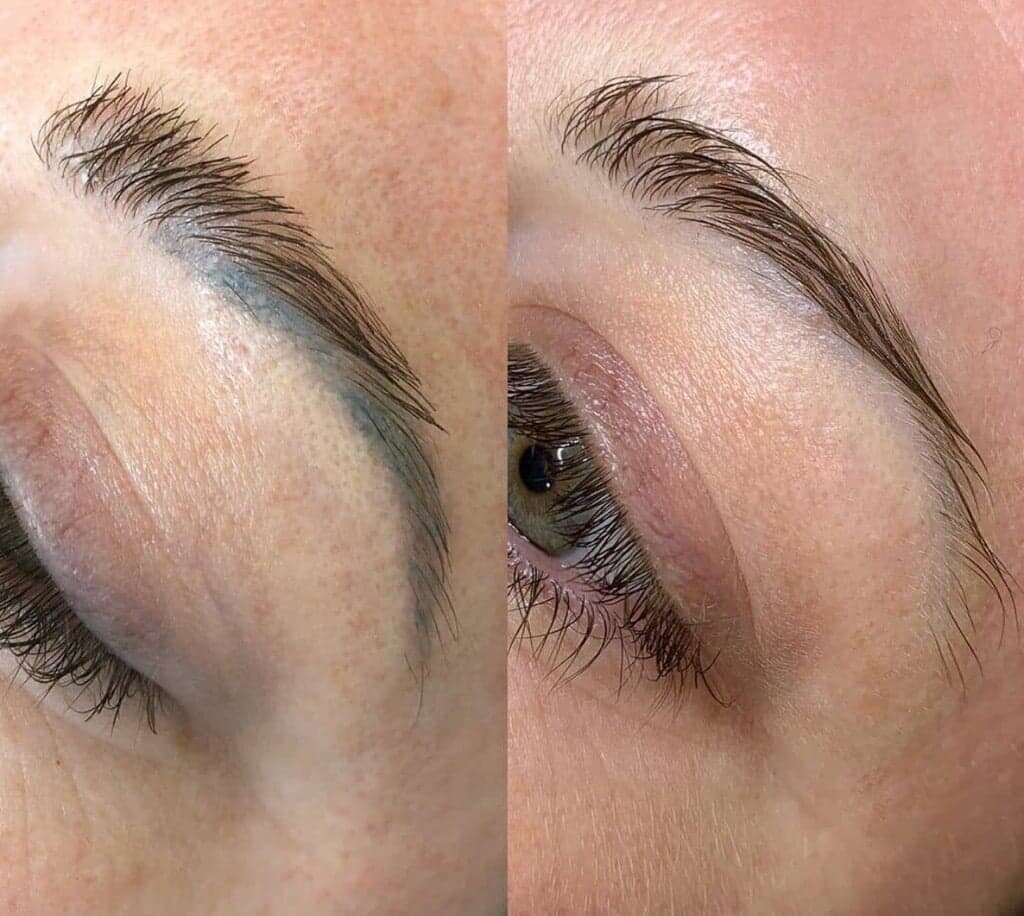
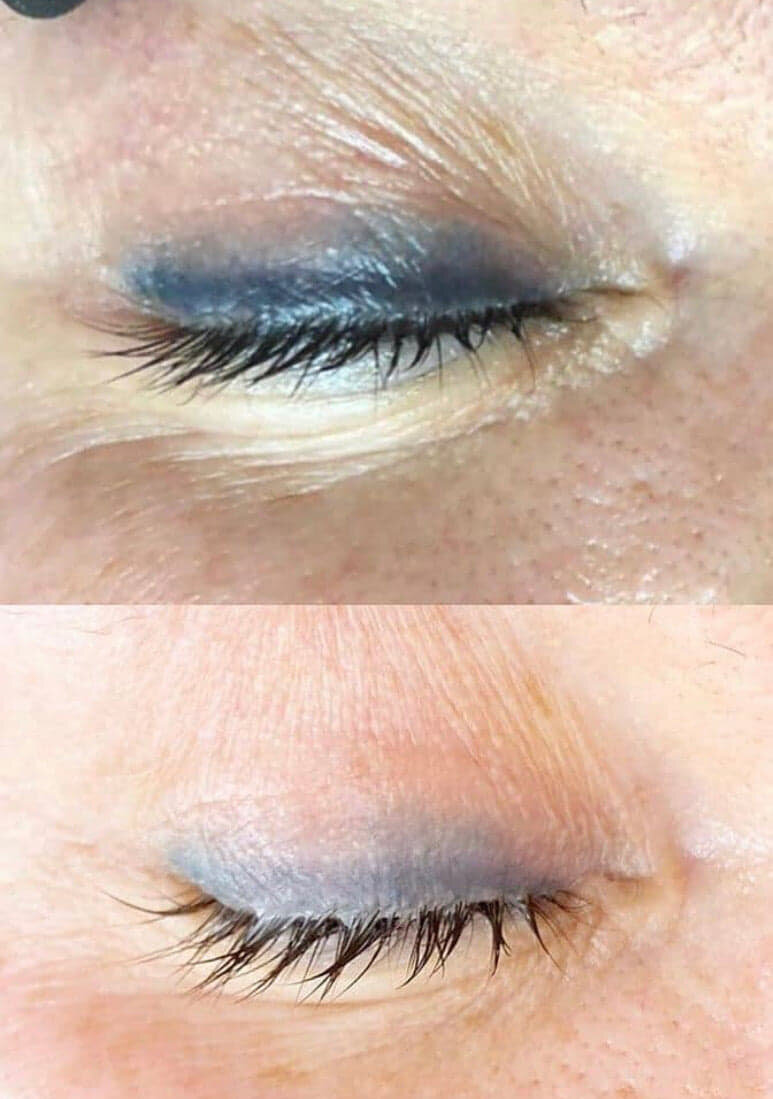
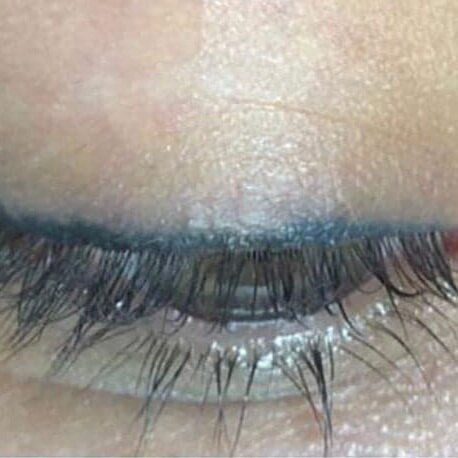
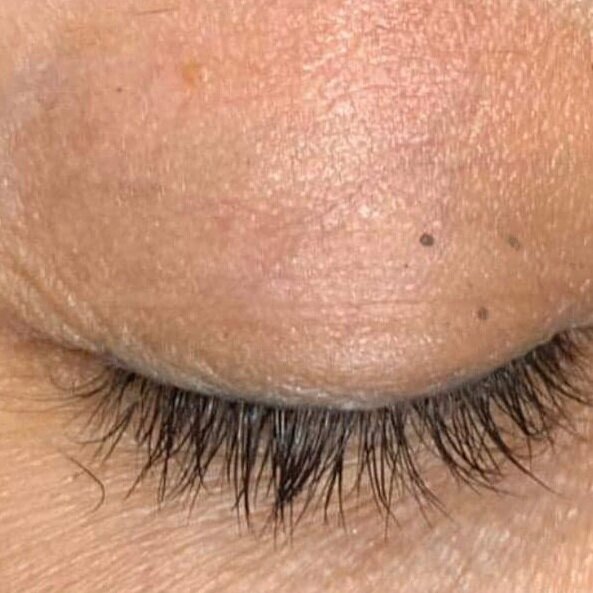
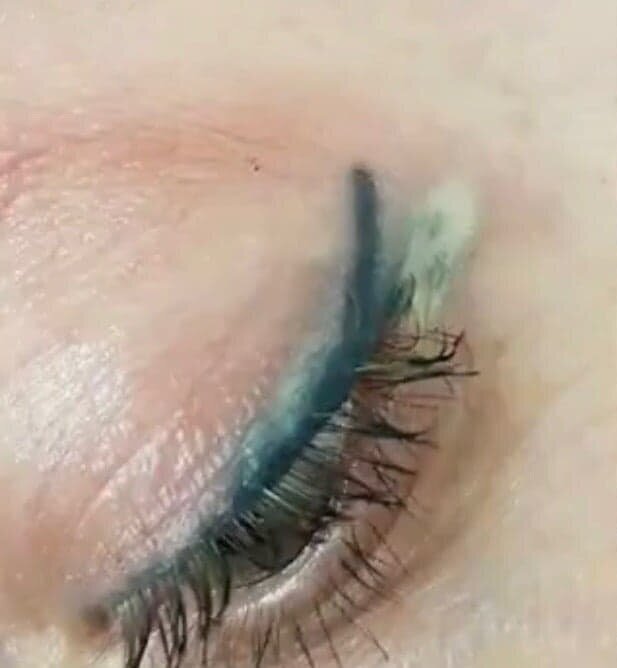
Li-FT Tattoo Removal

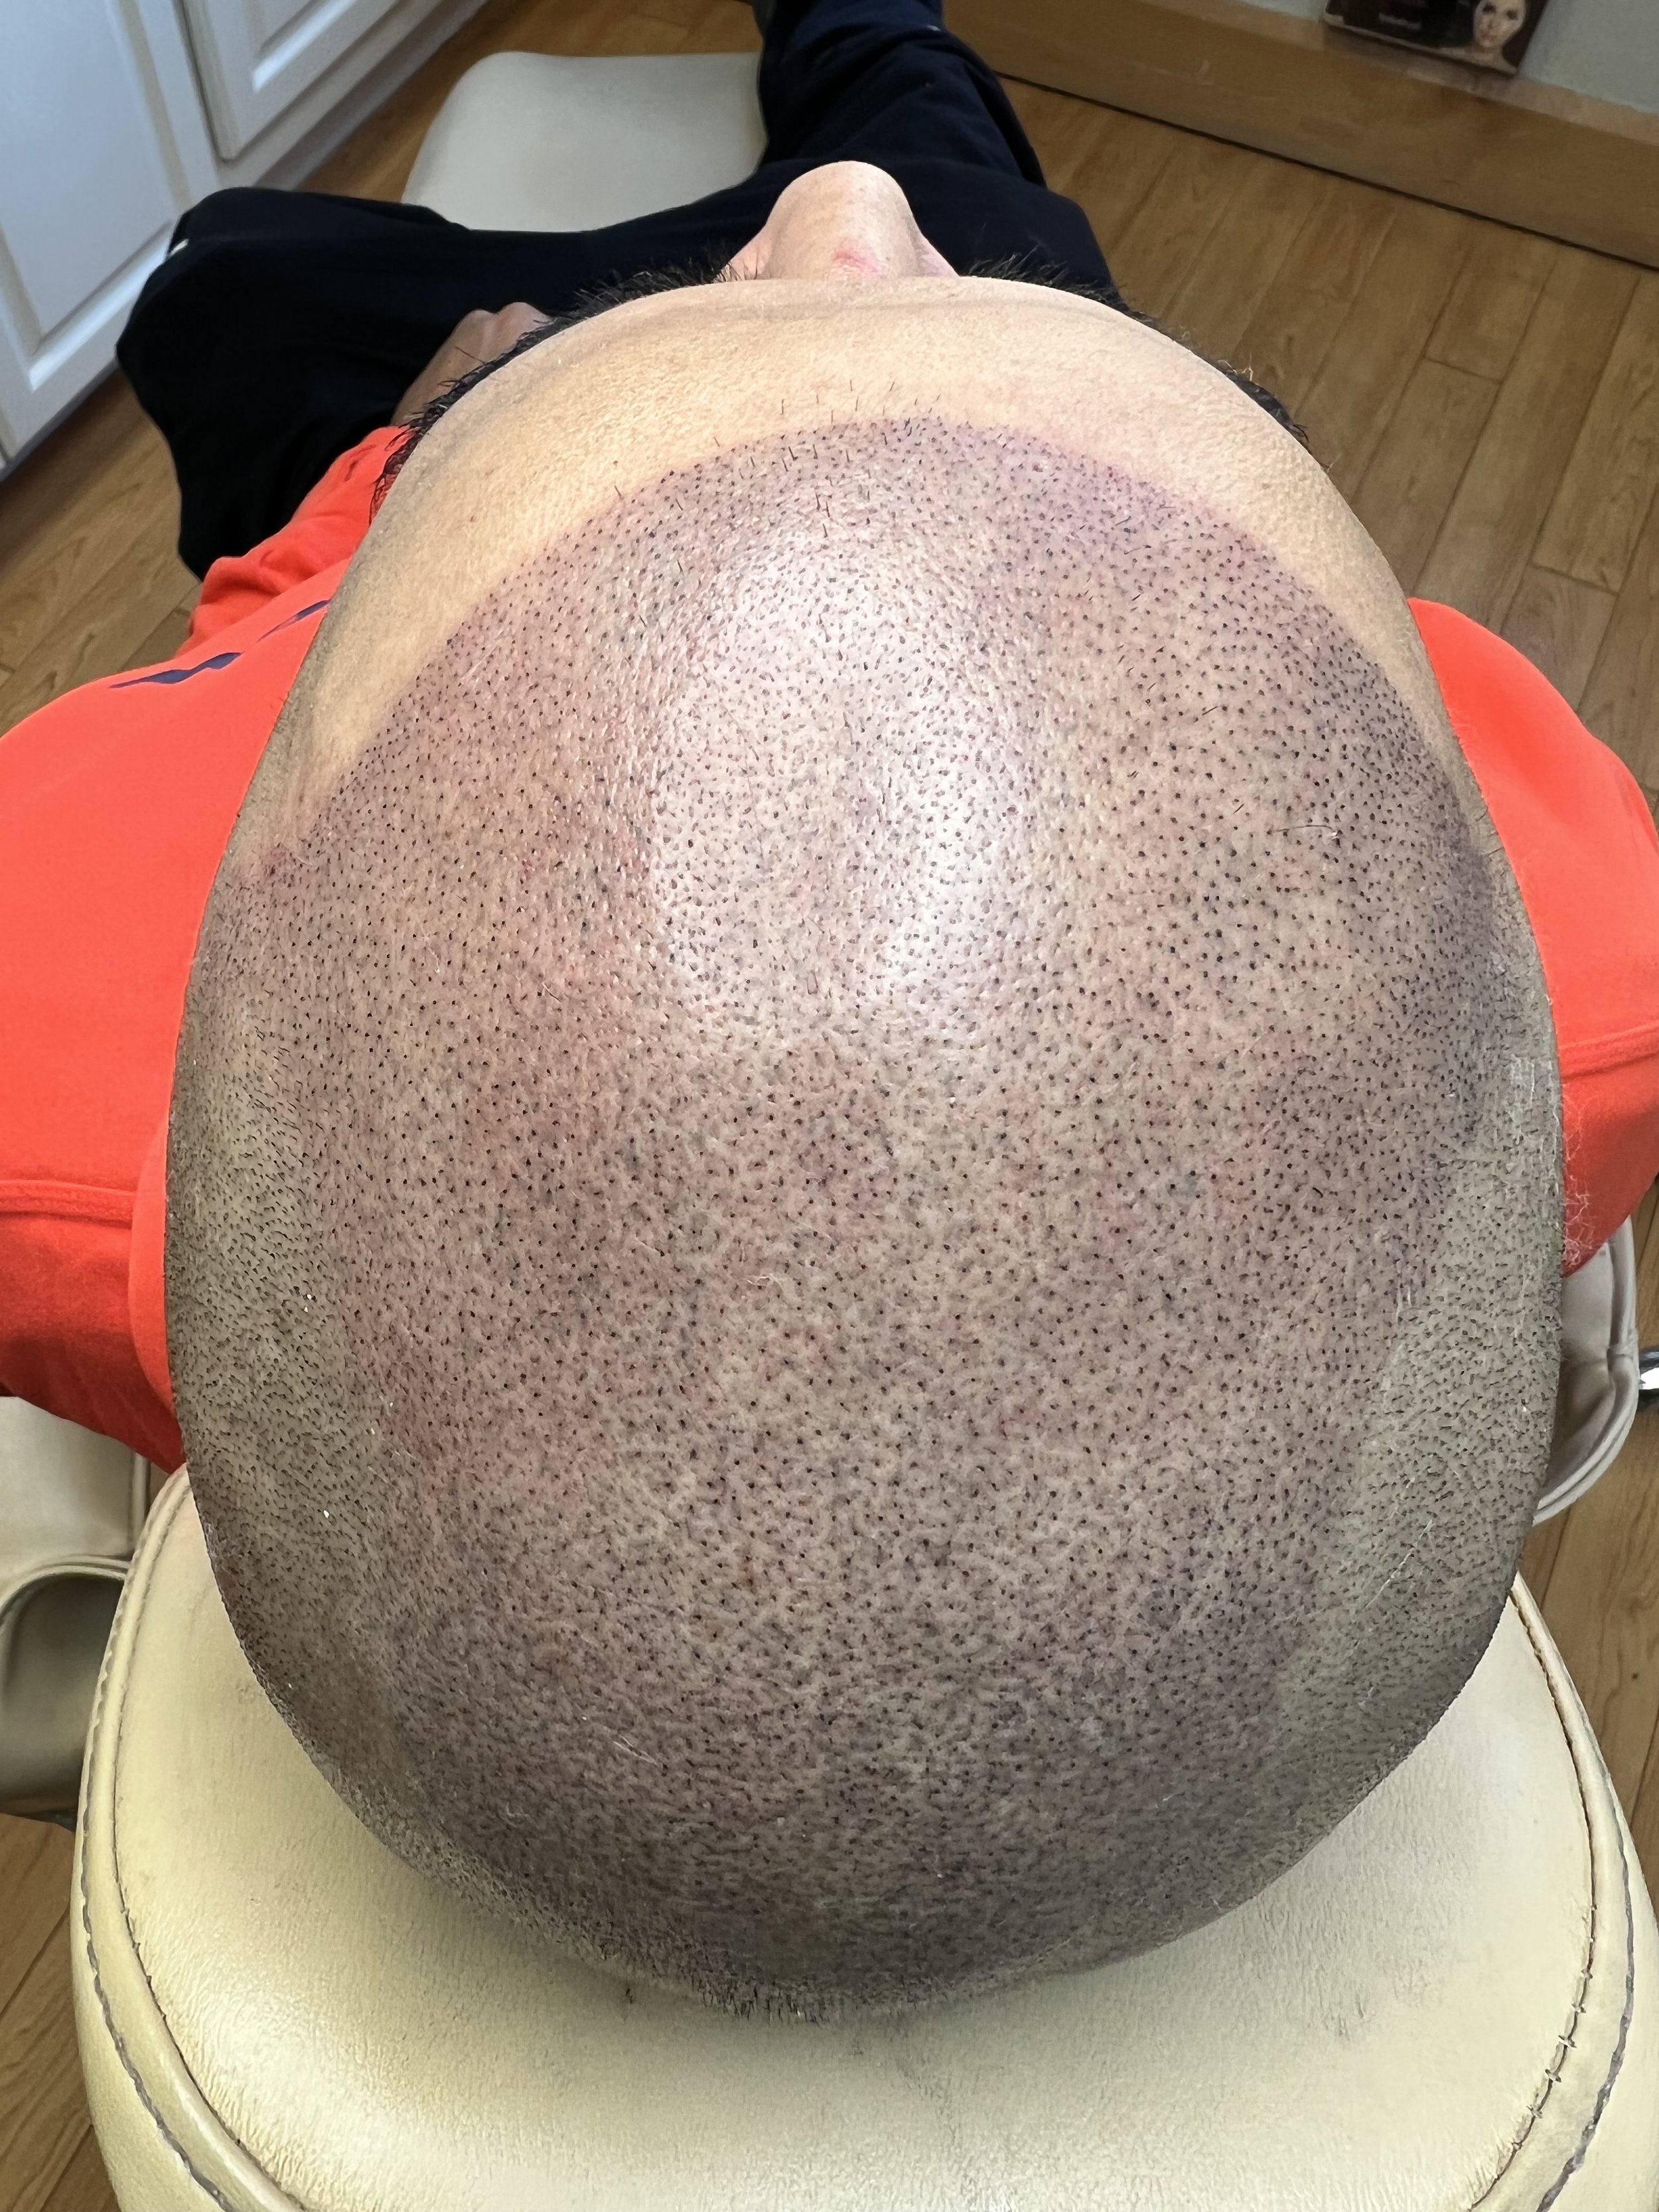
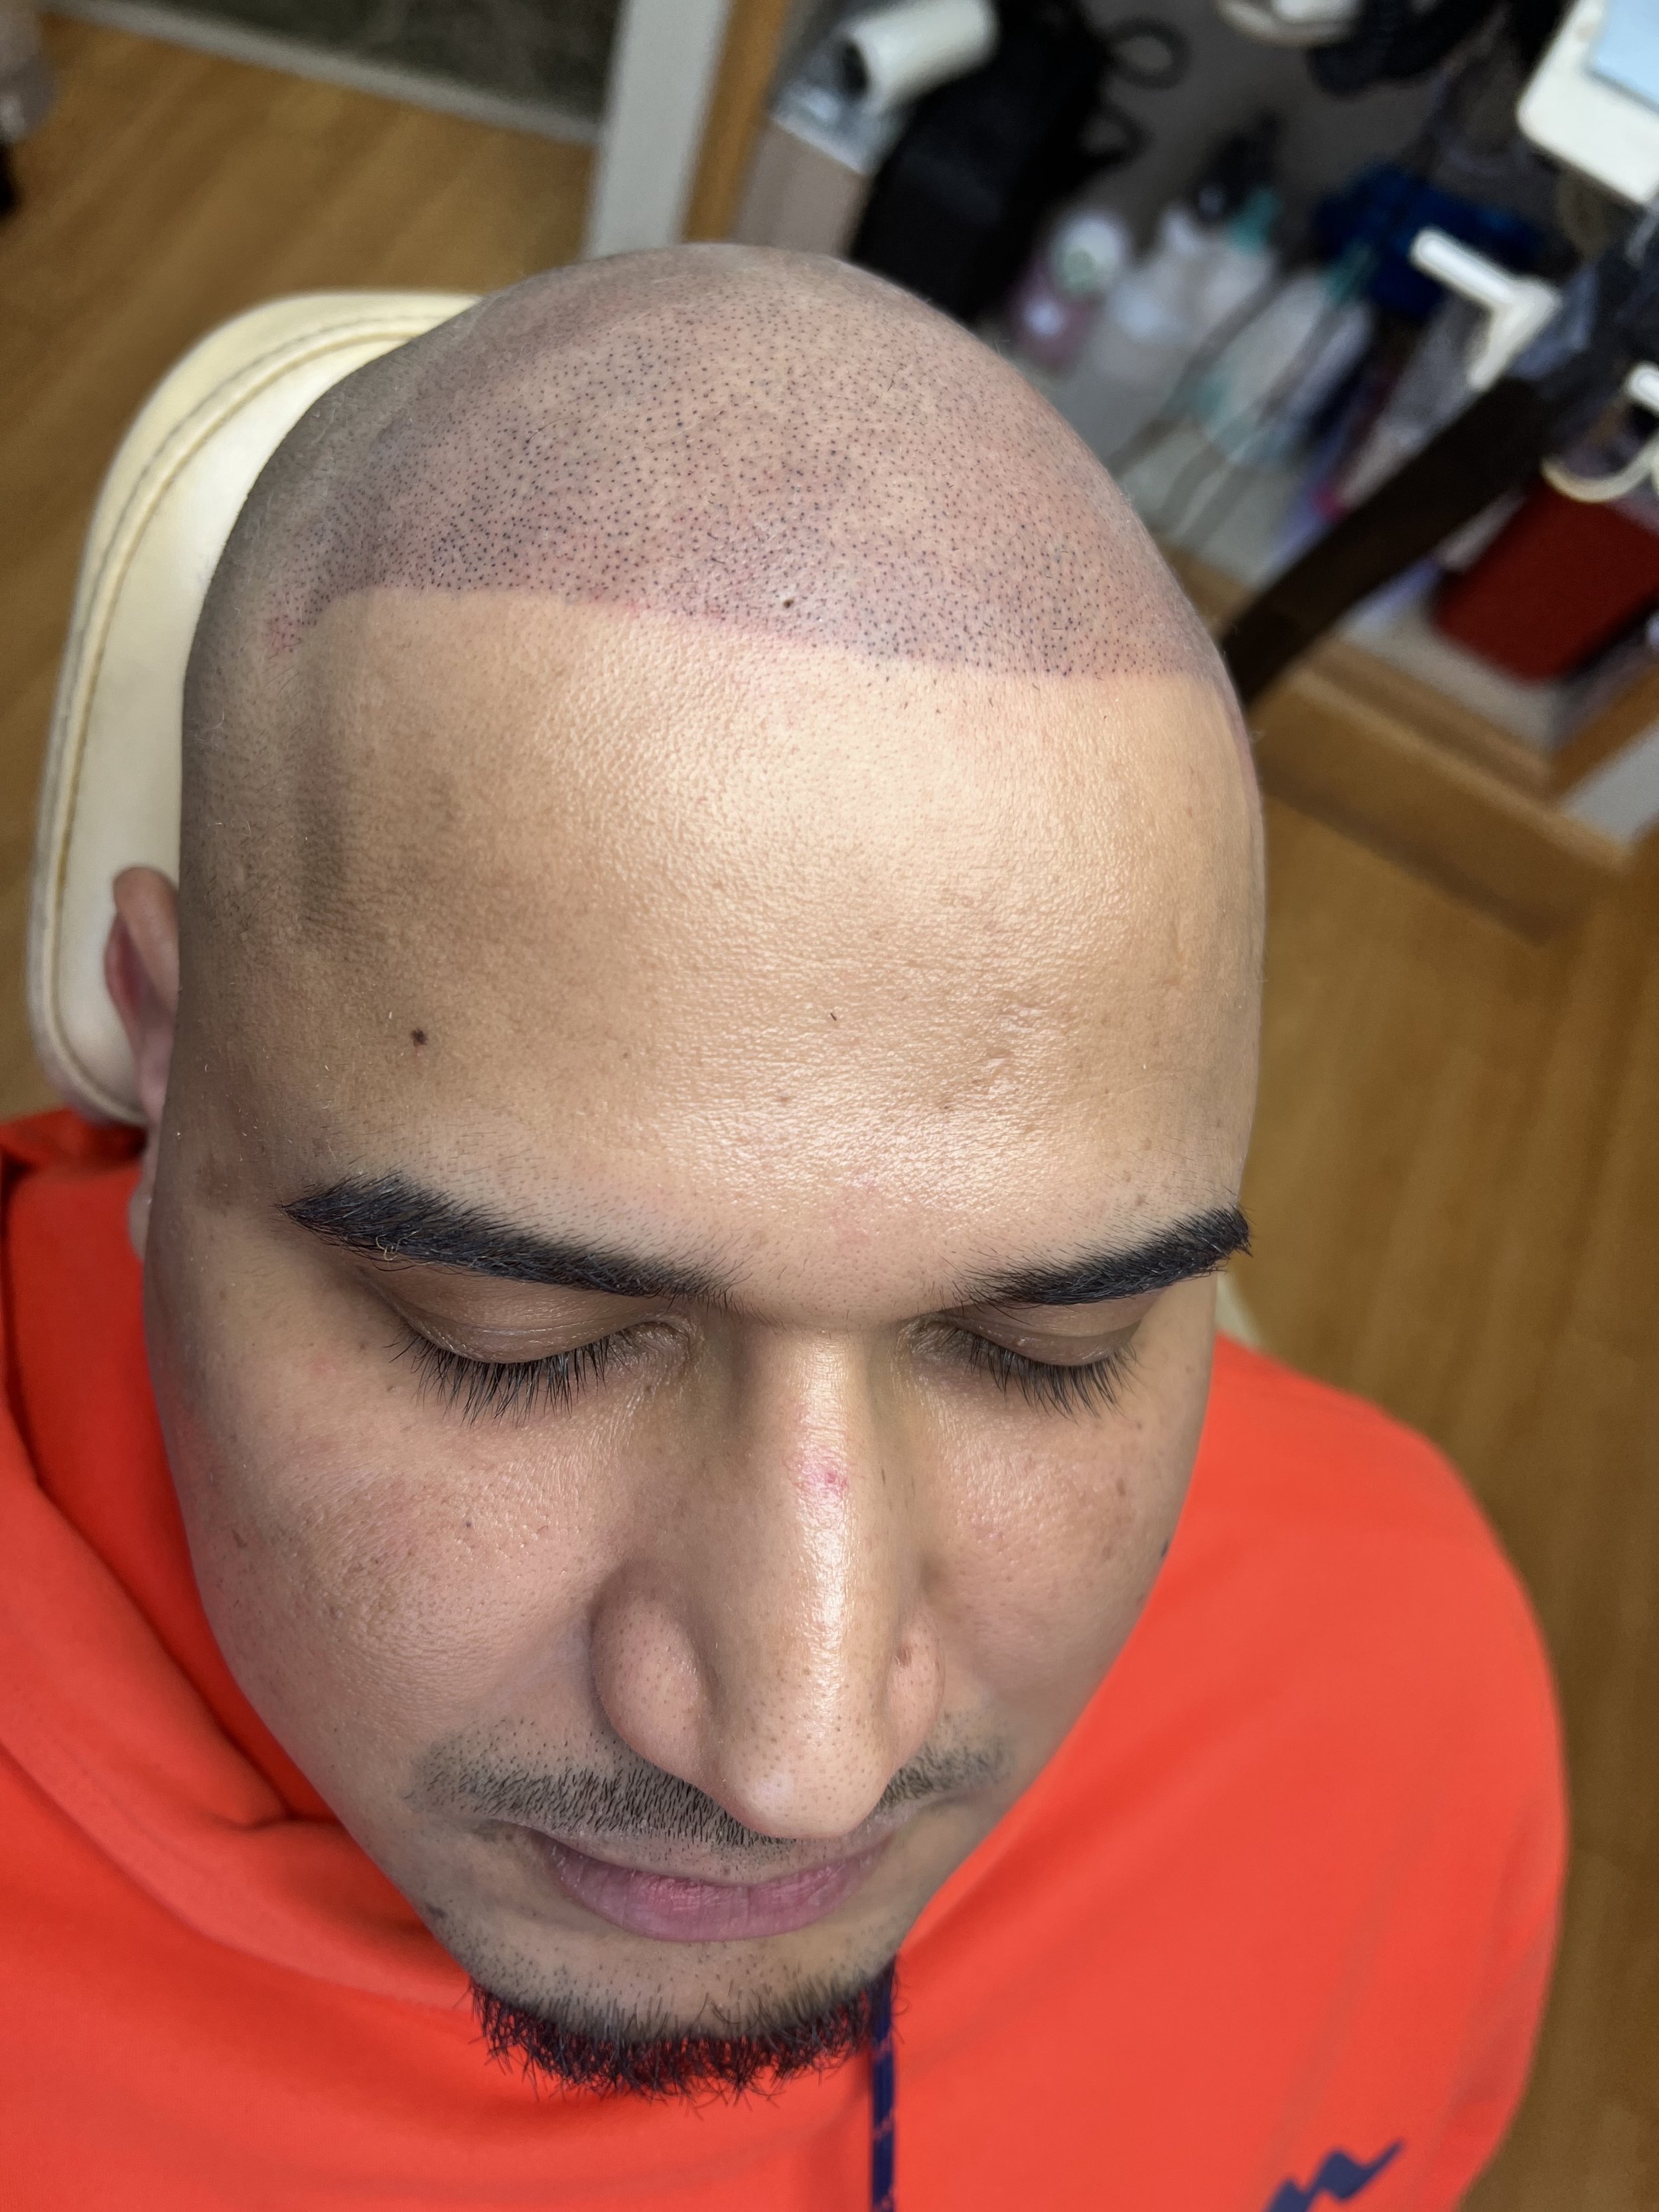
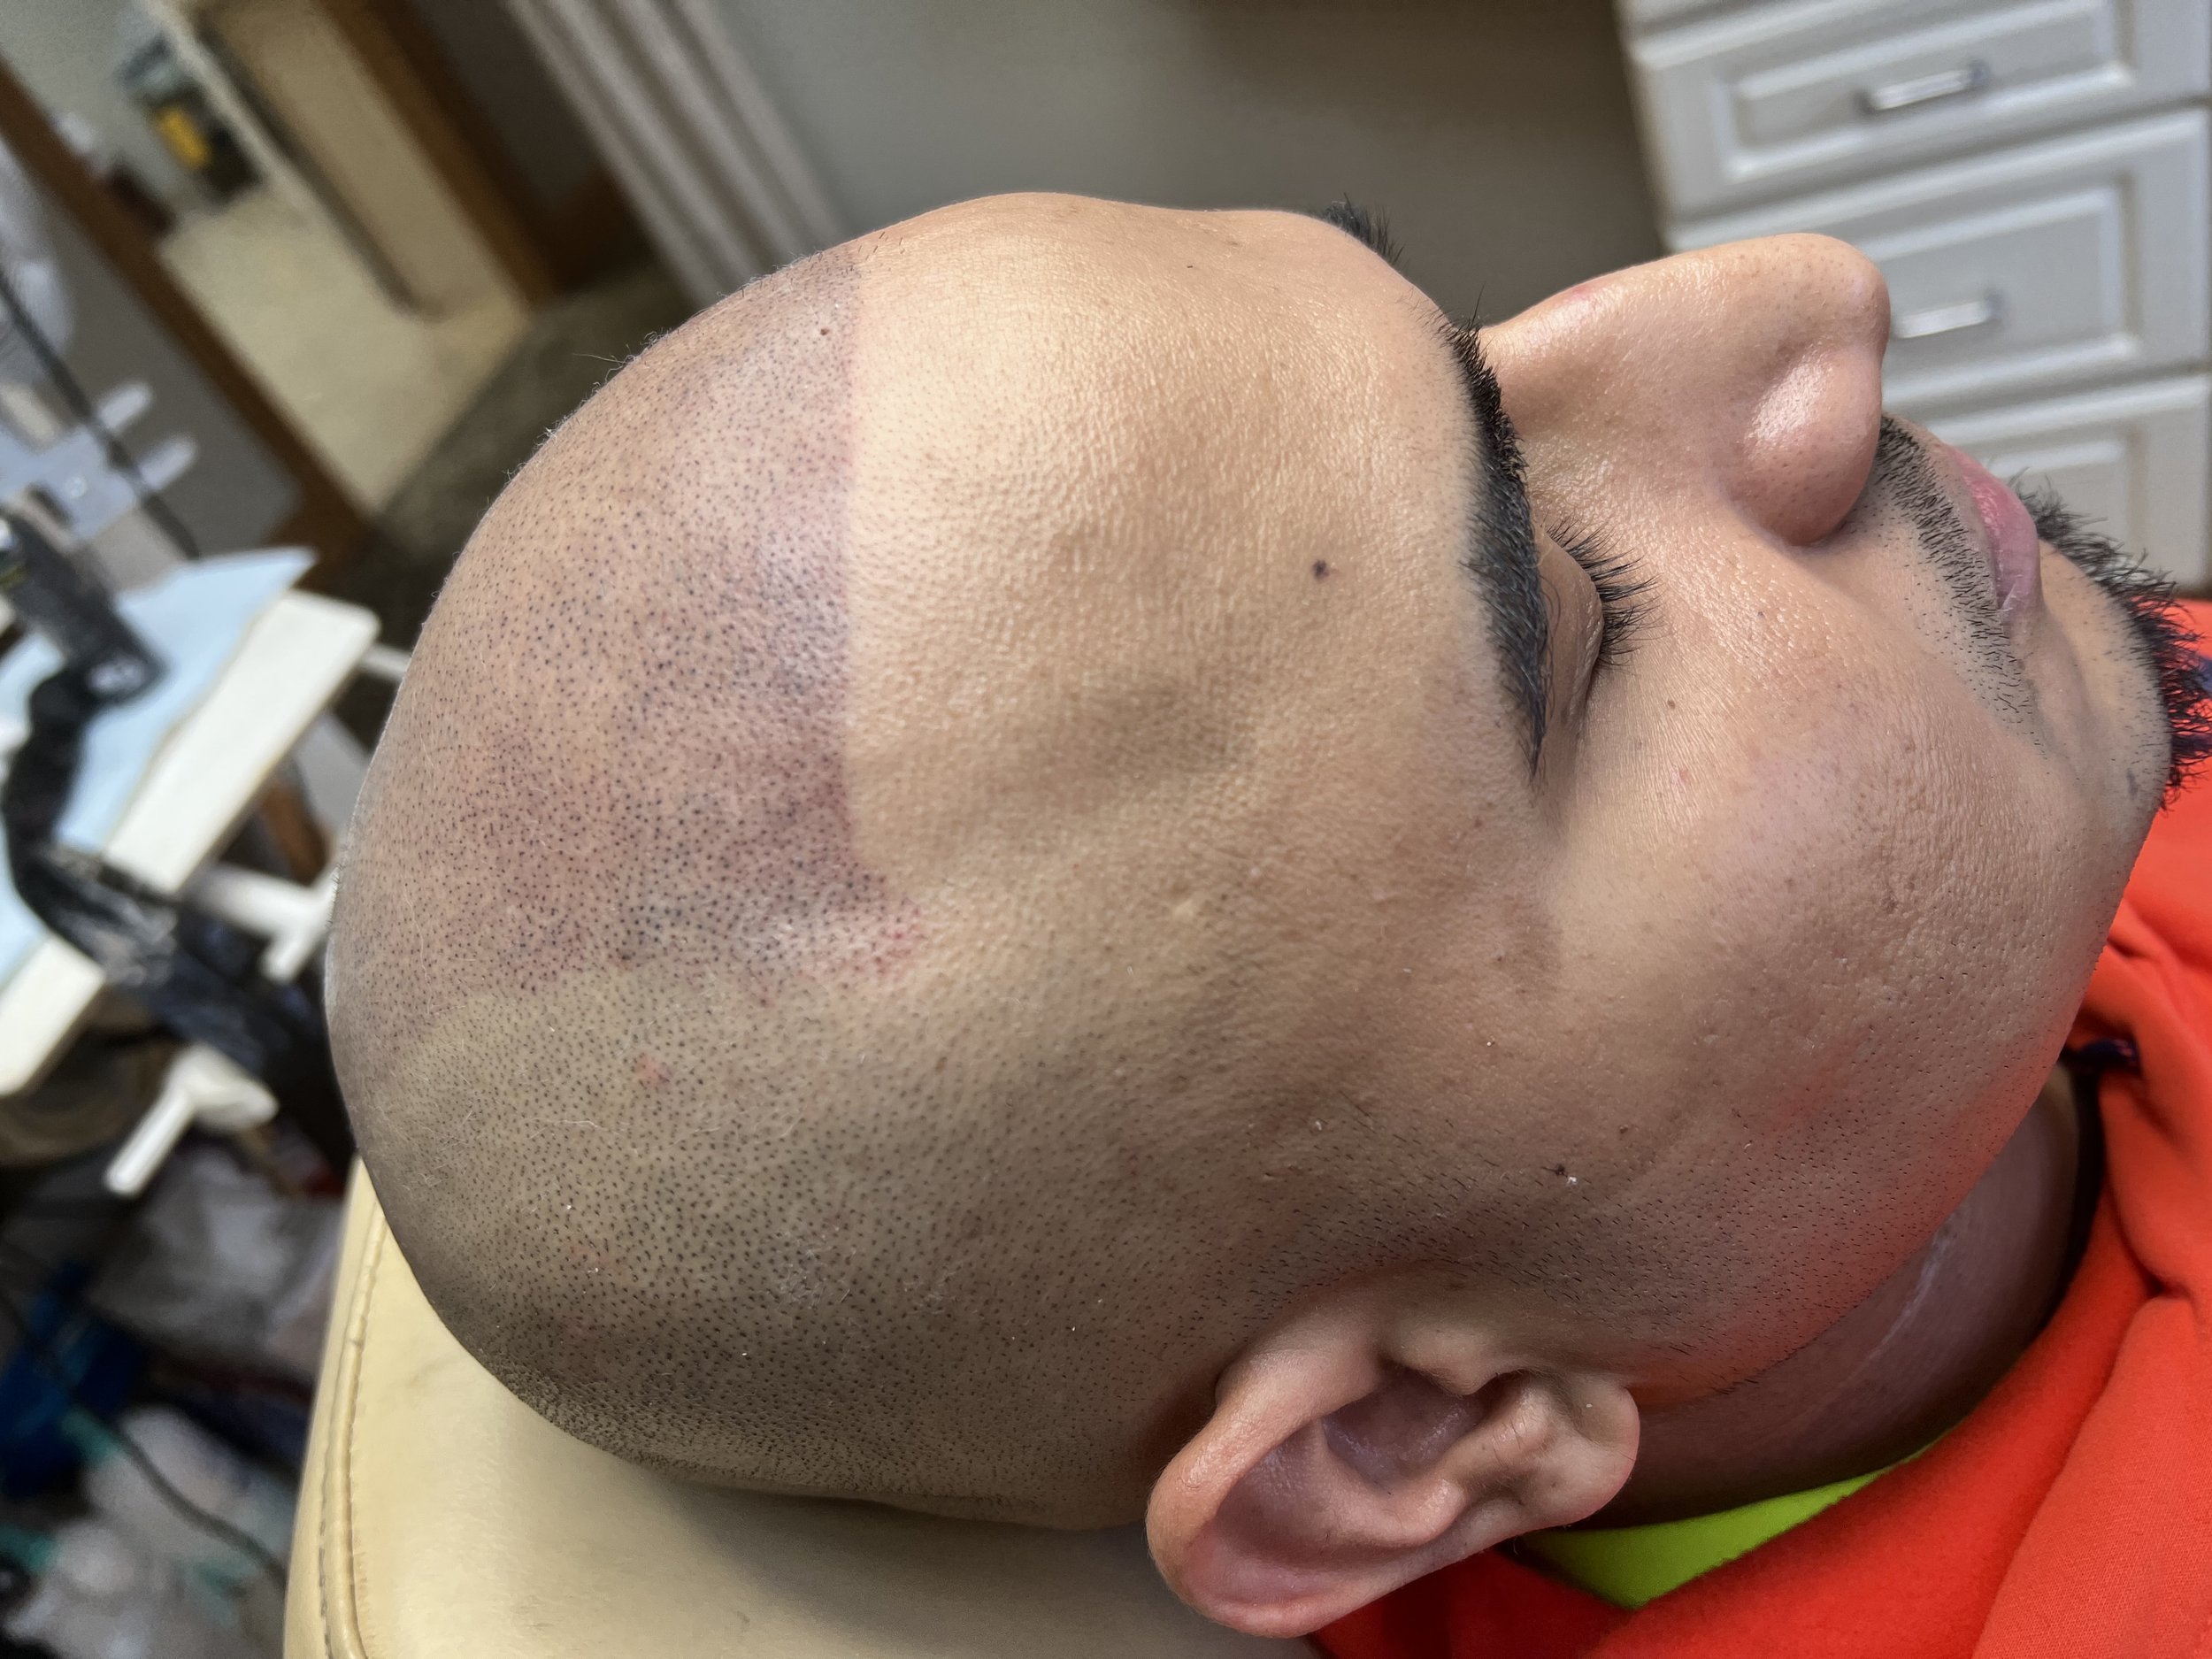
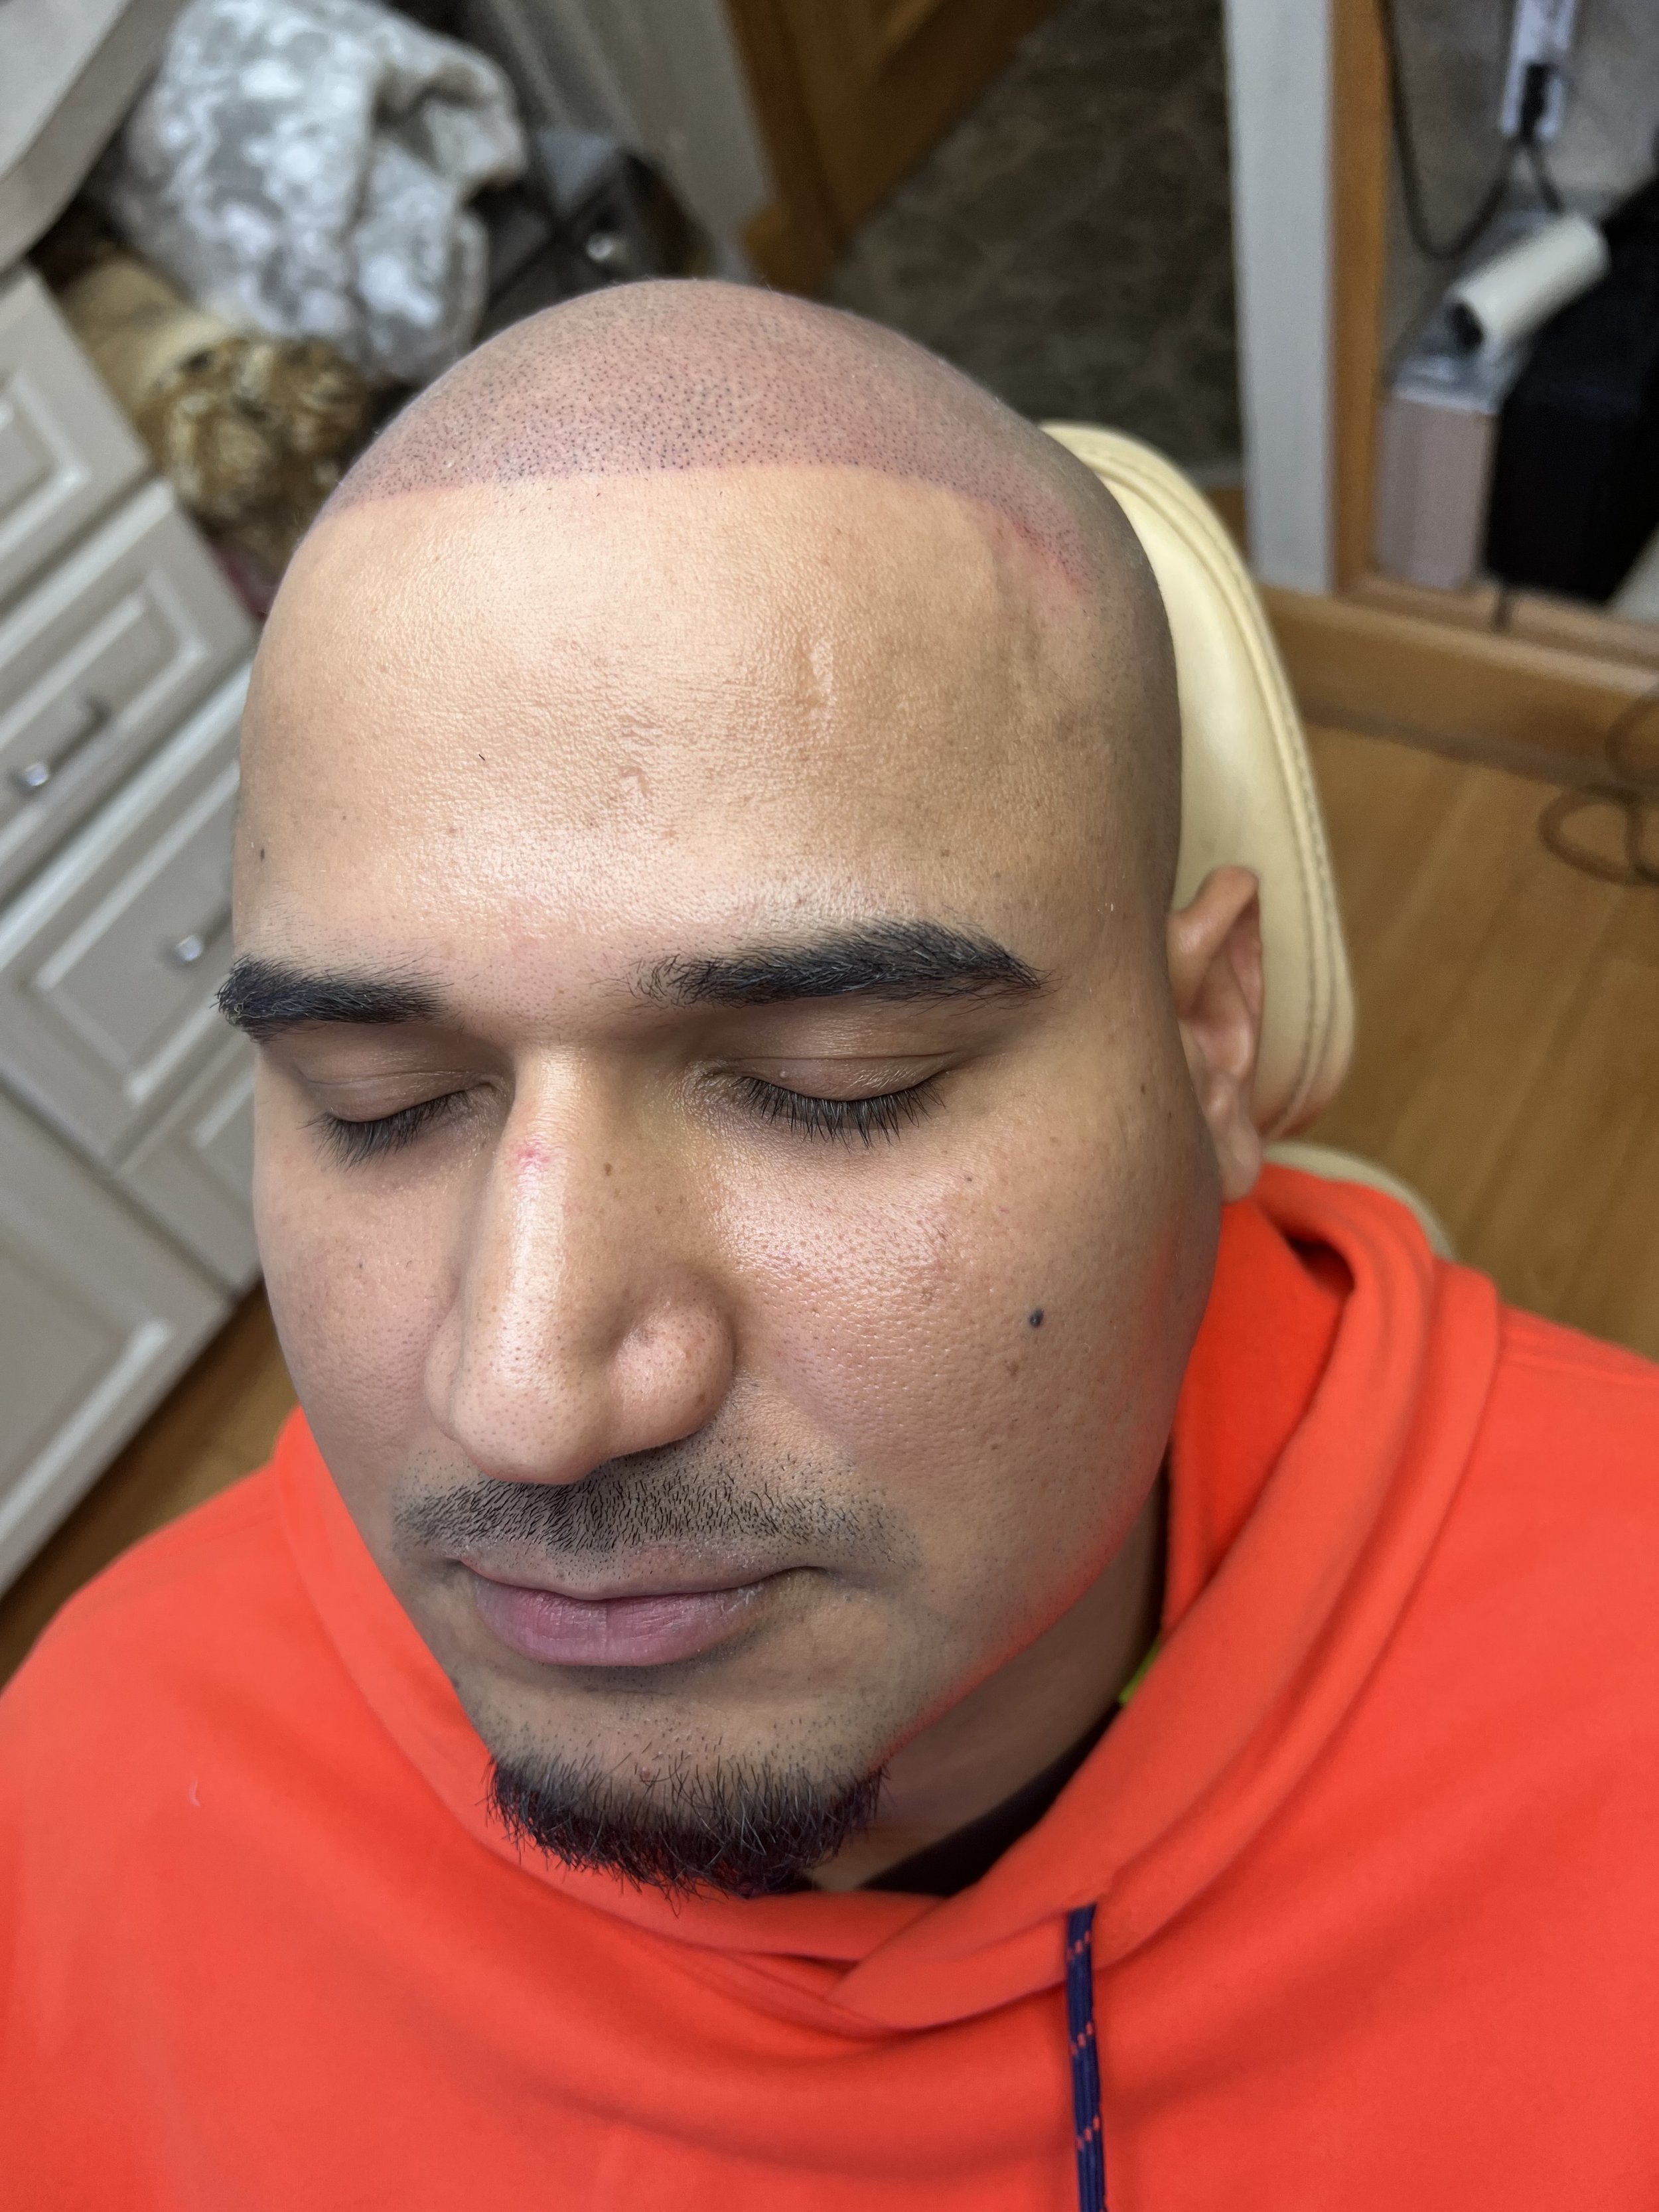
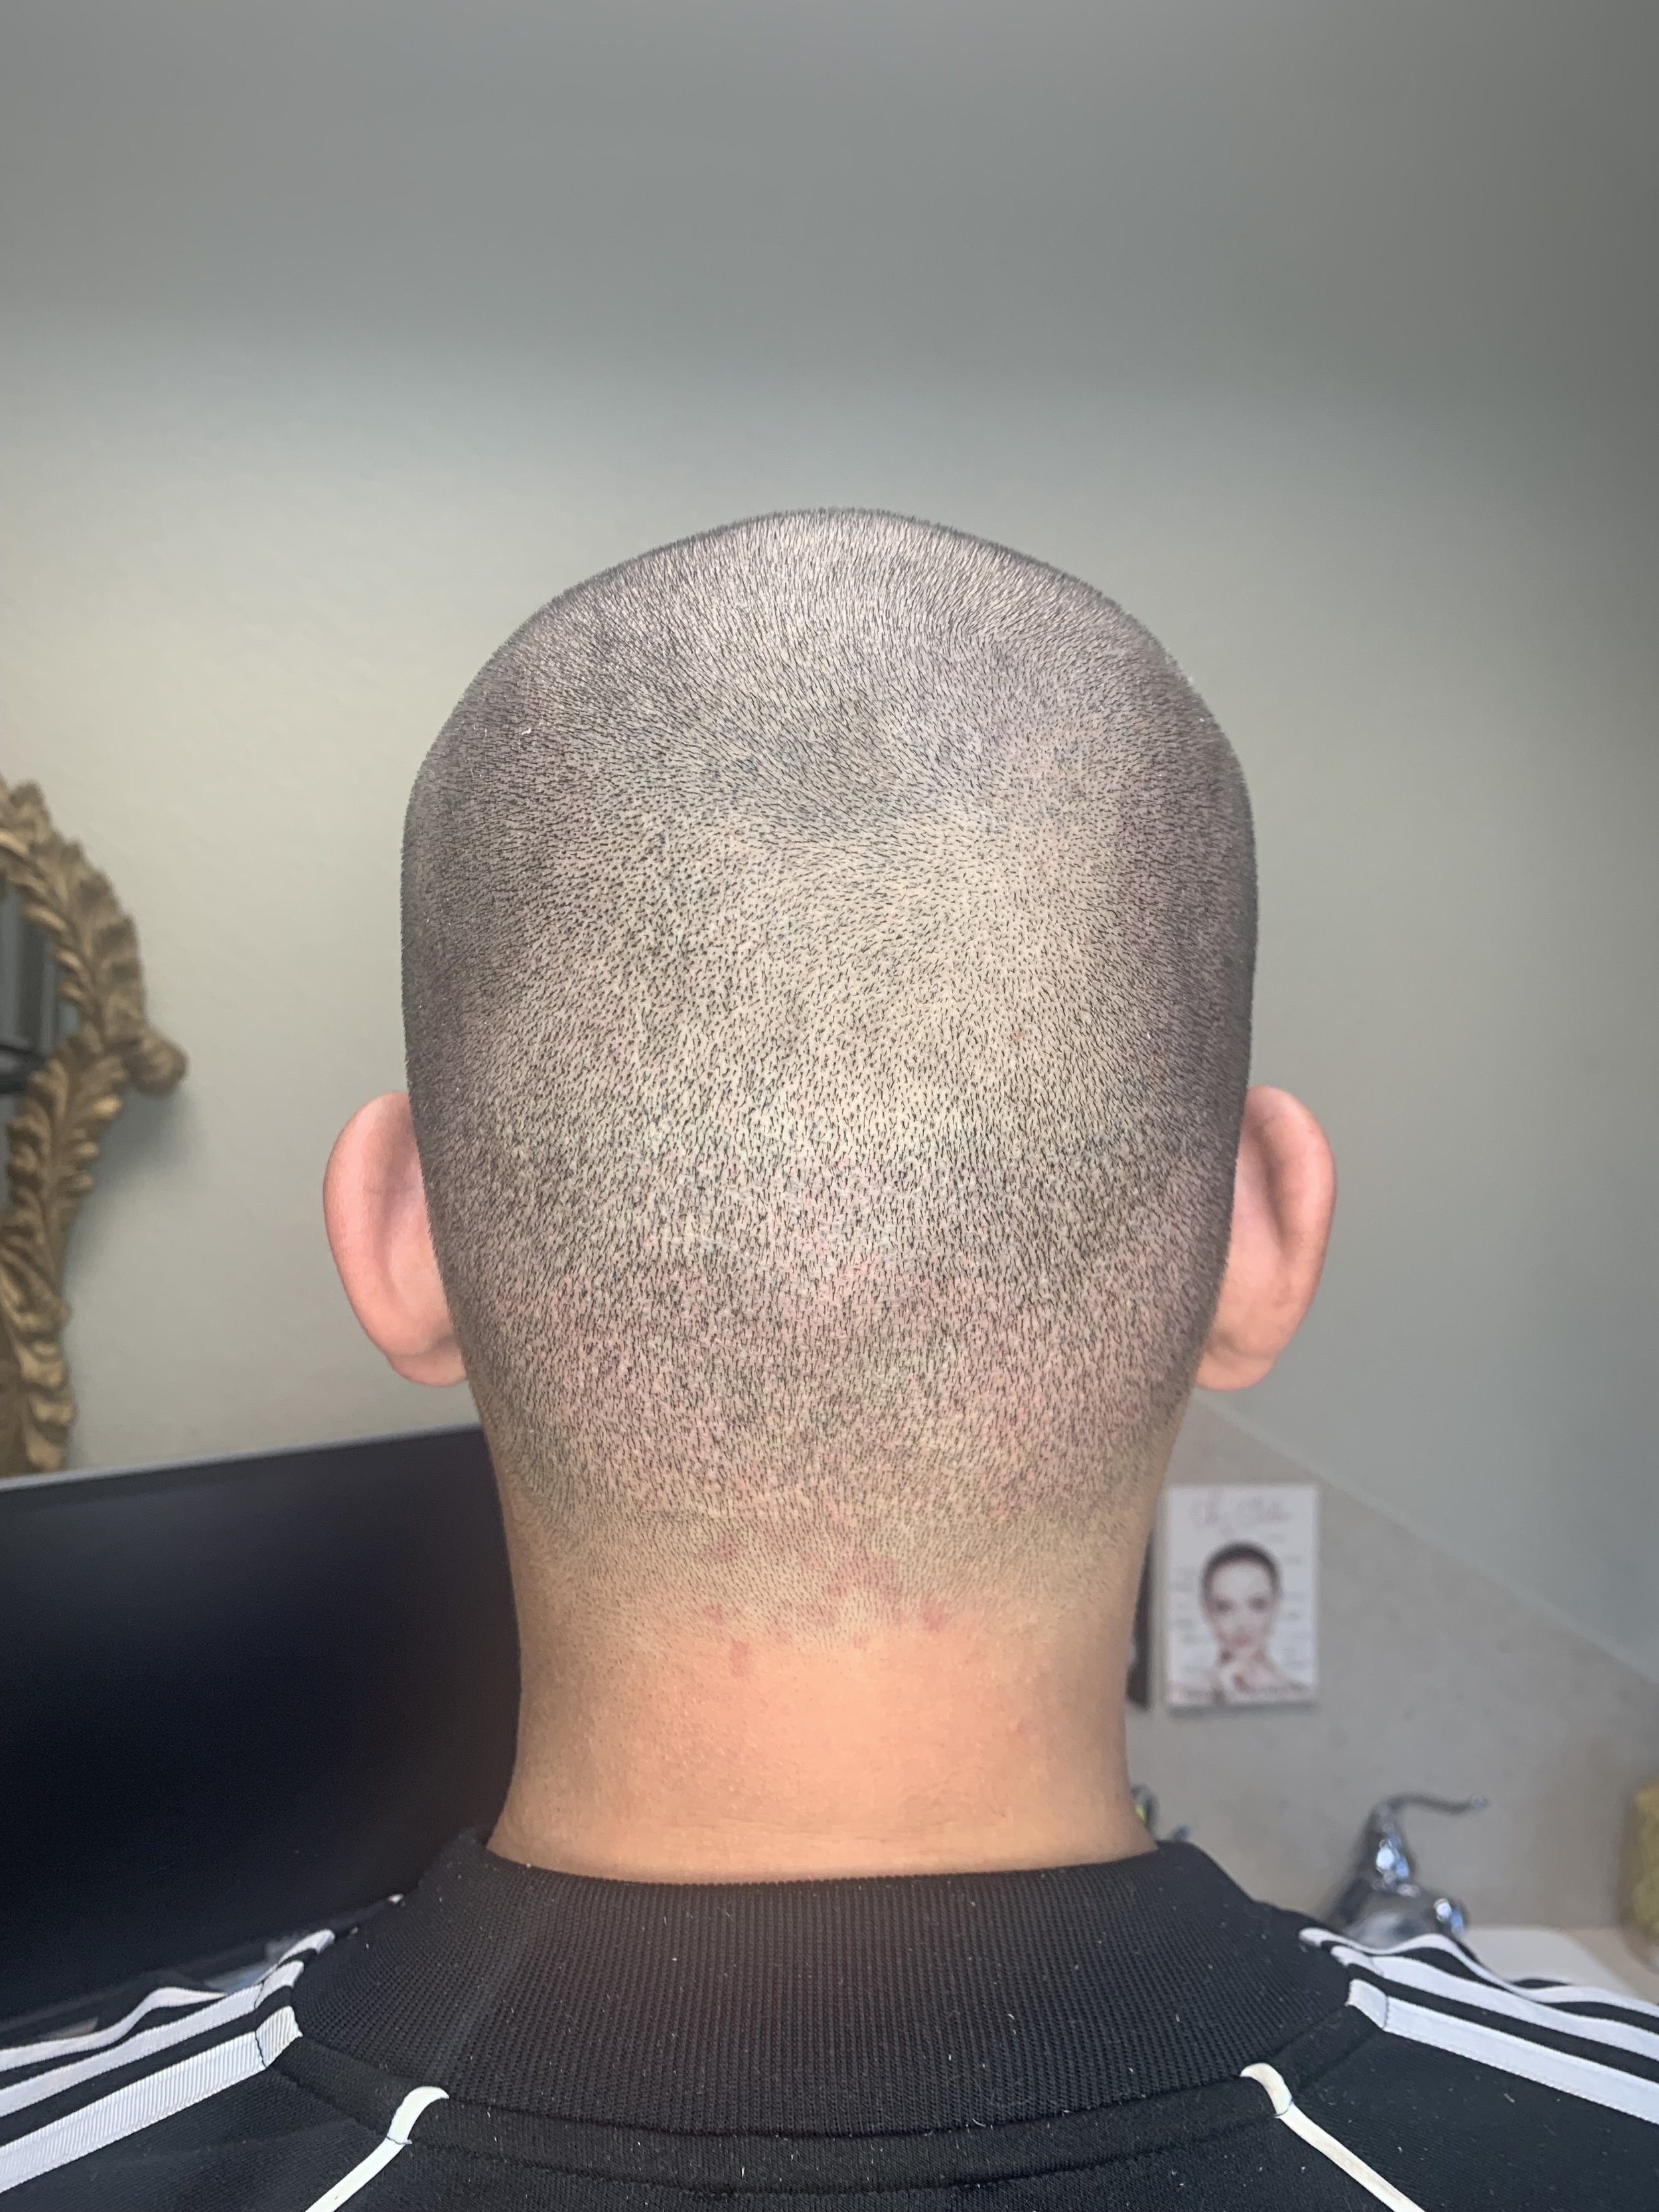
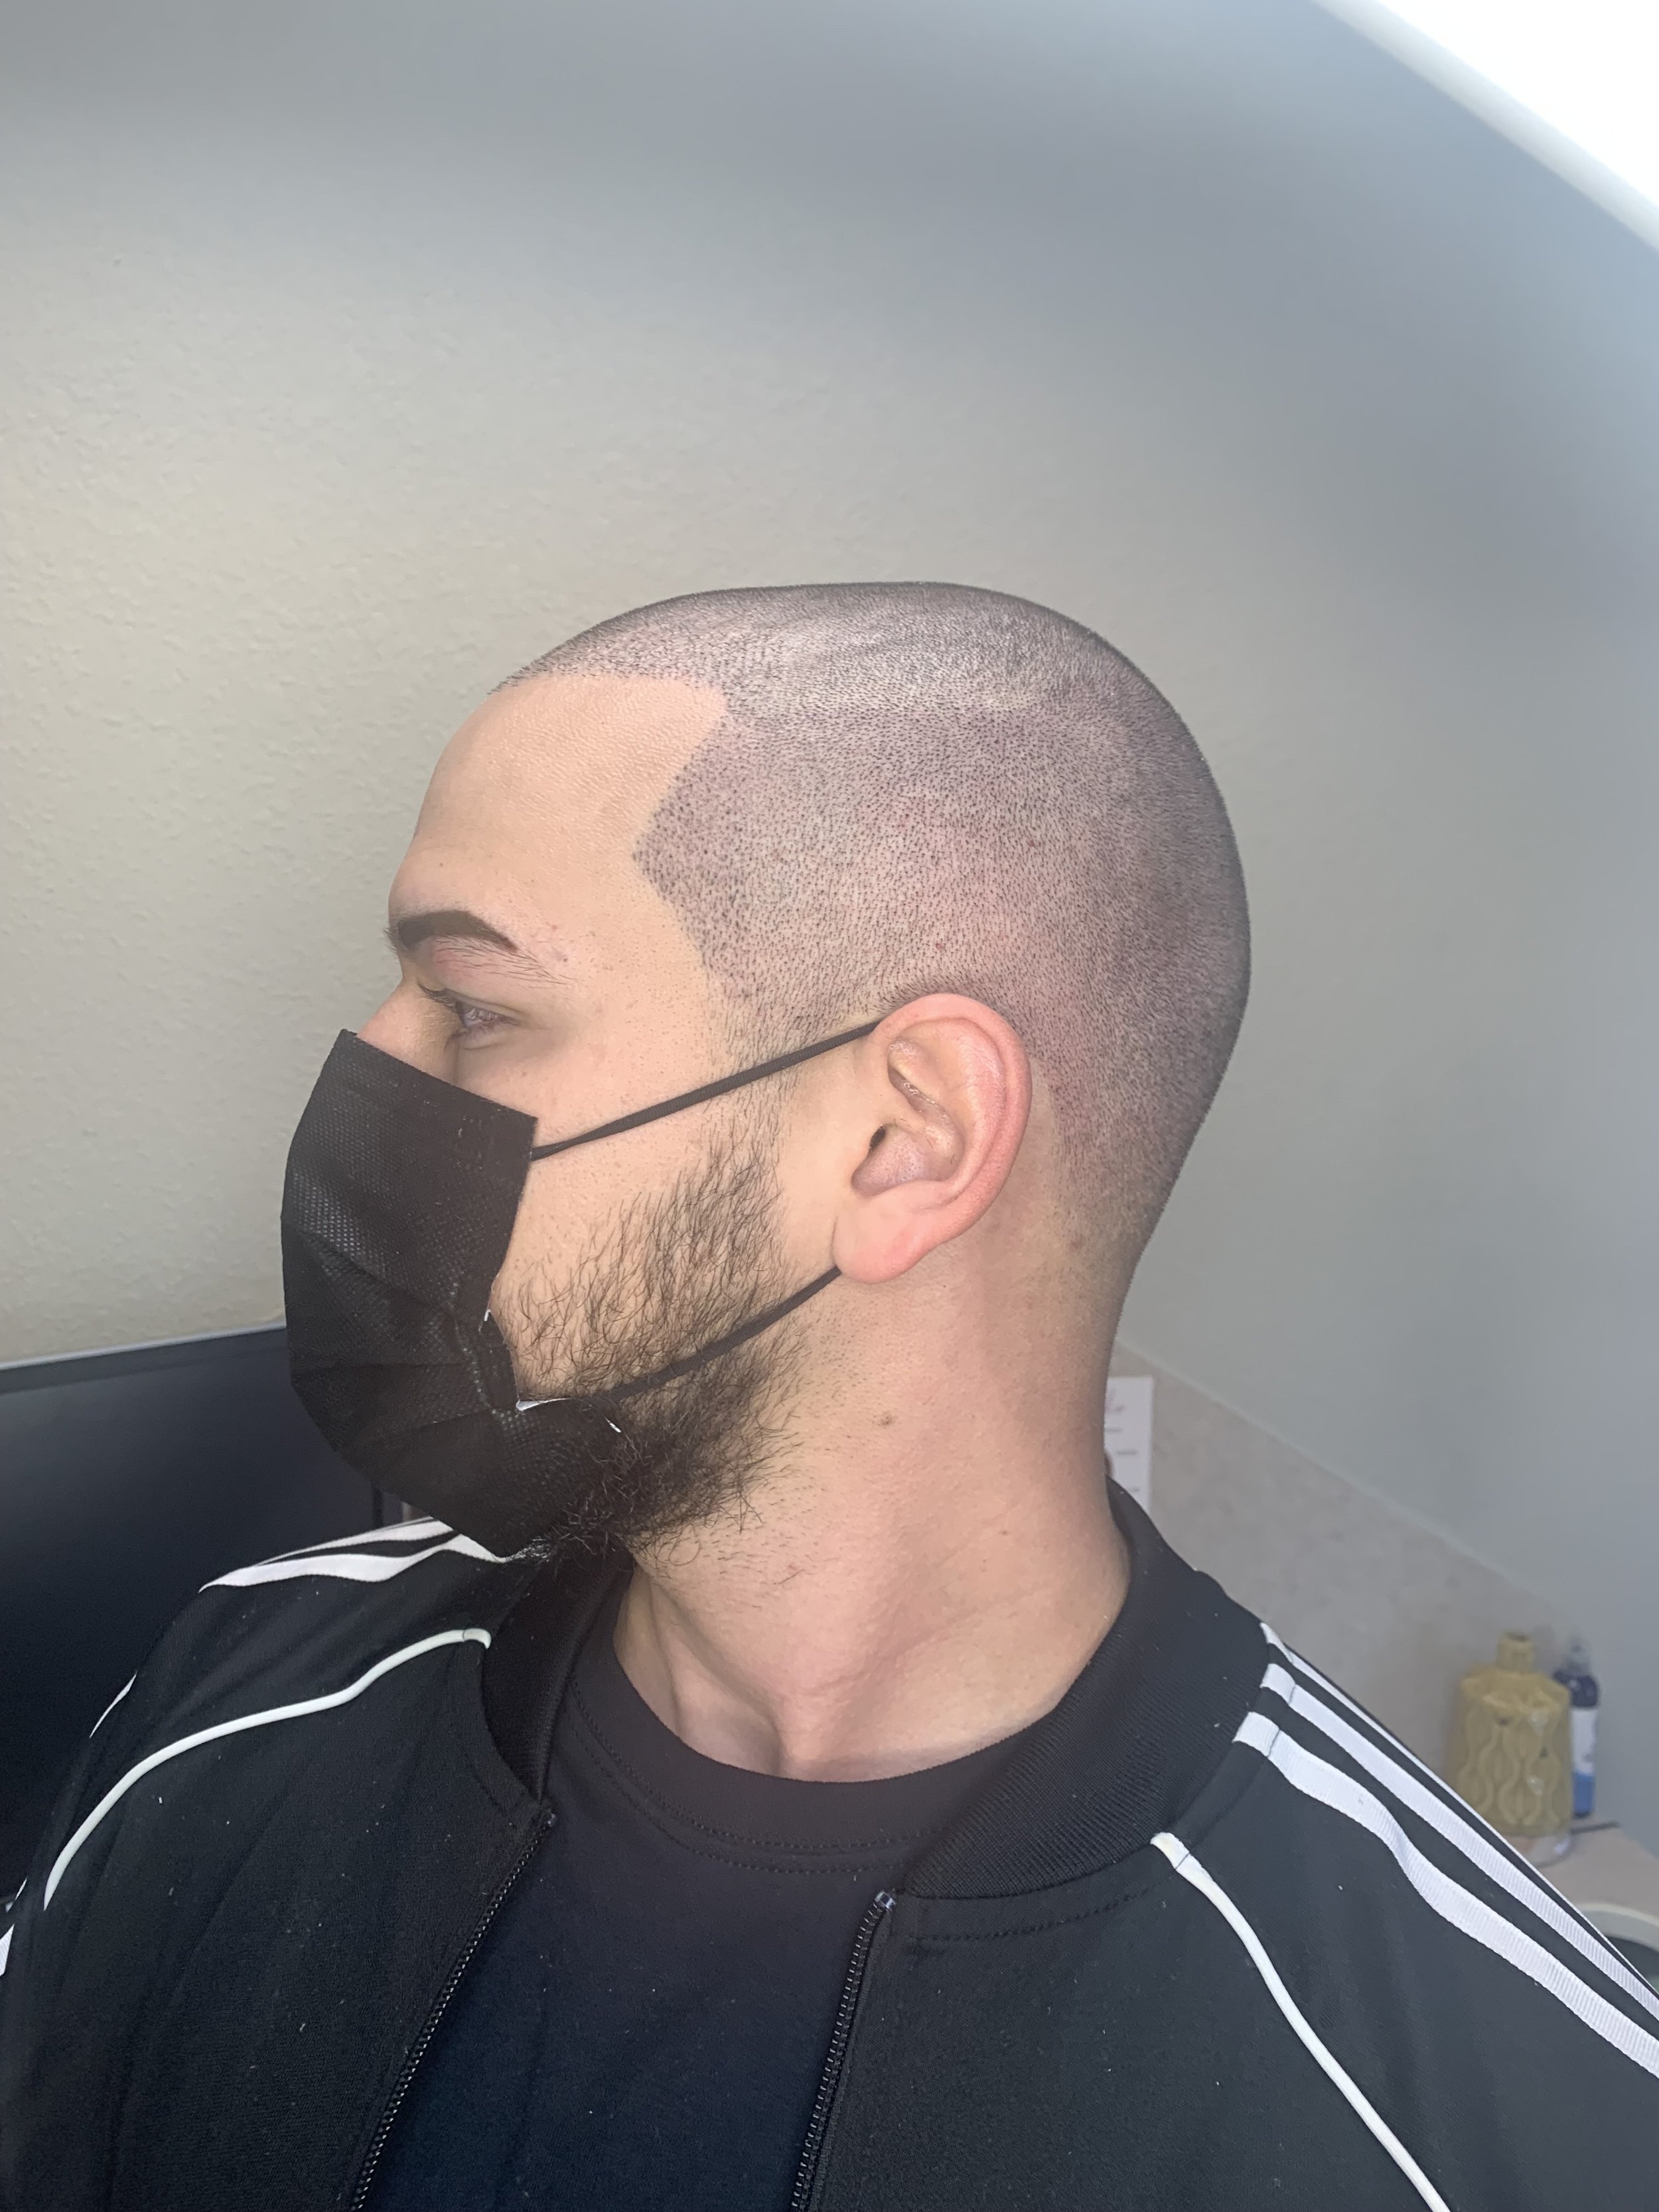
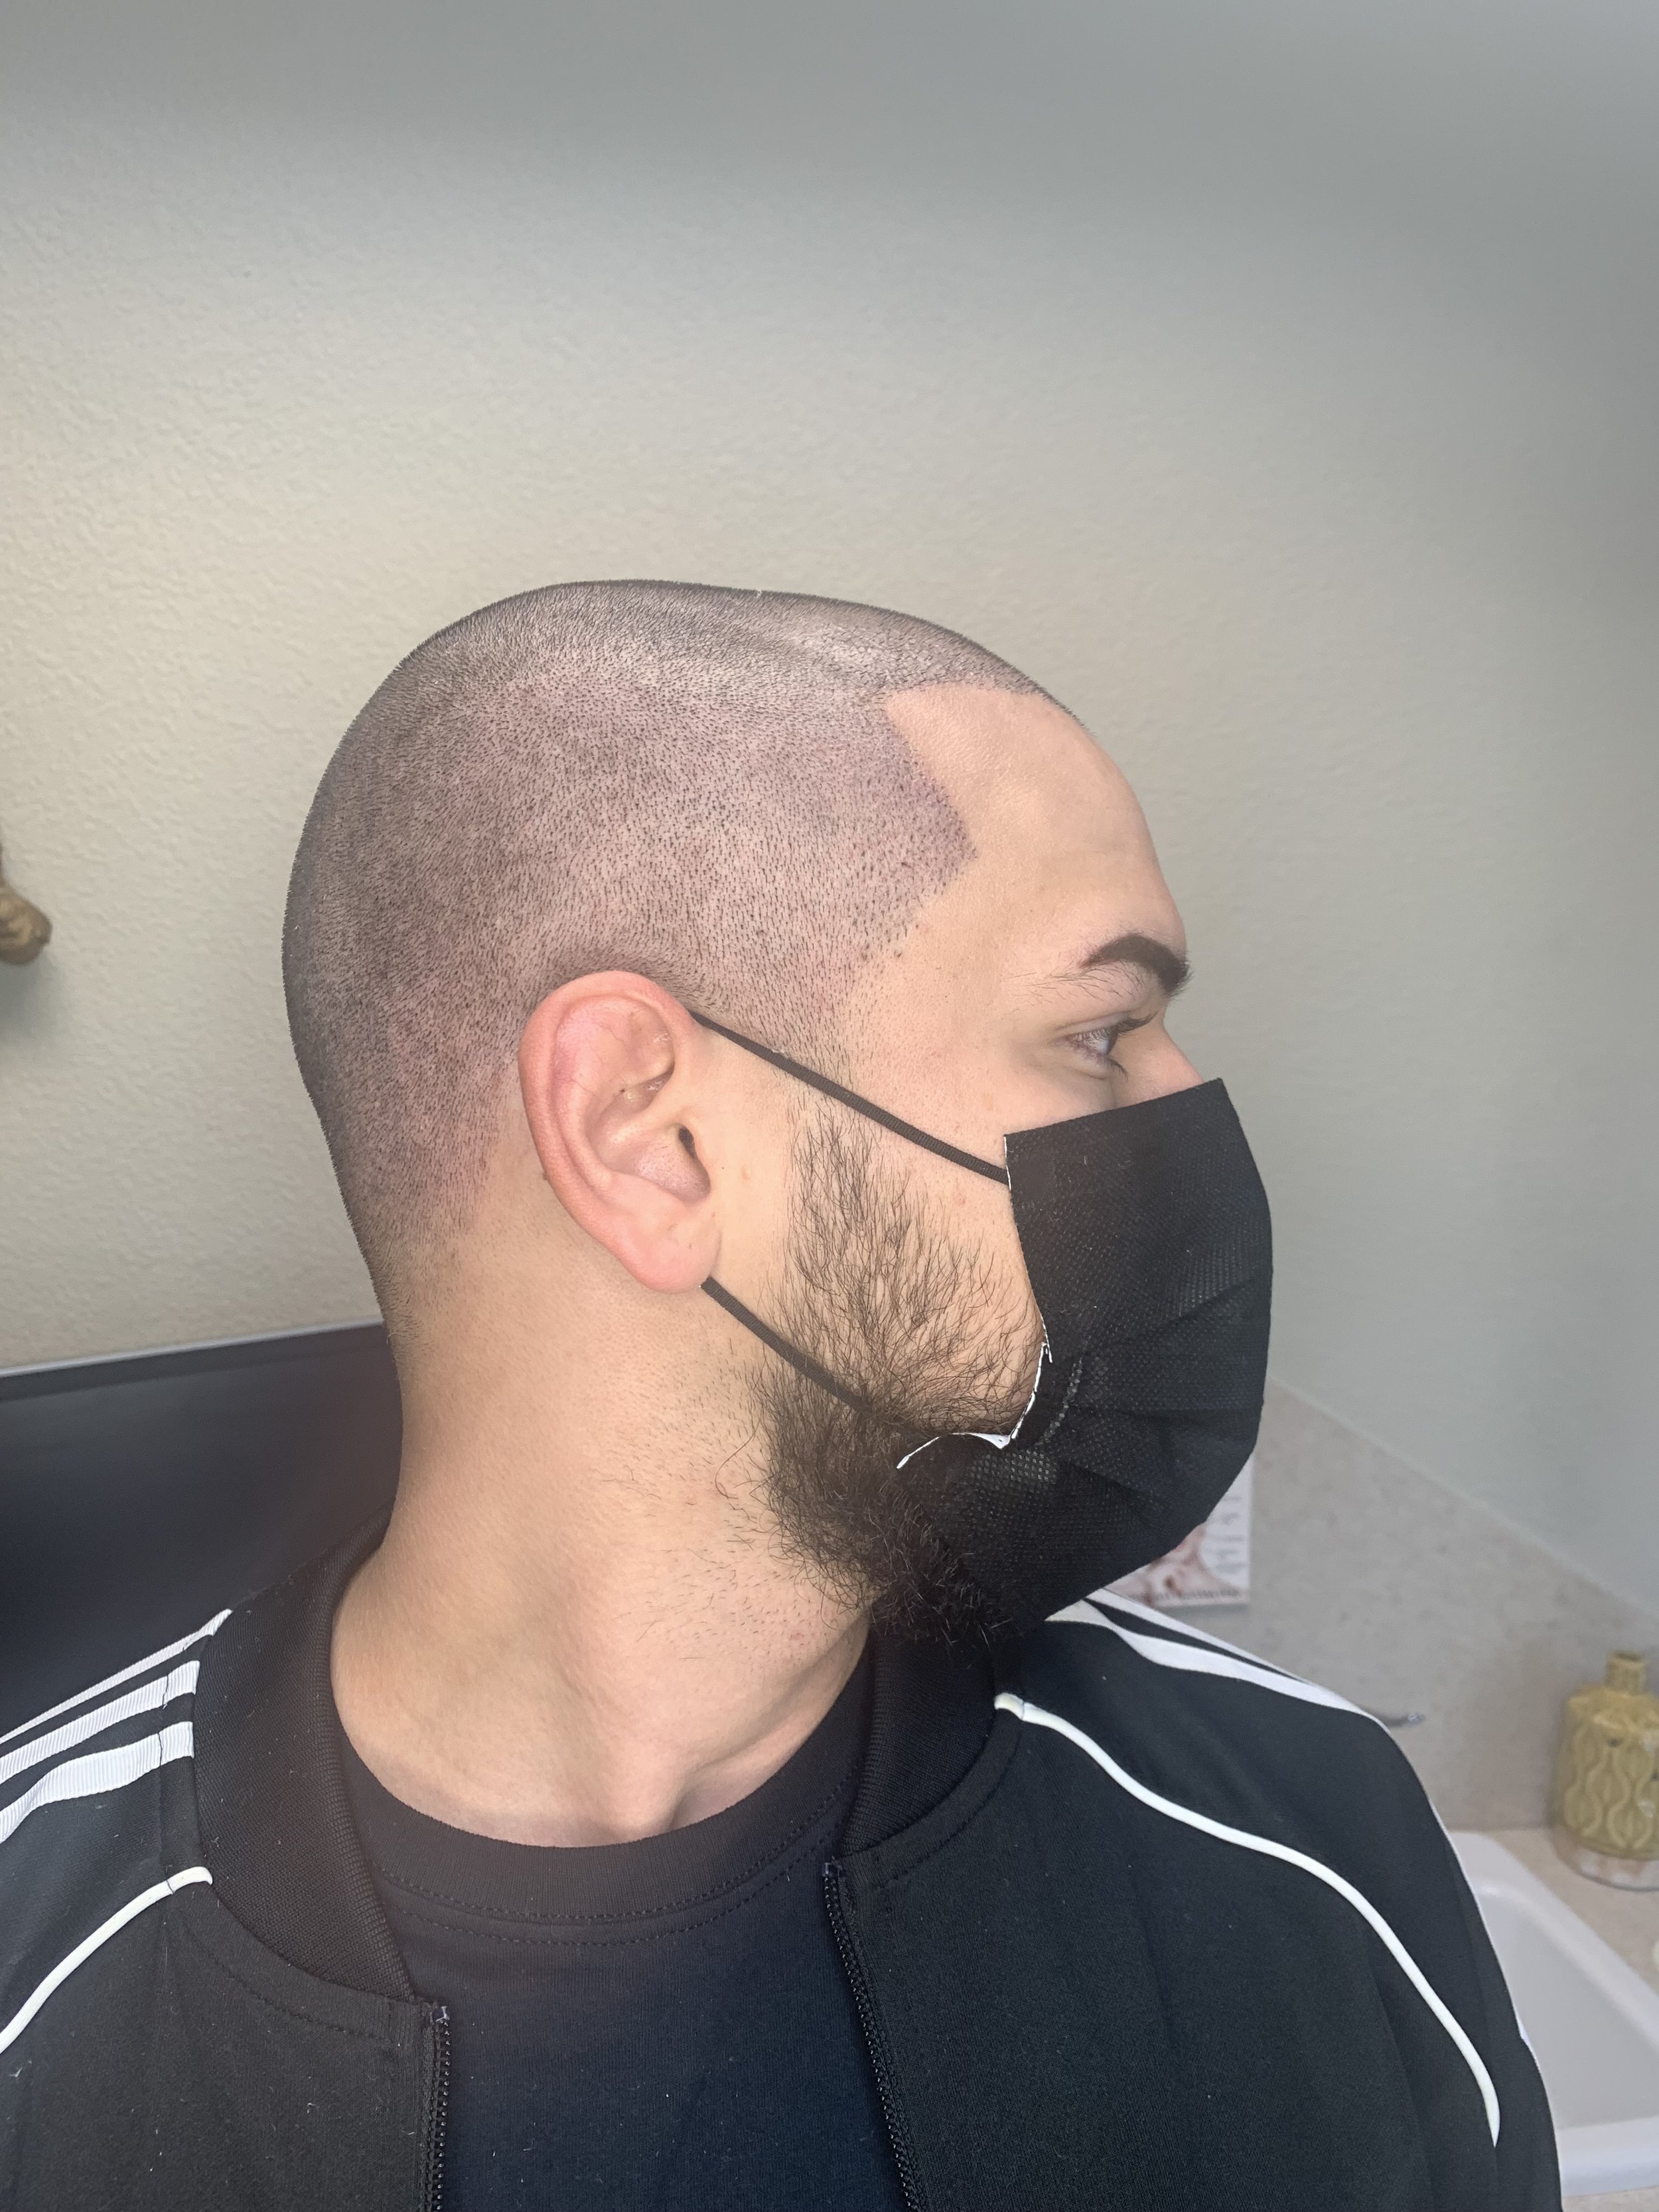
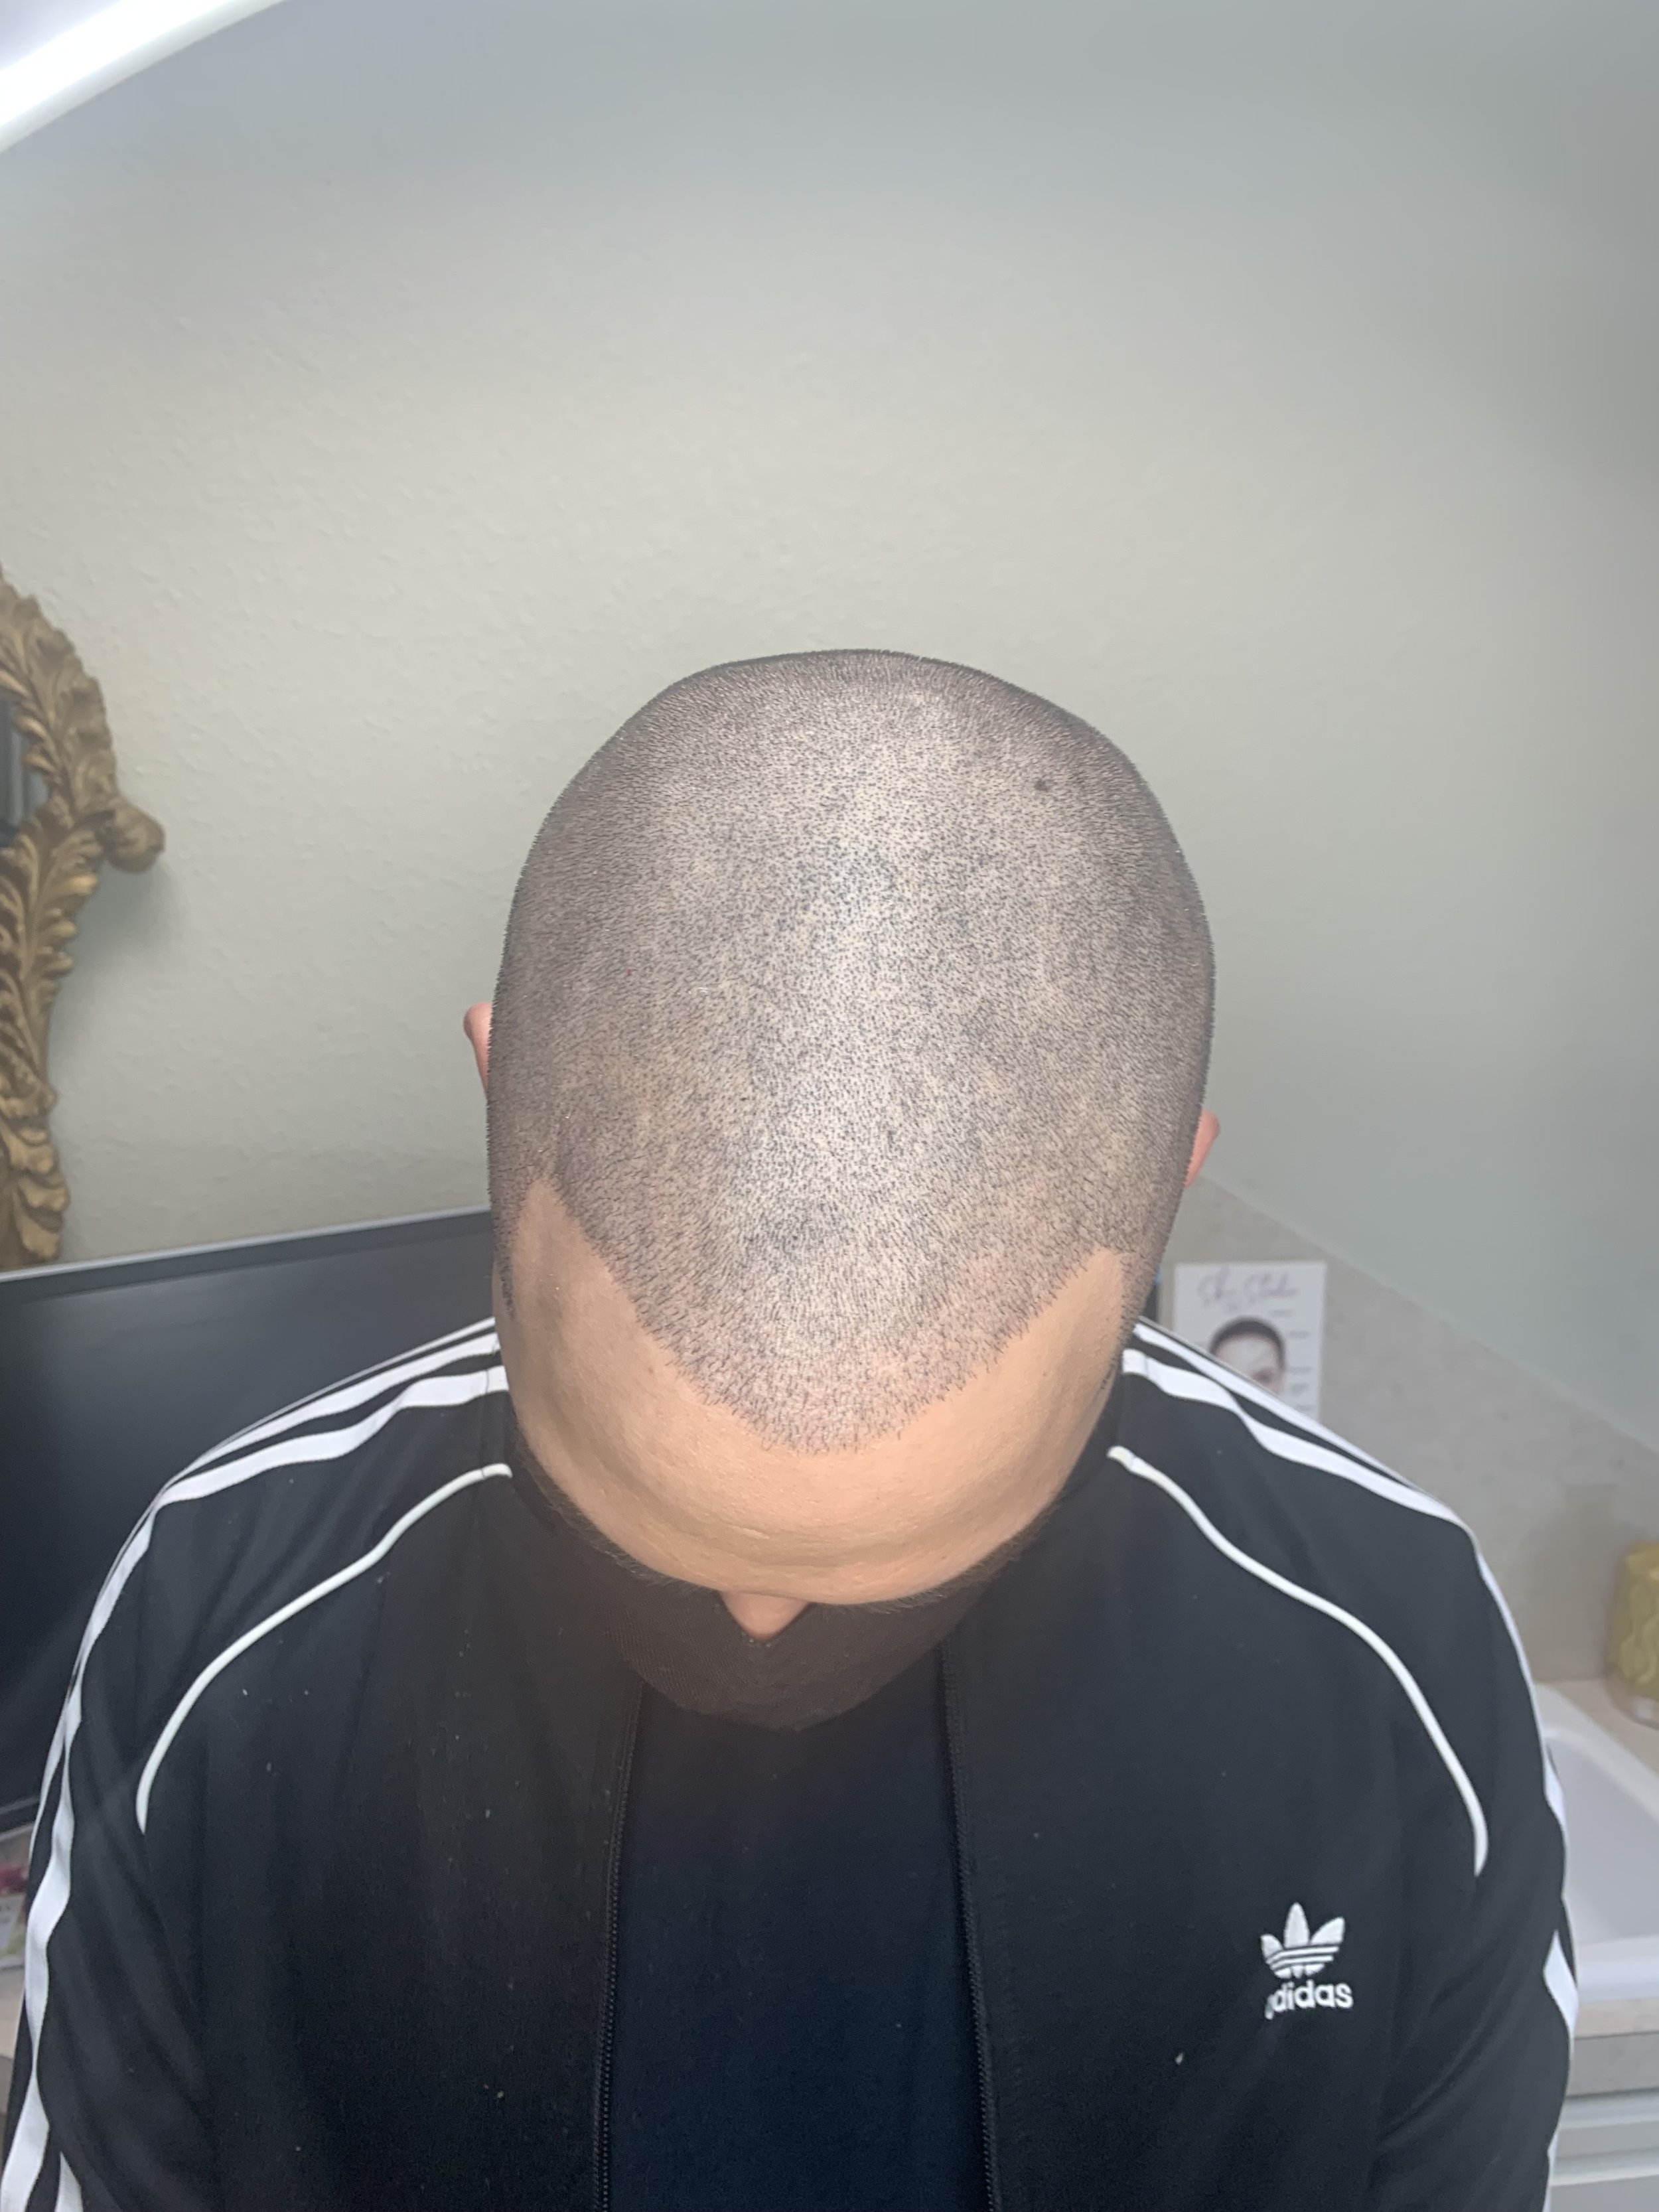
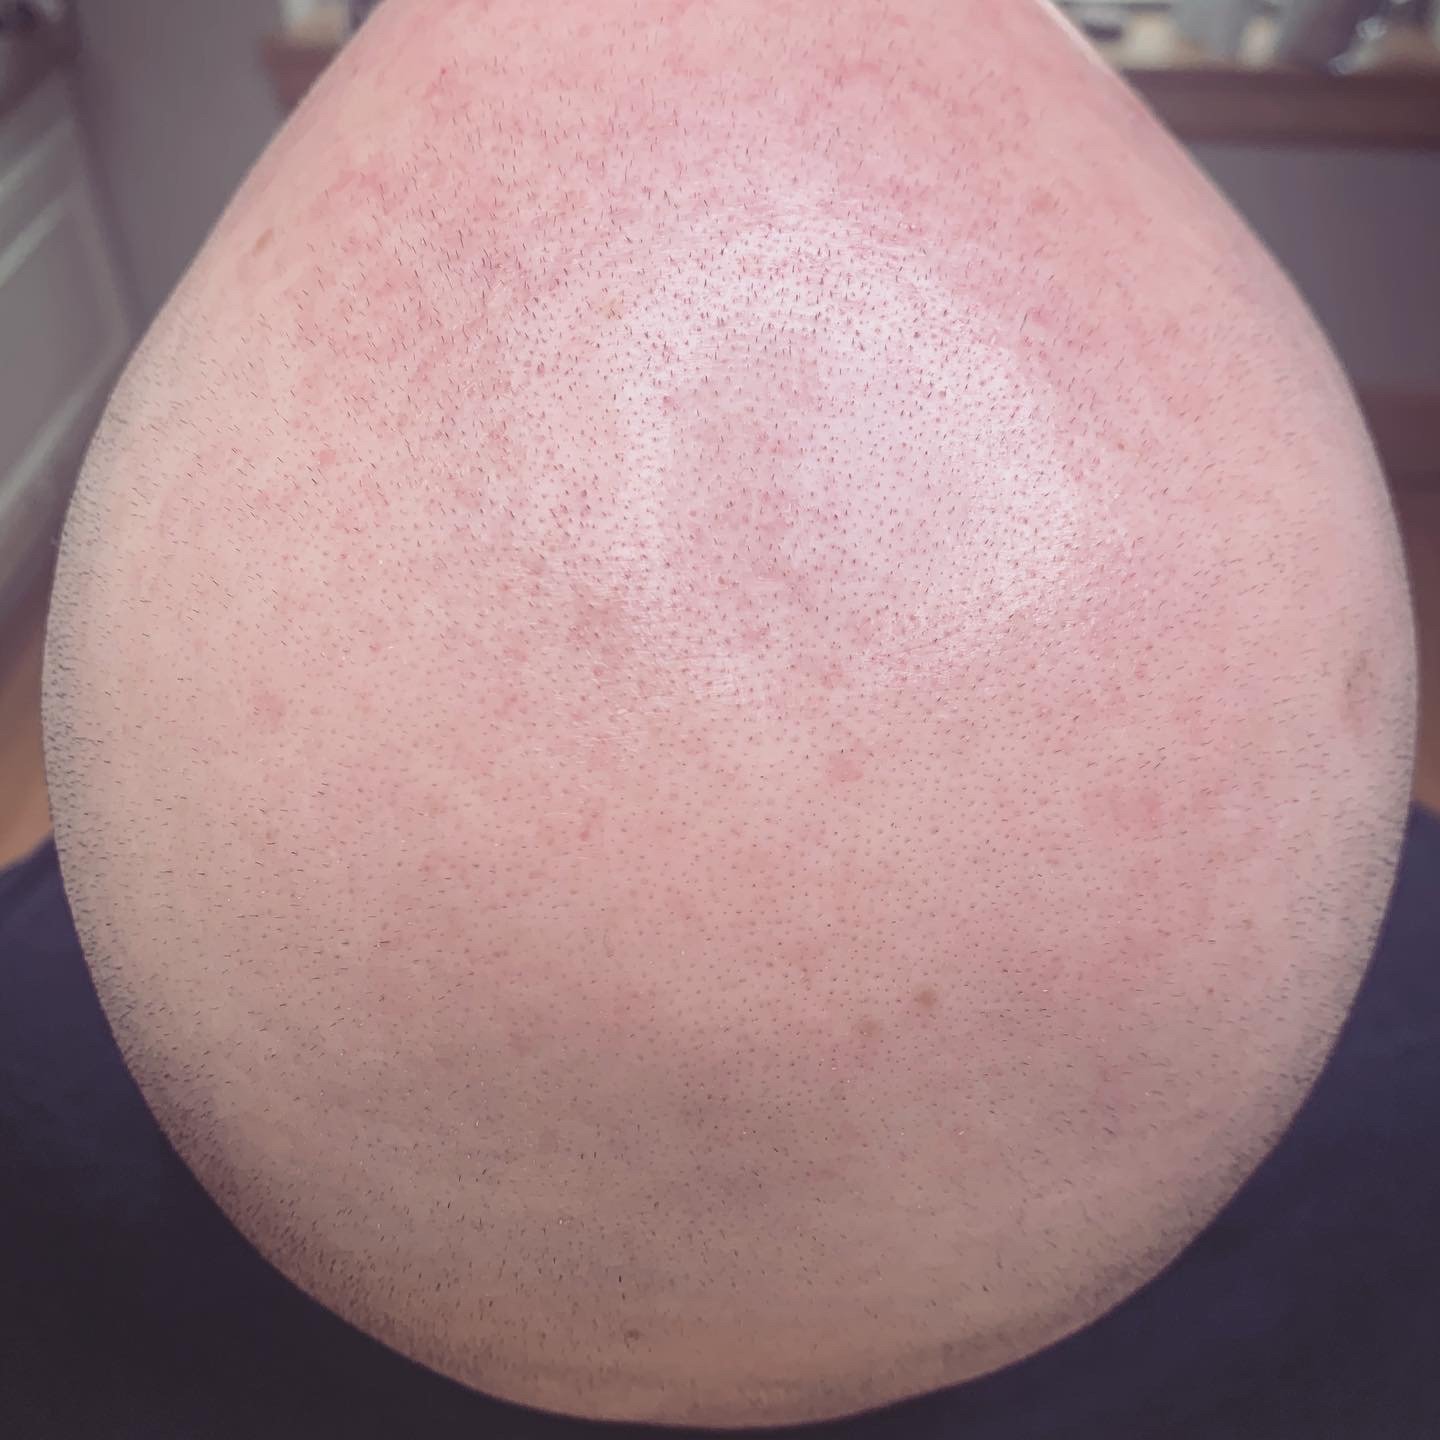
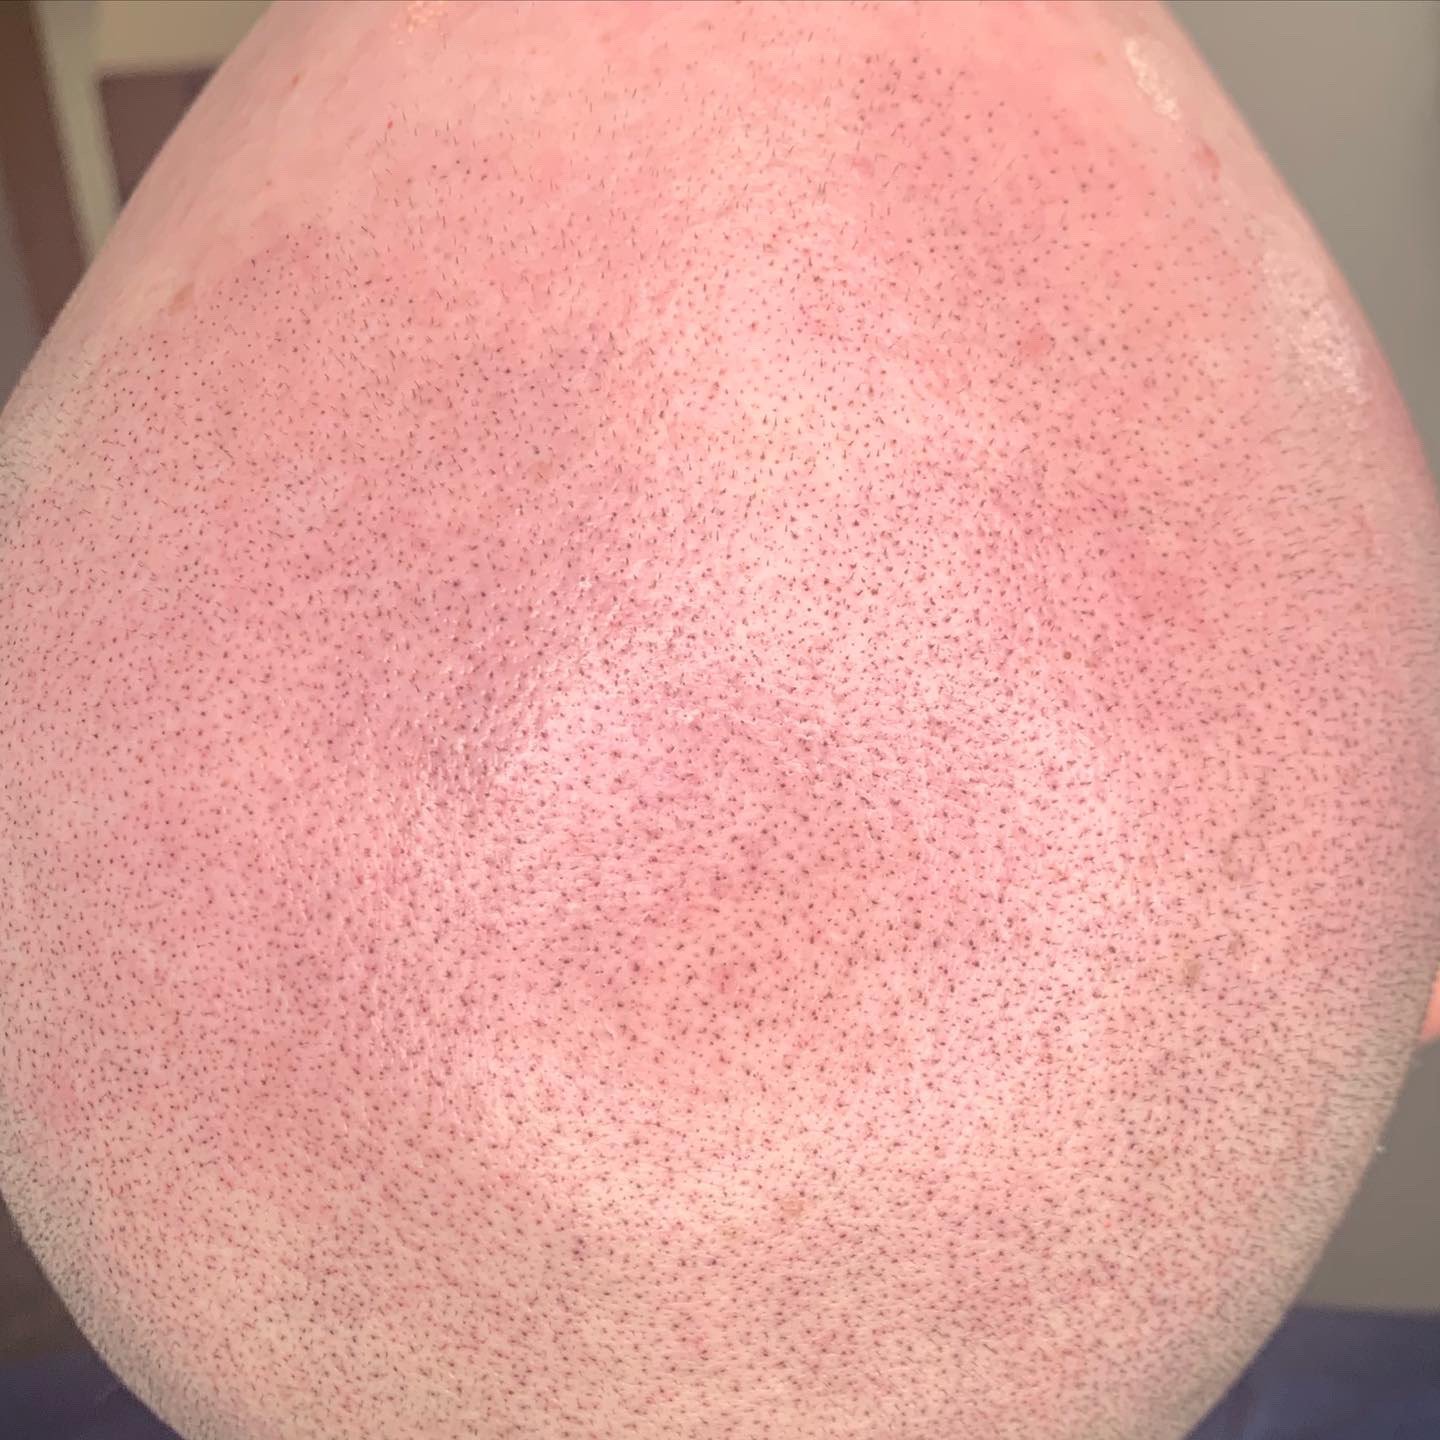
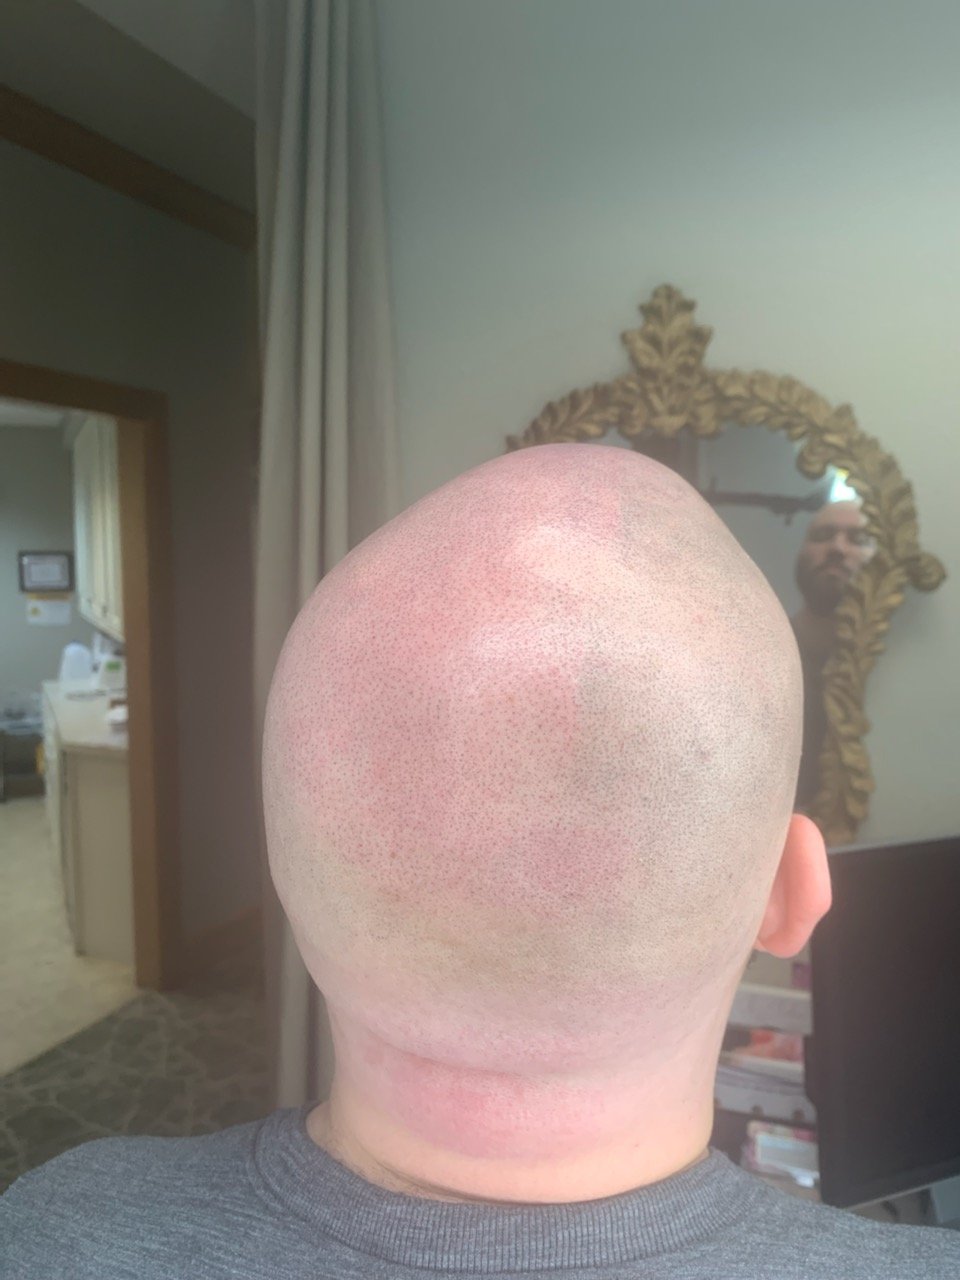
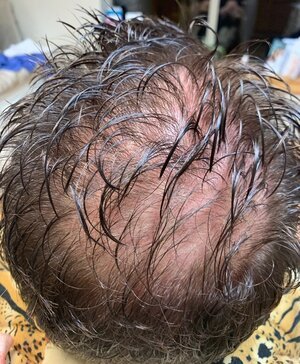
Scalp Tattoo SMP


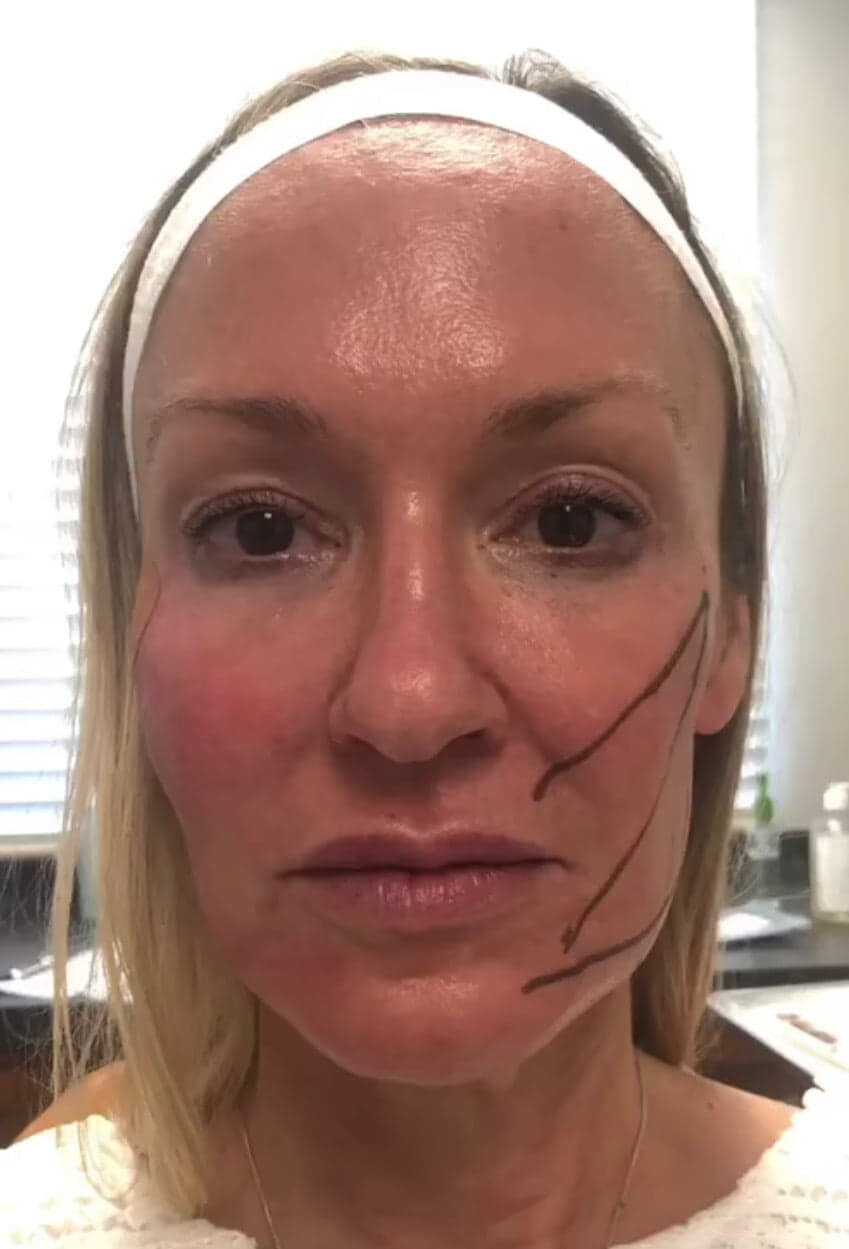
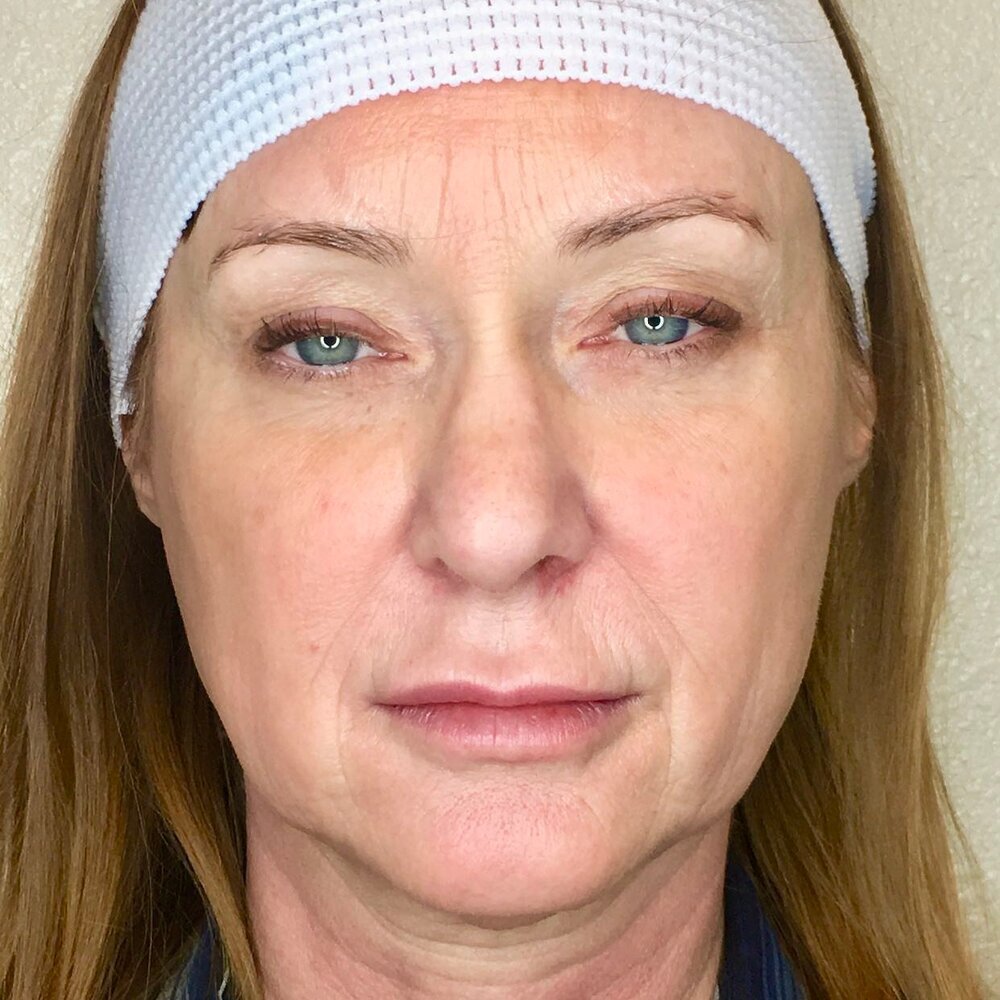
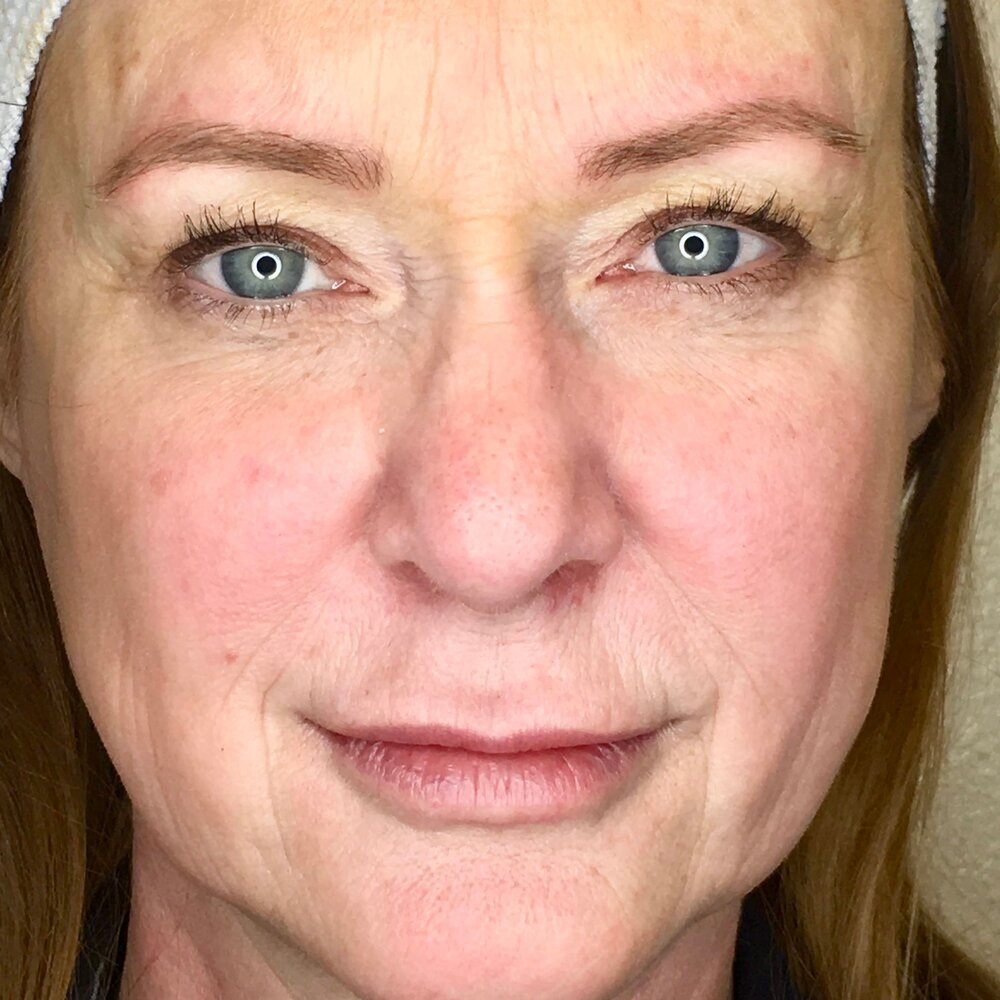
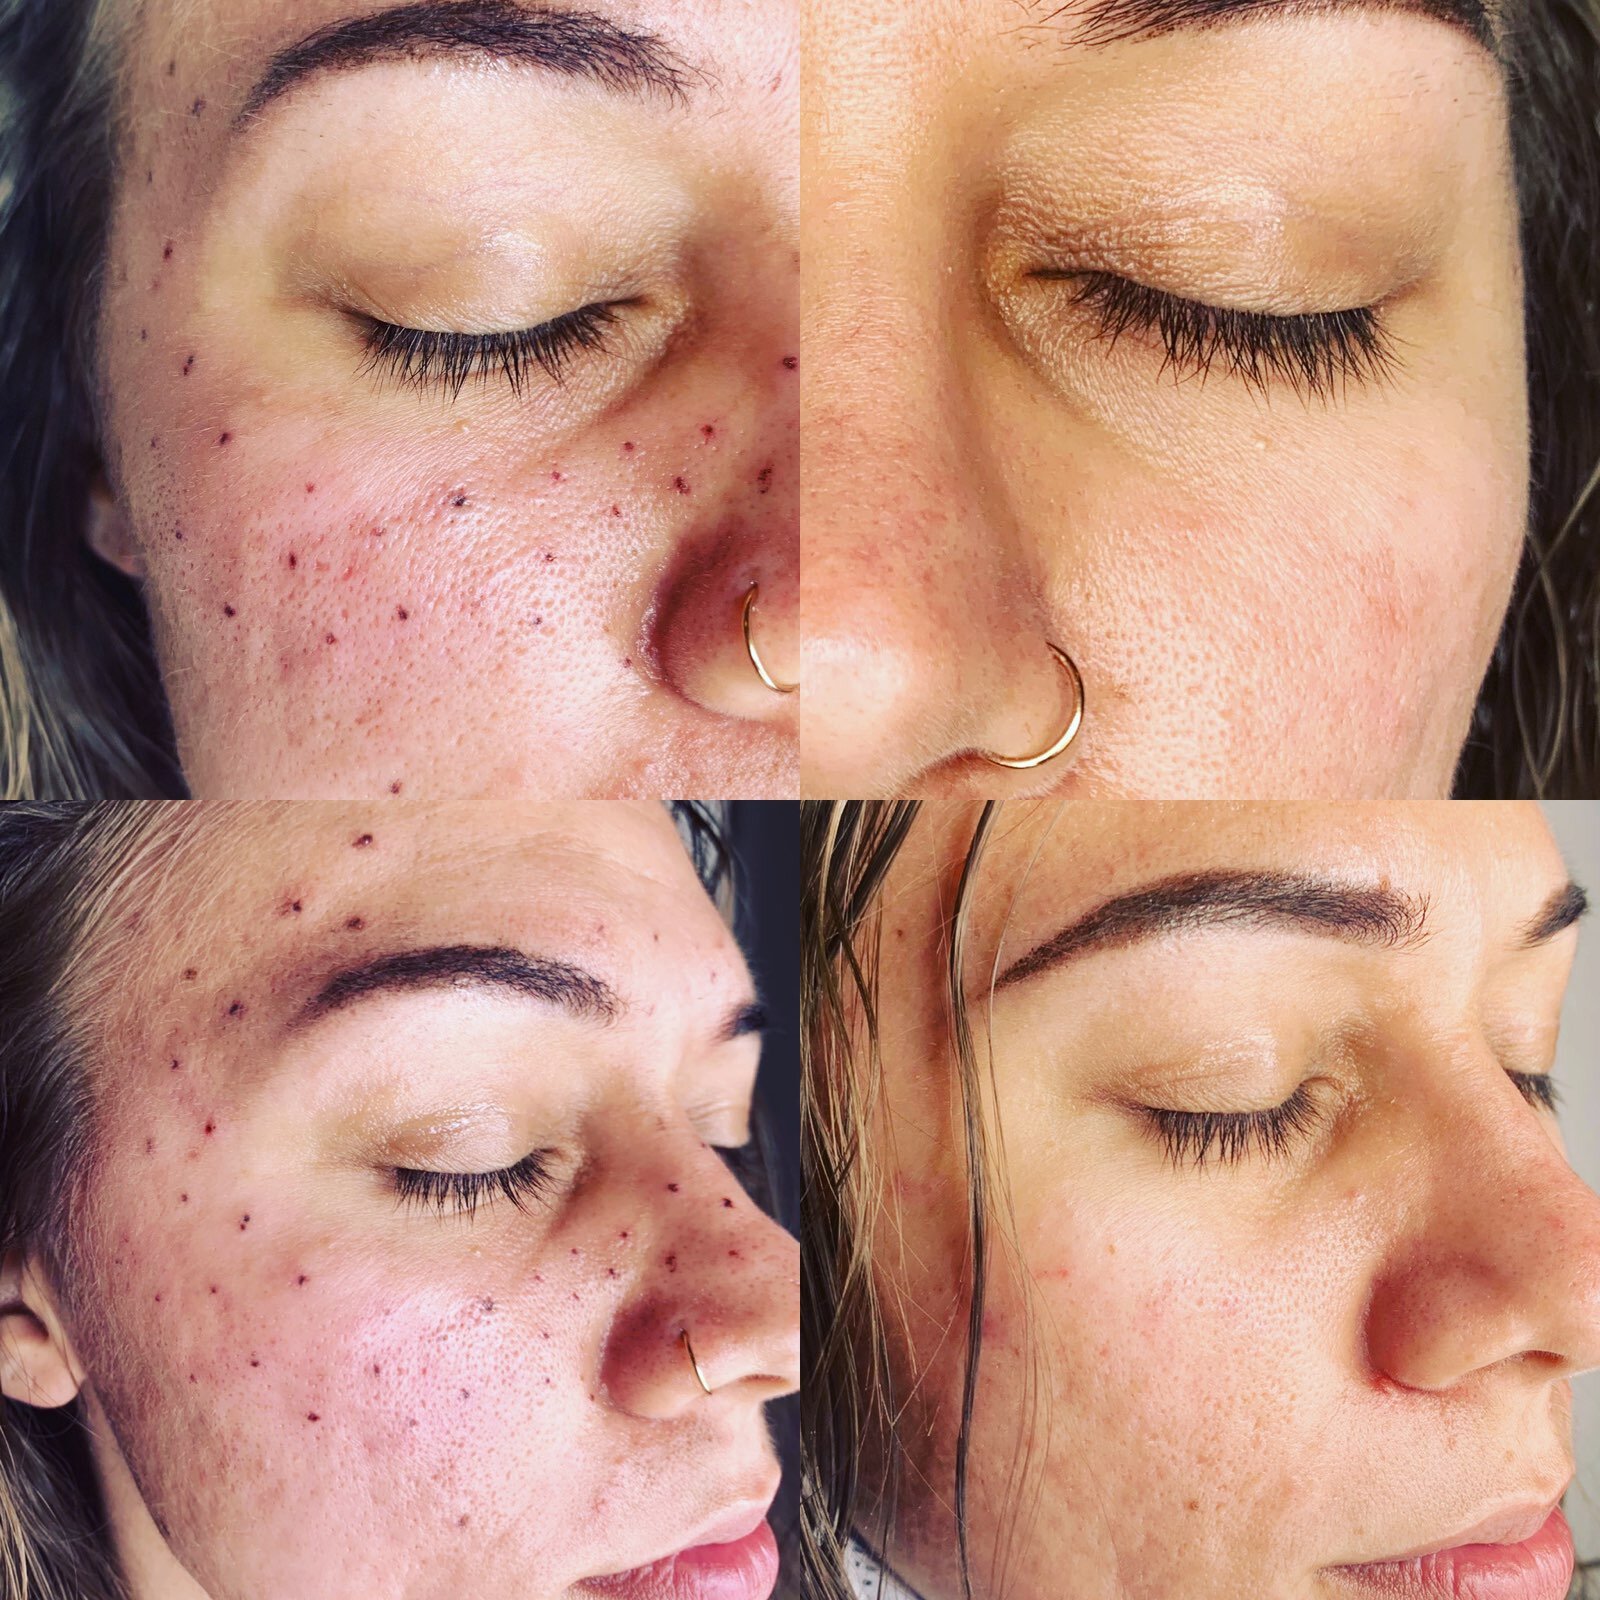
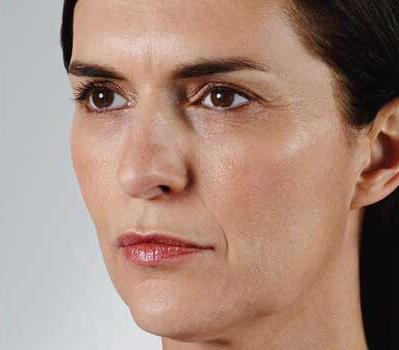
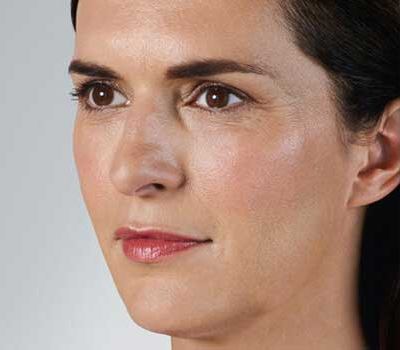
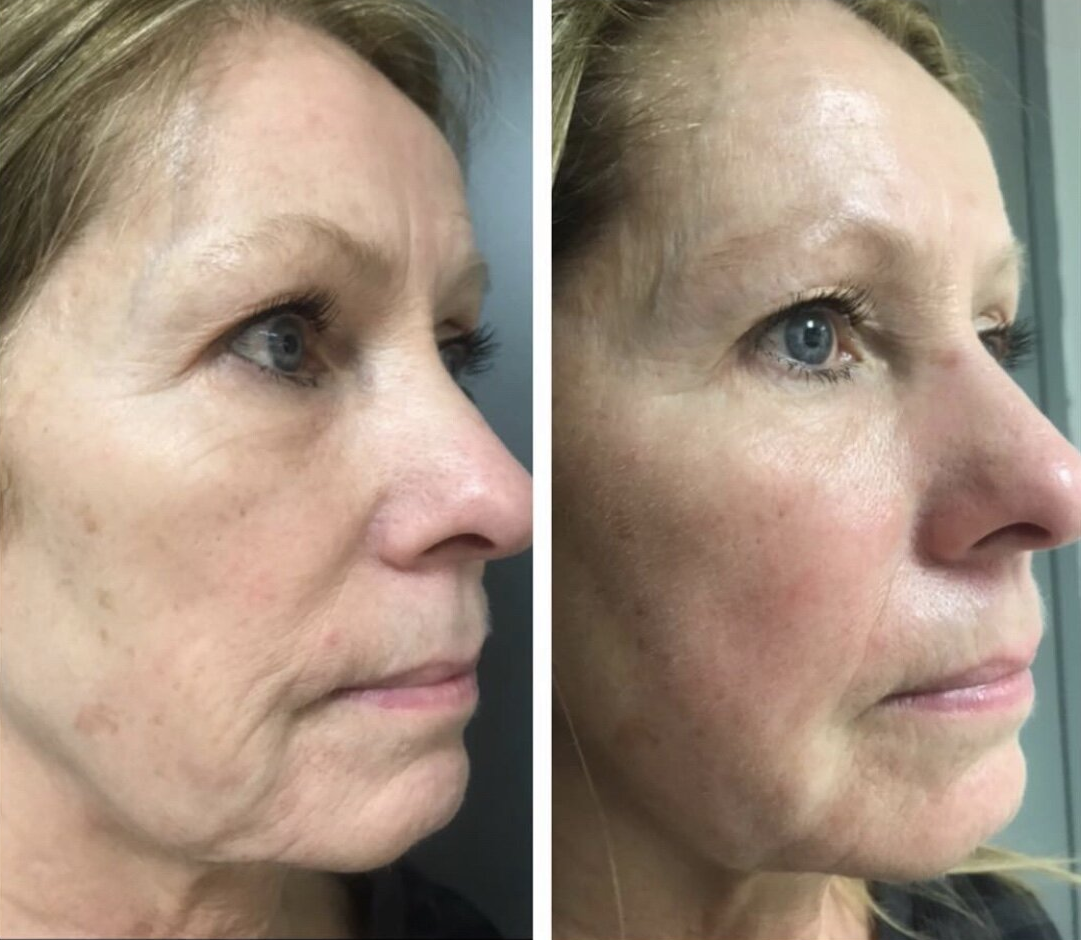
Prx-T33

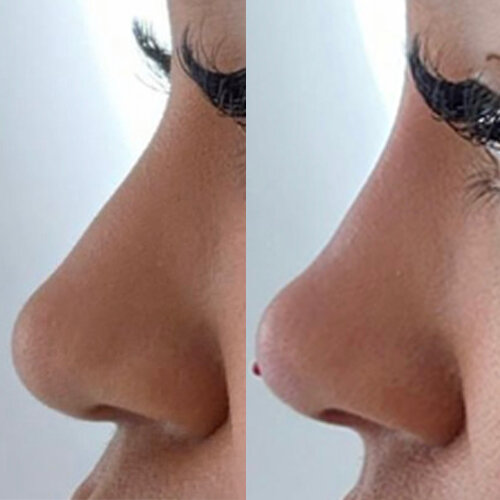
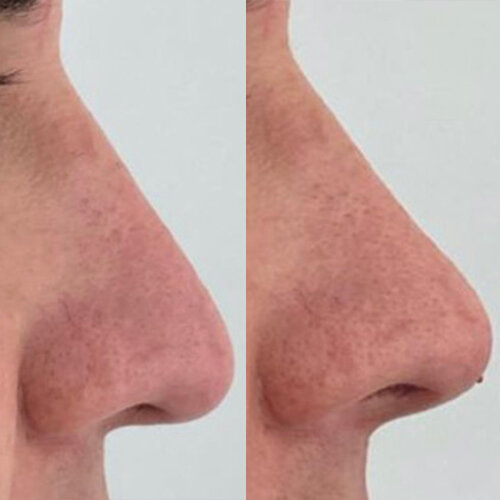
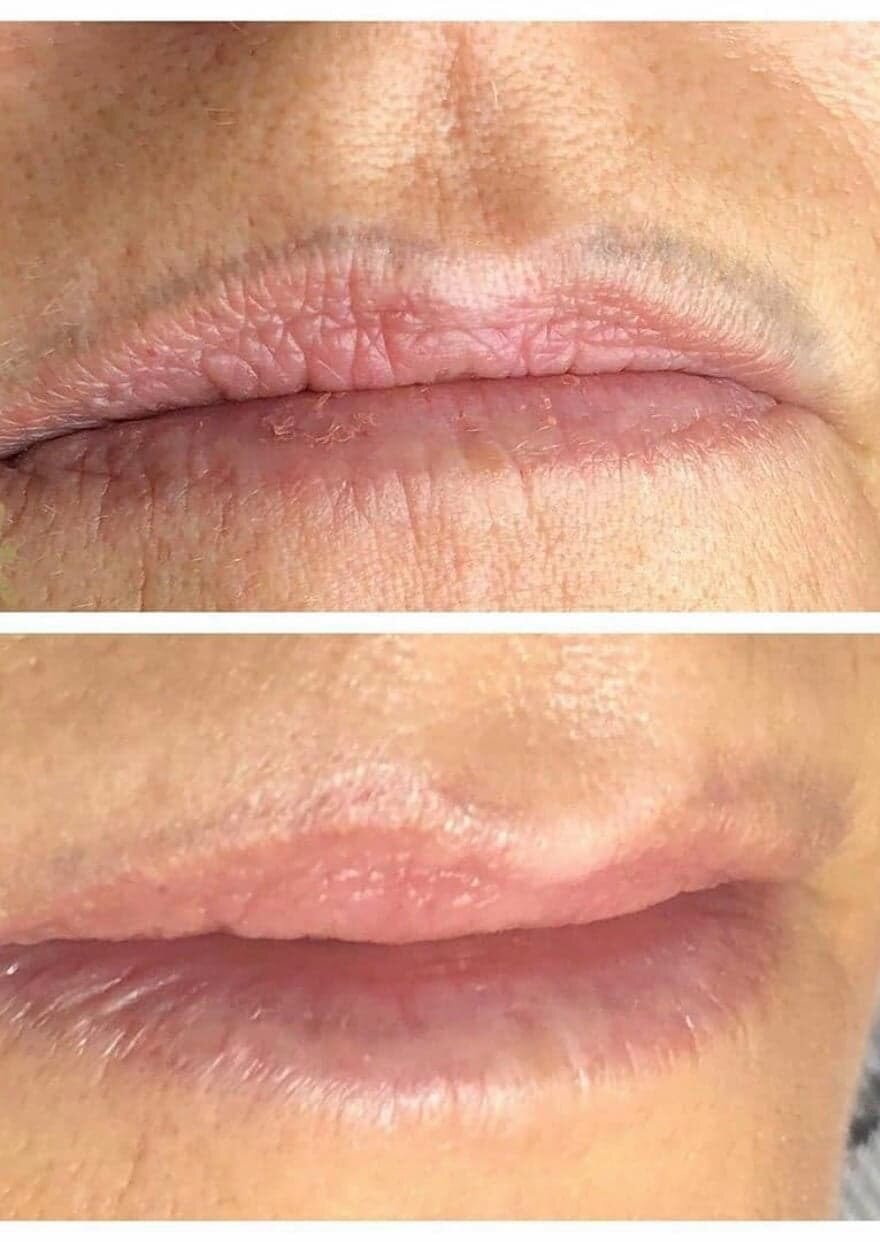
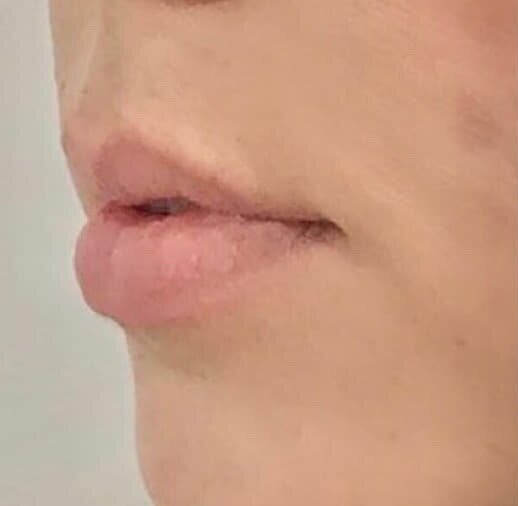
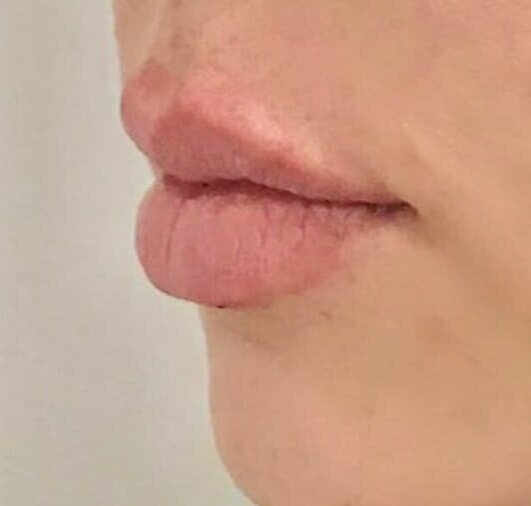
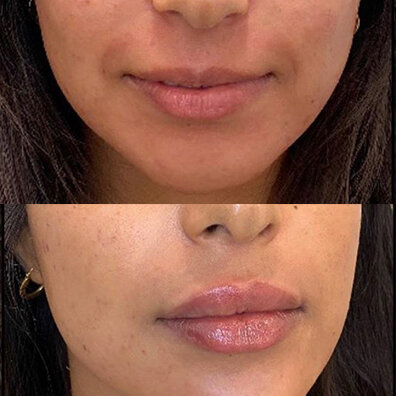
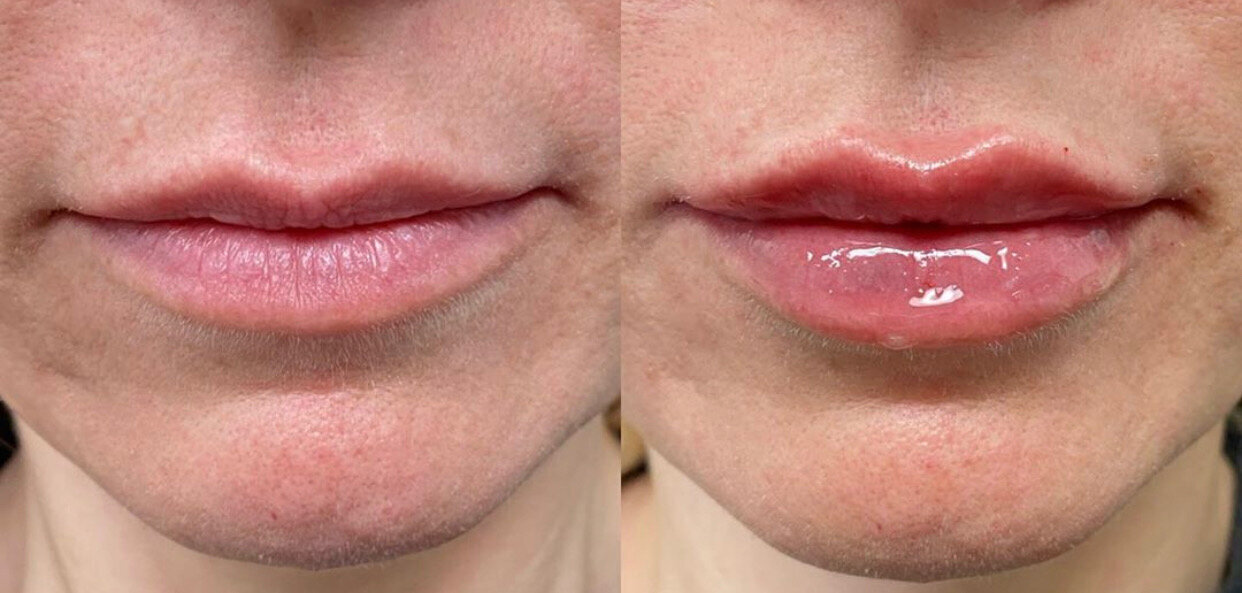
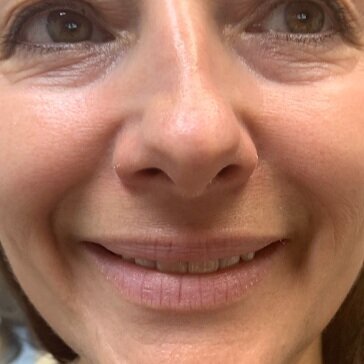
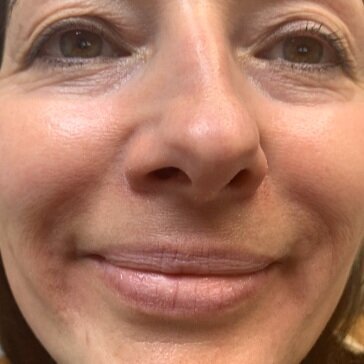
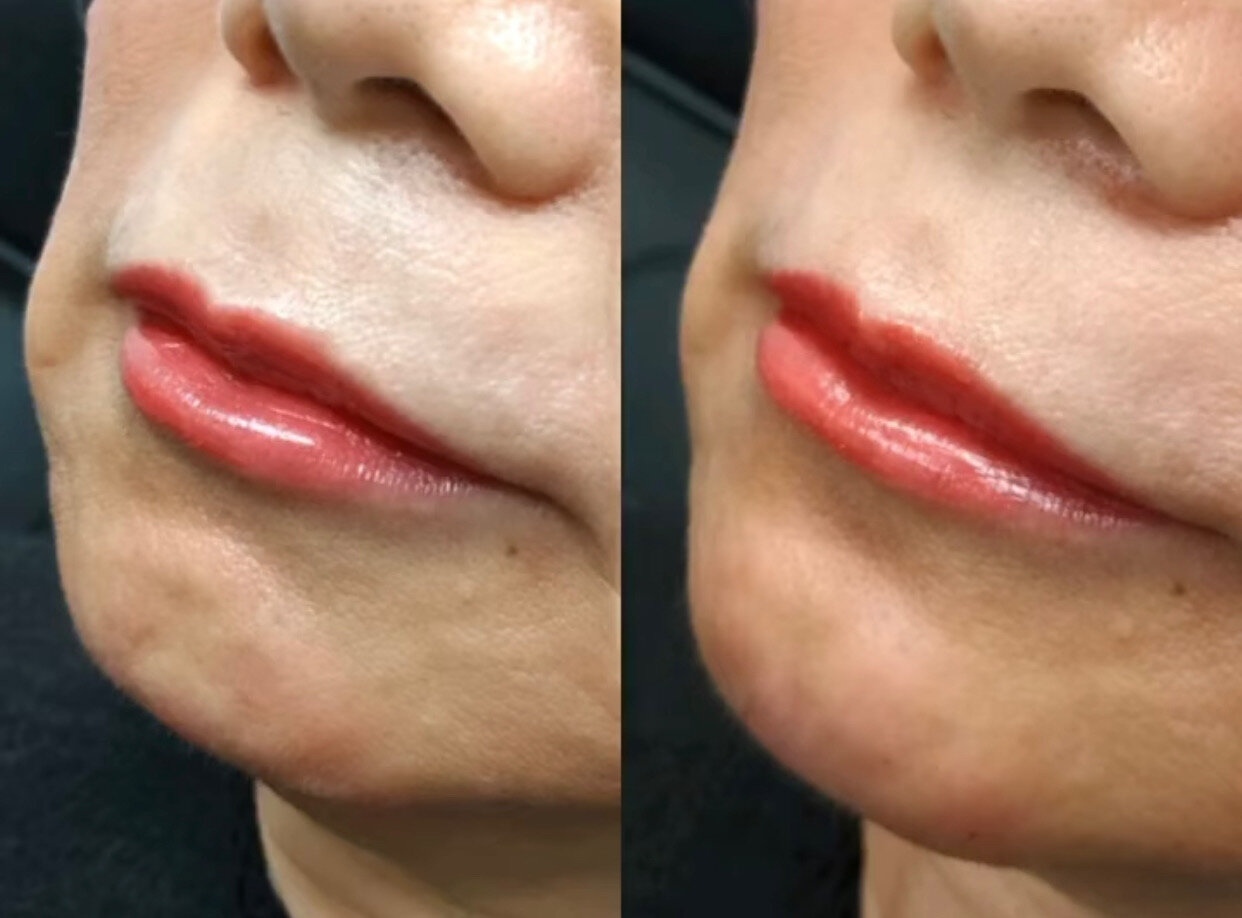
Dermal Fillers


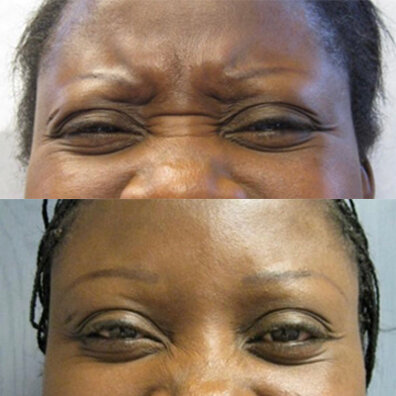
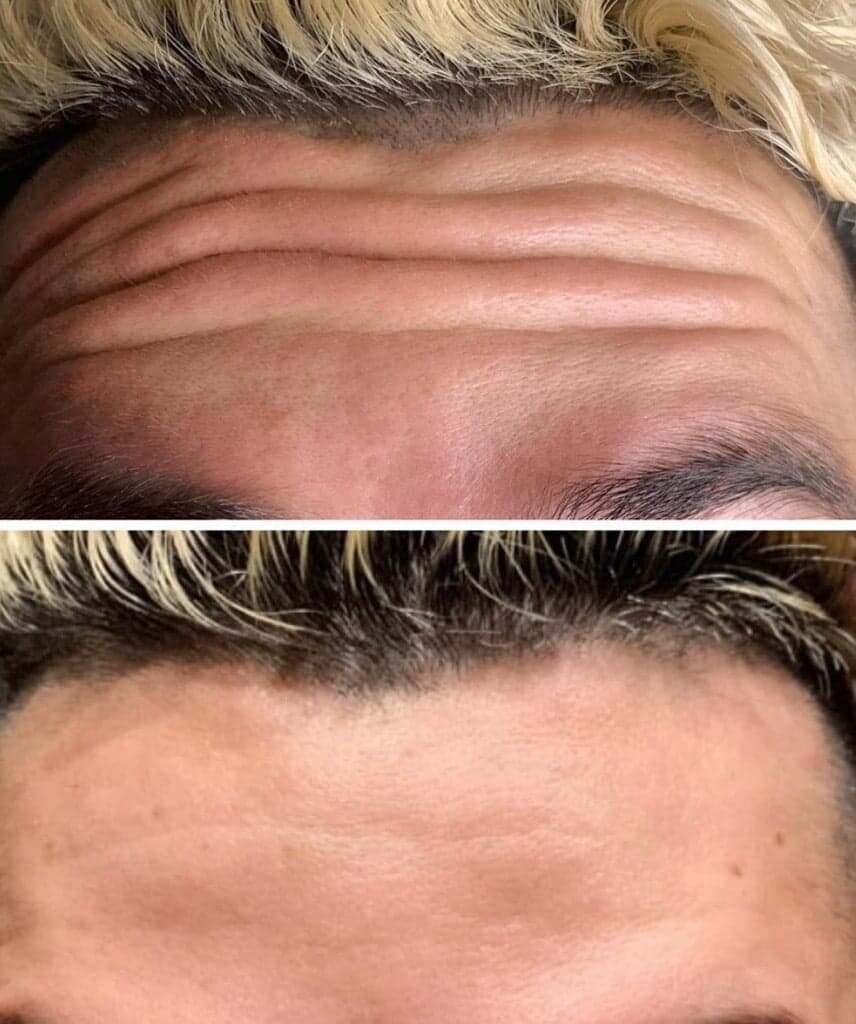


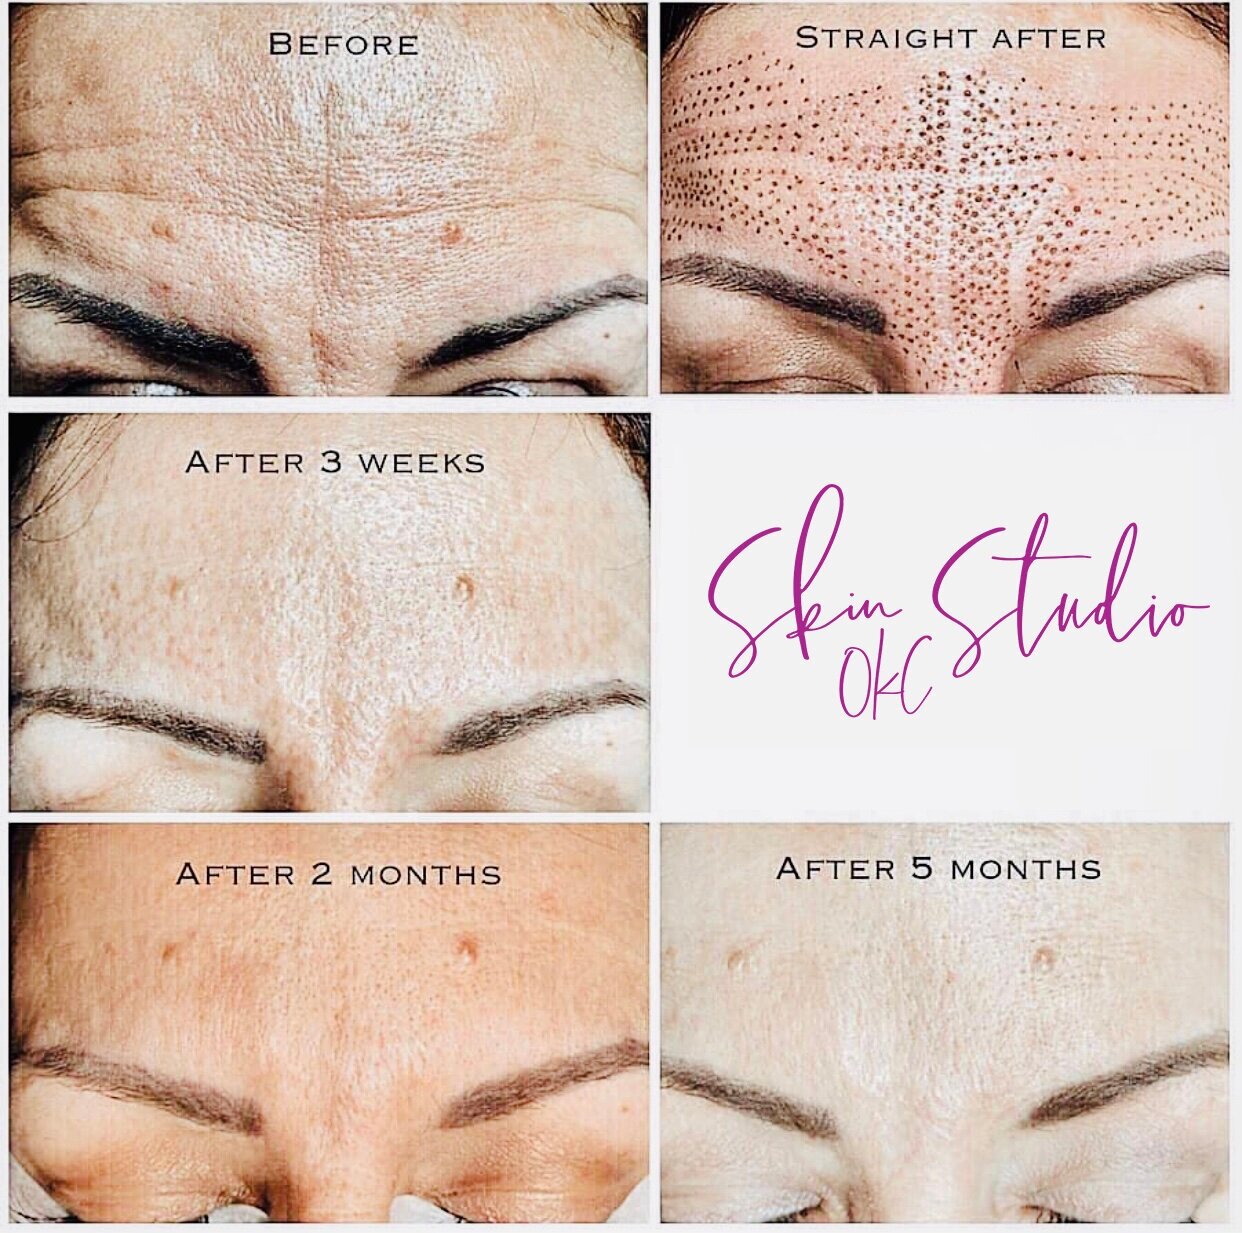
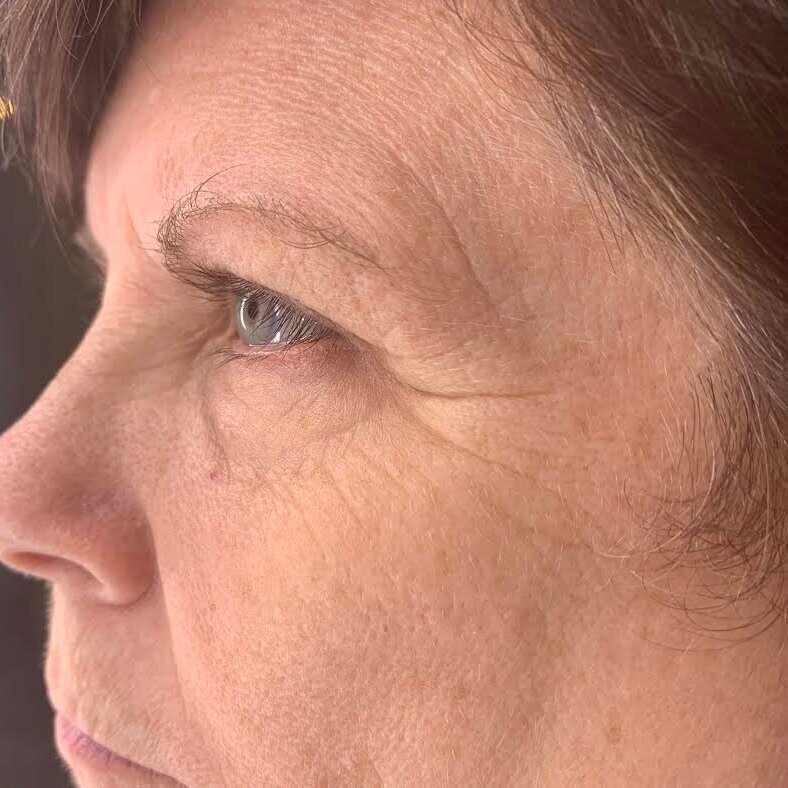
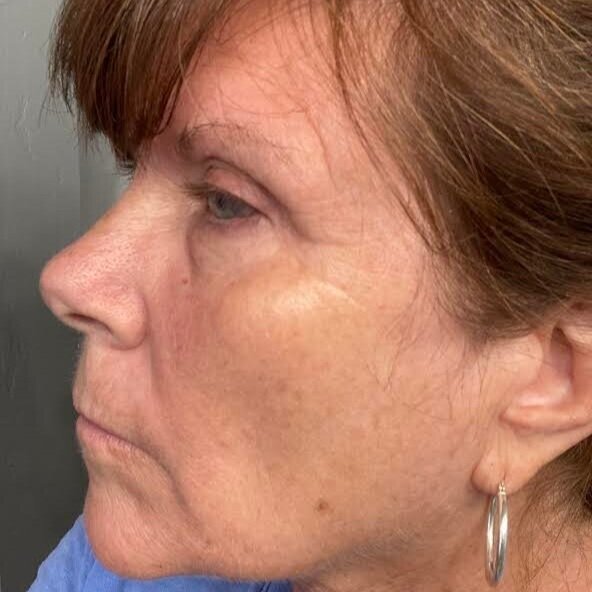
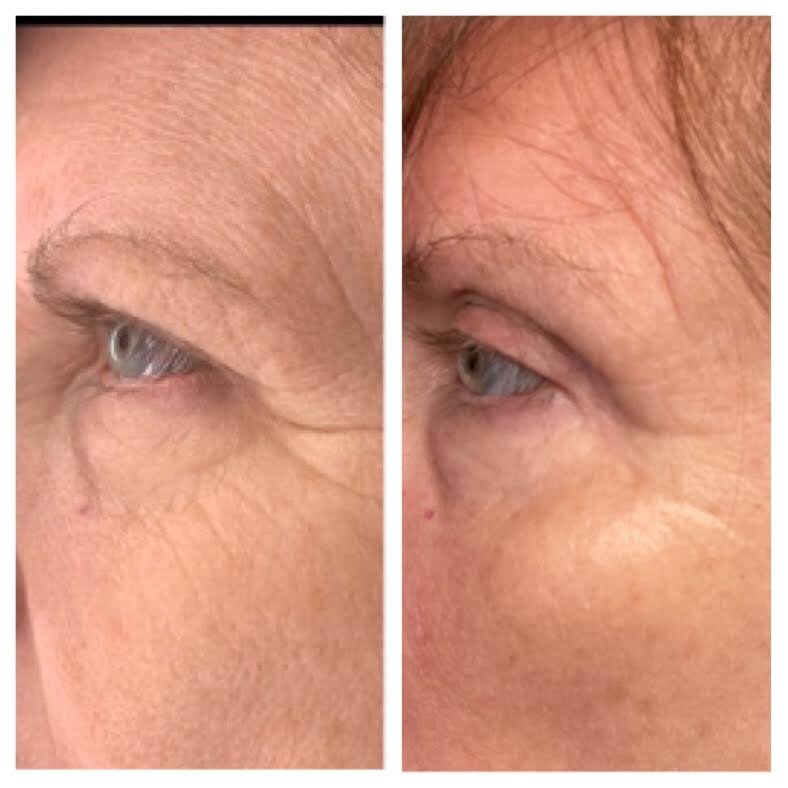
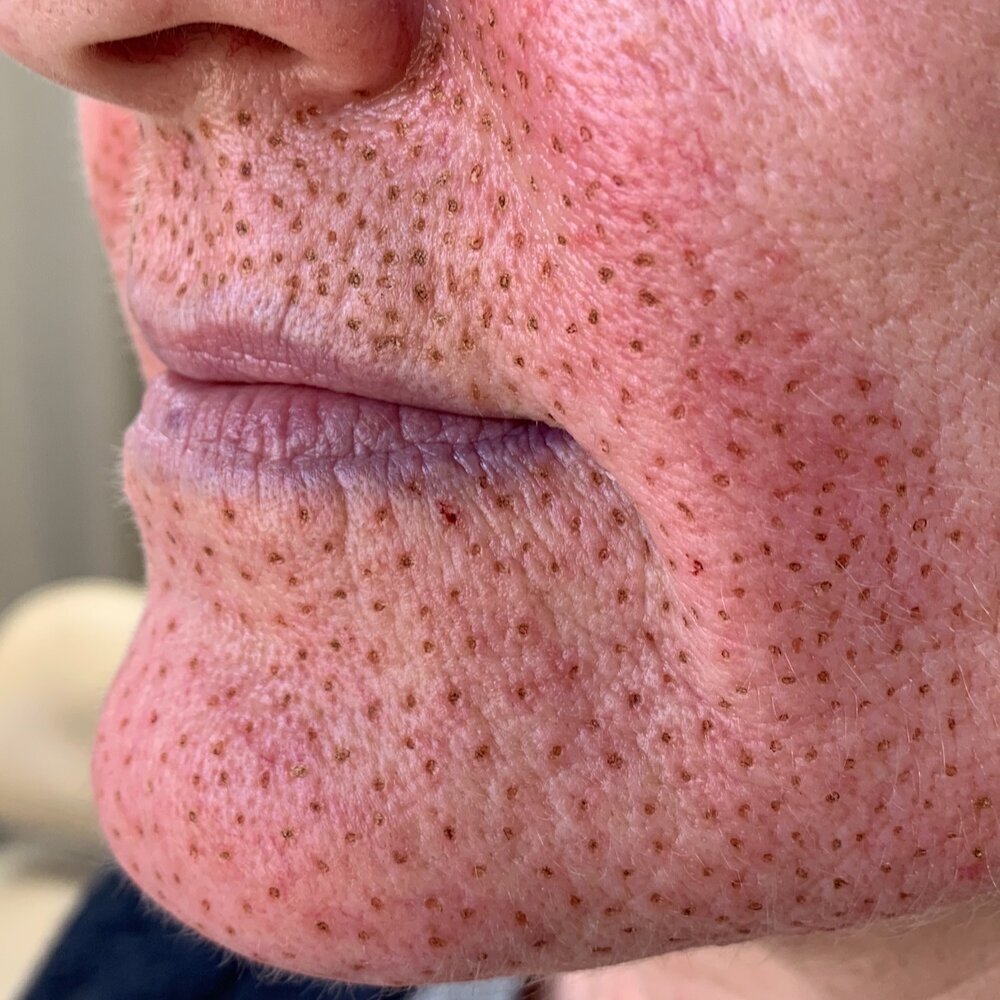
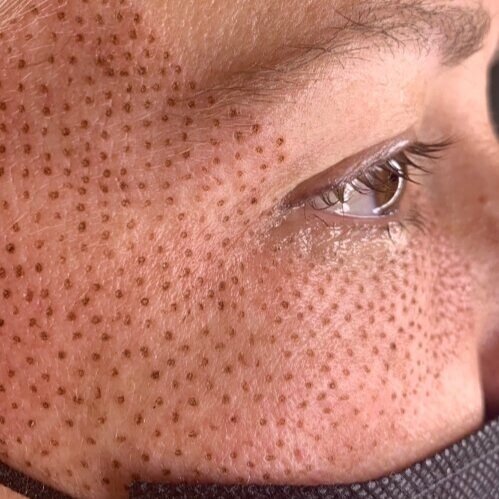
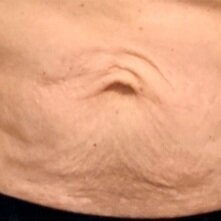
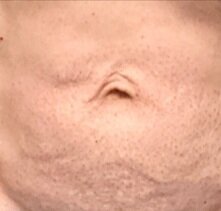
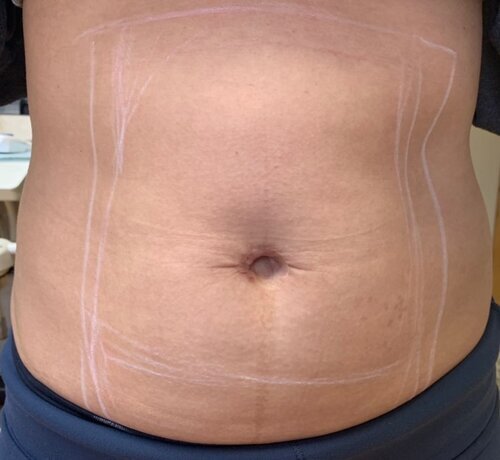
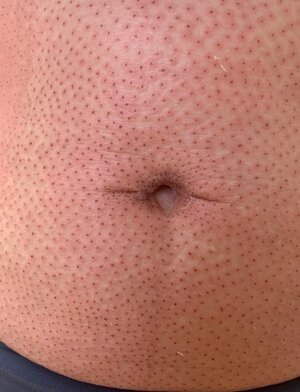
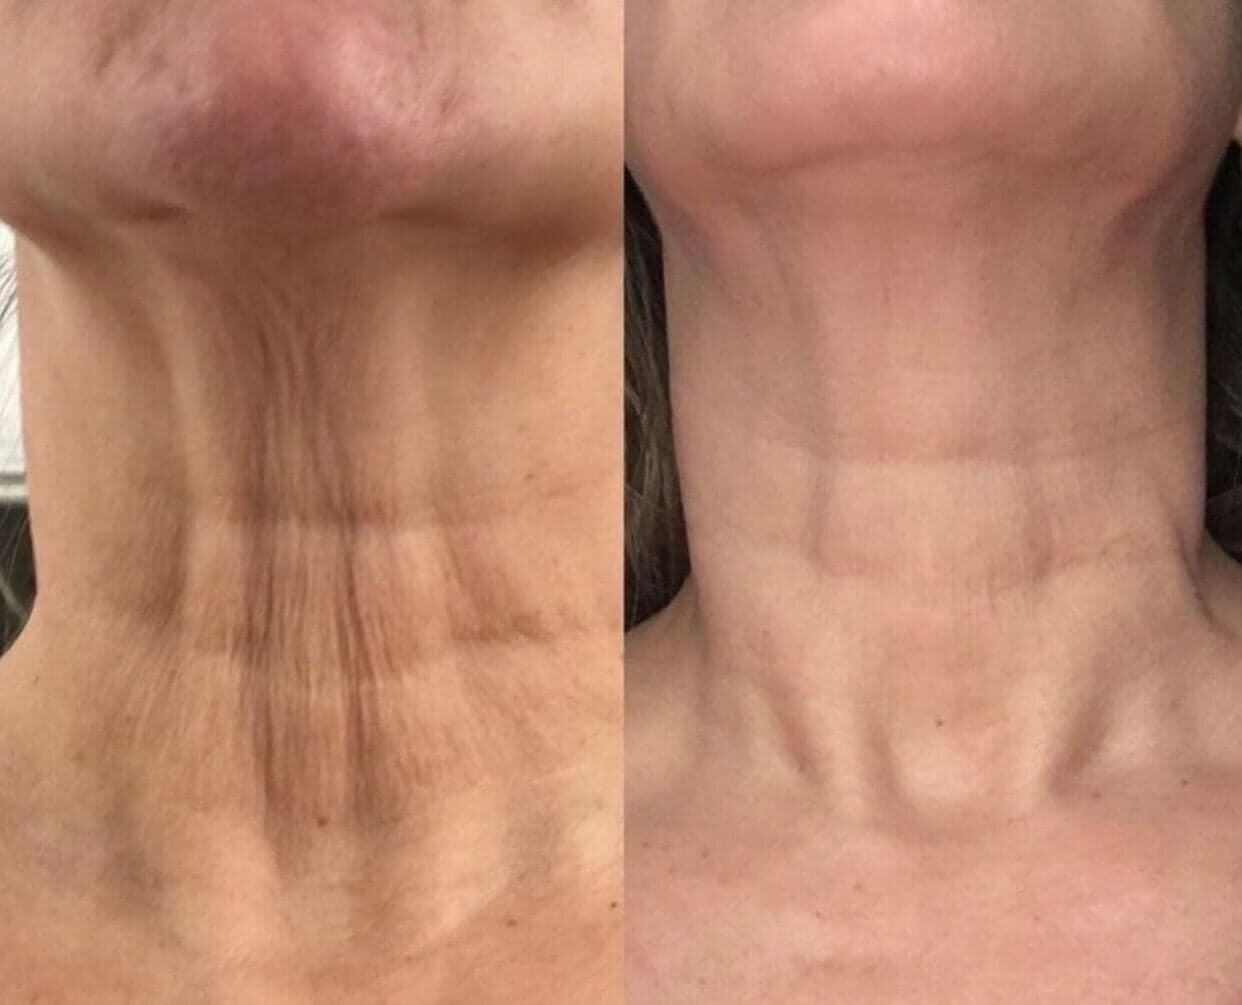
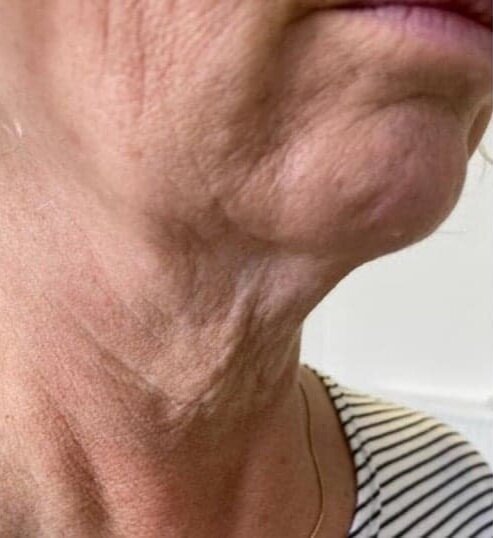
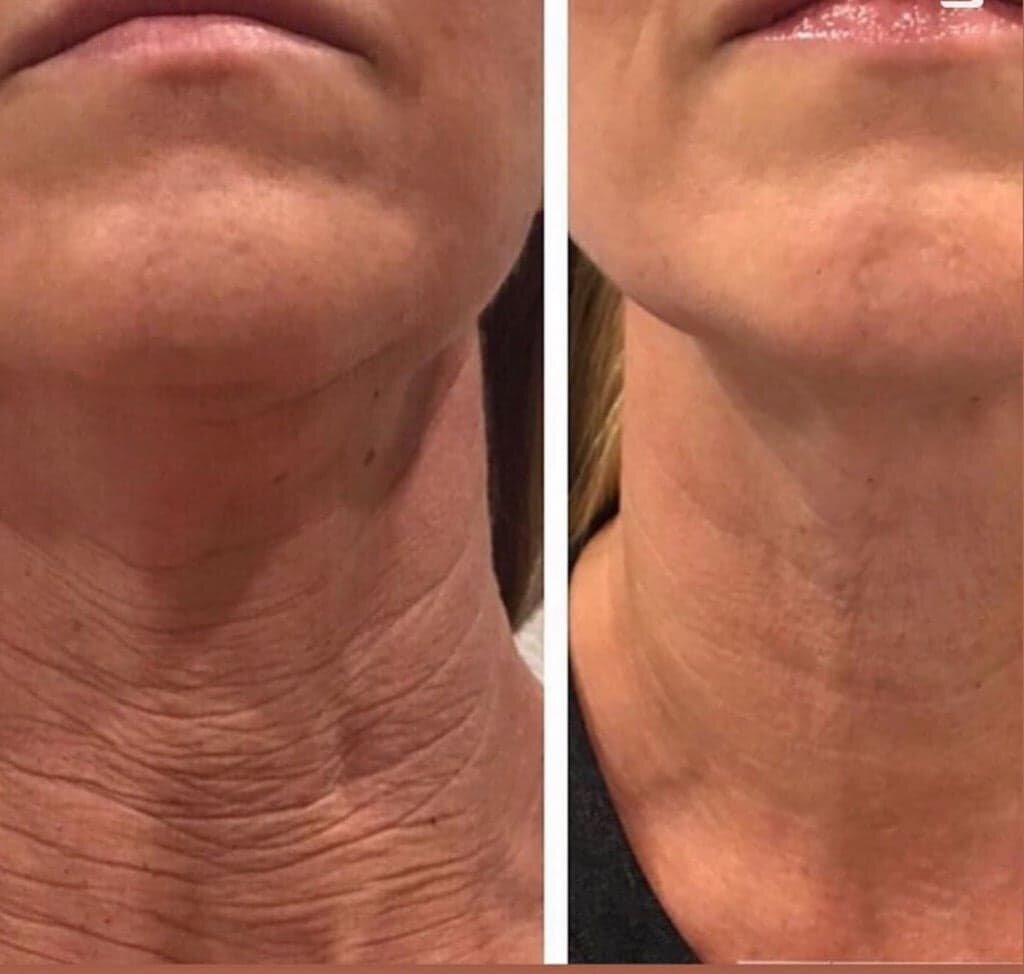
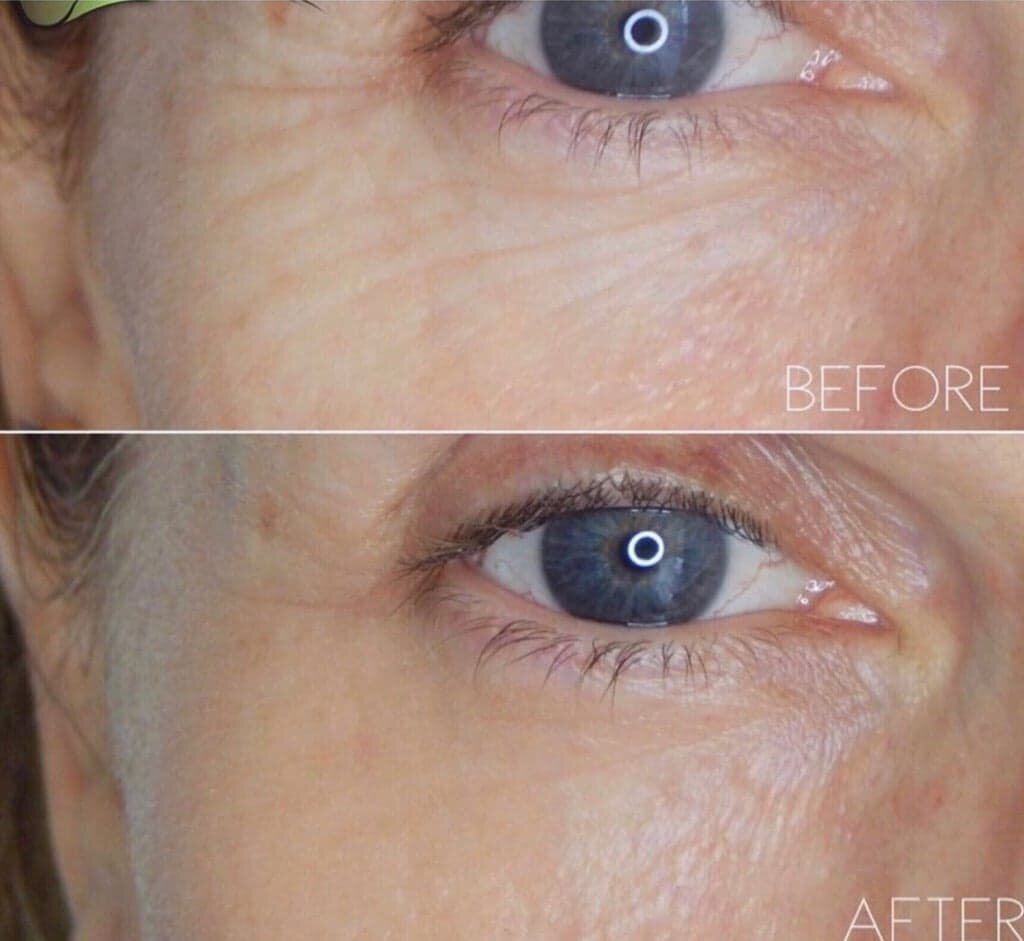
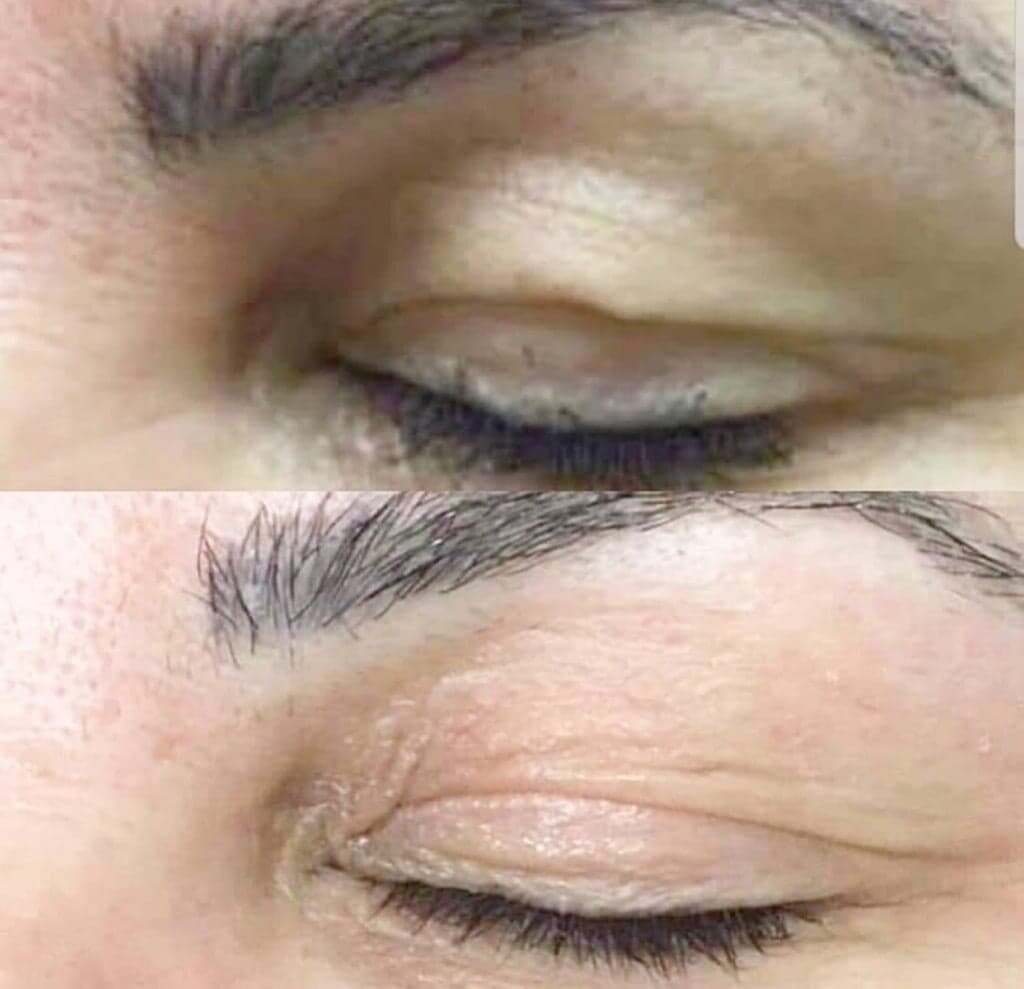
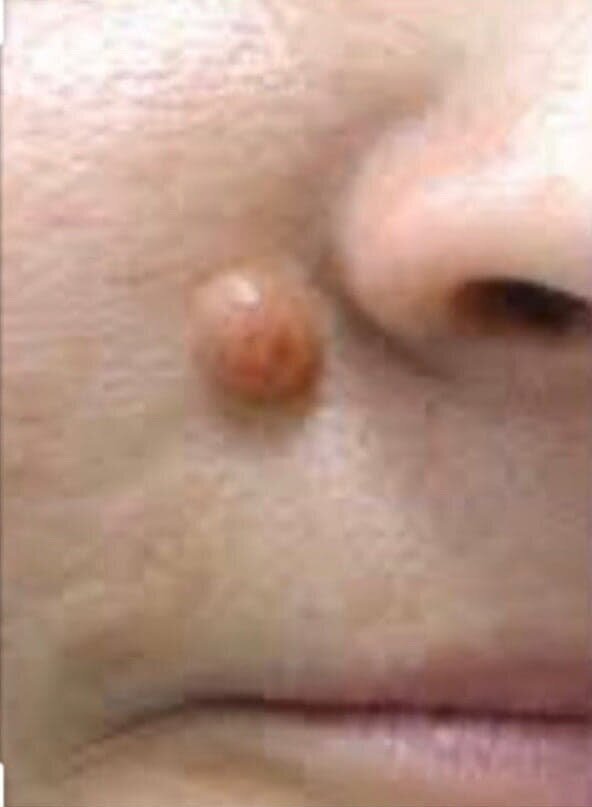
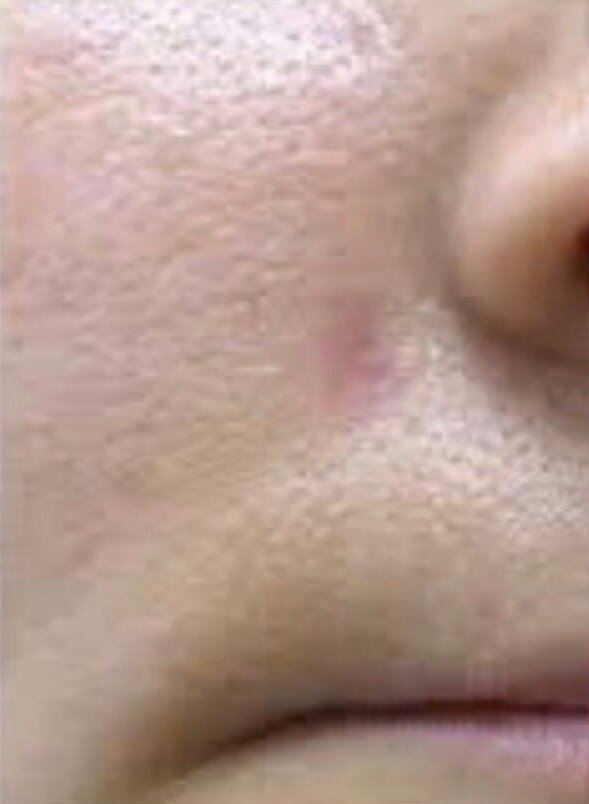
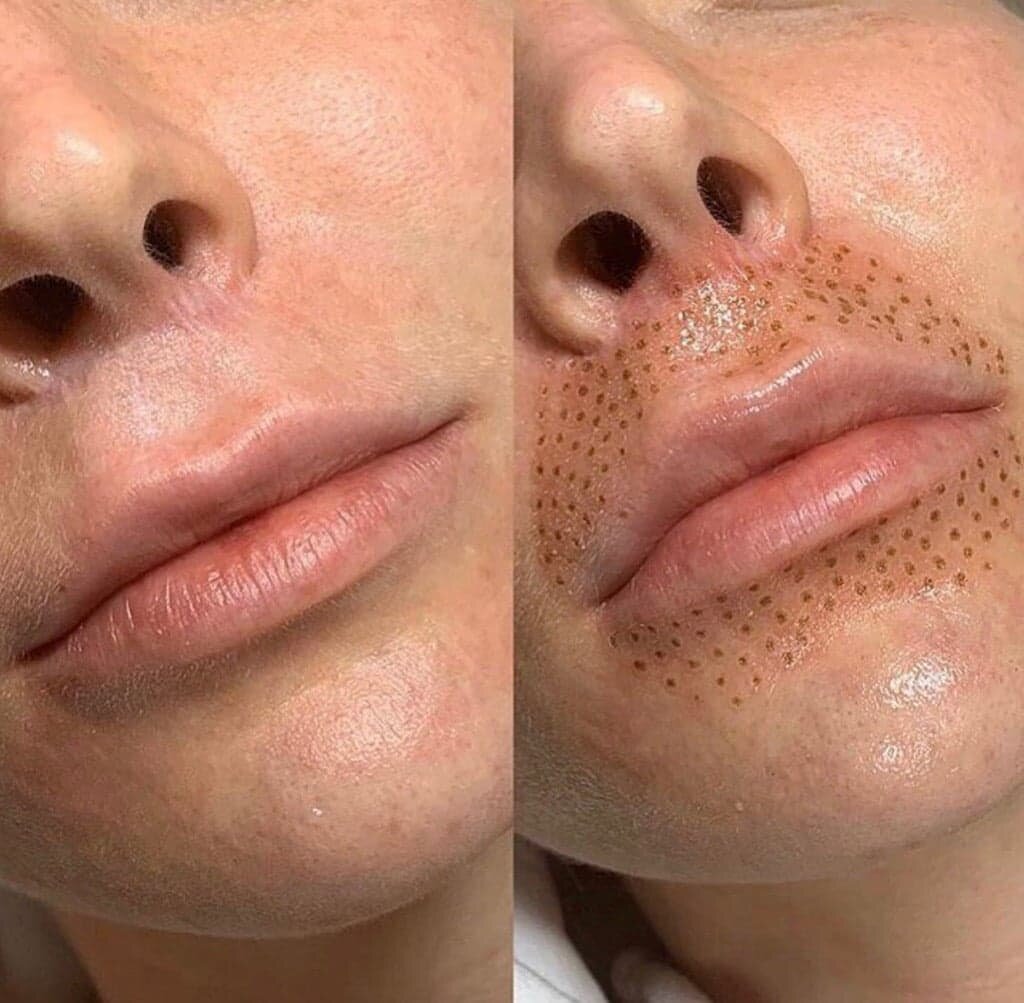
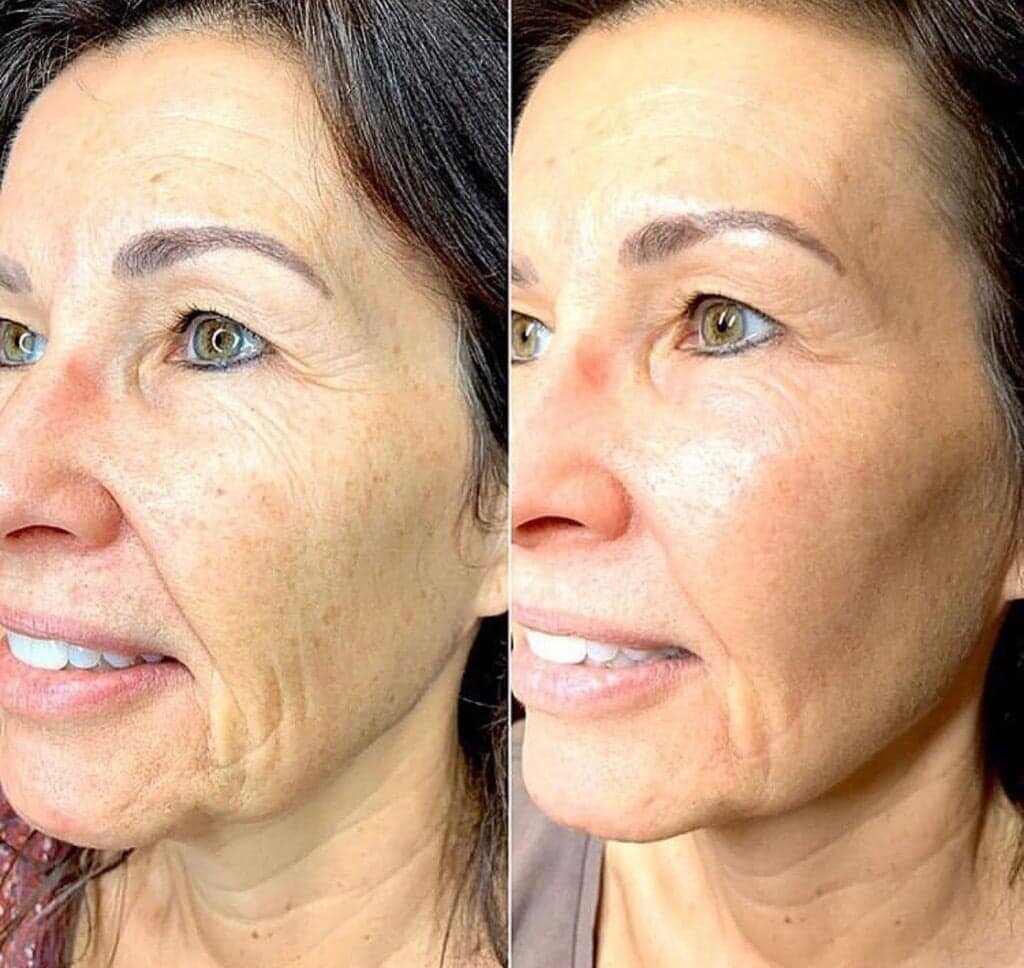
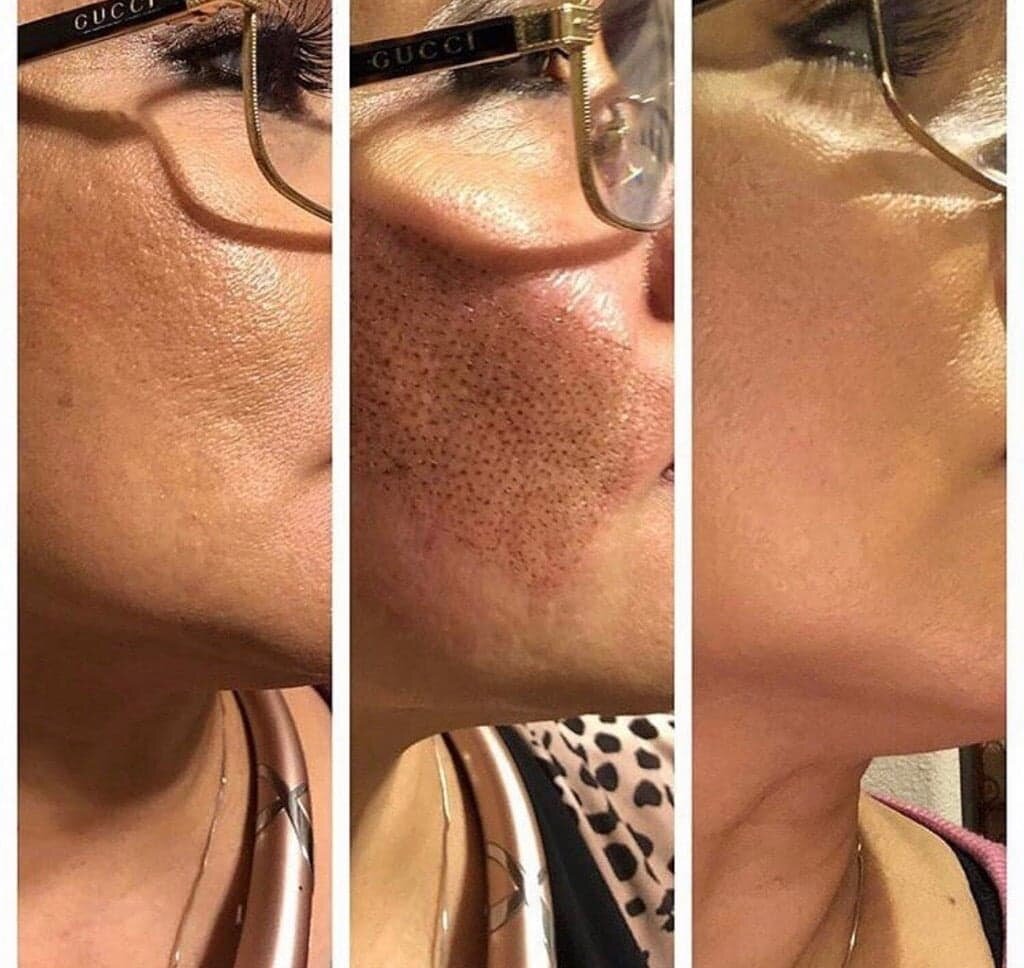
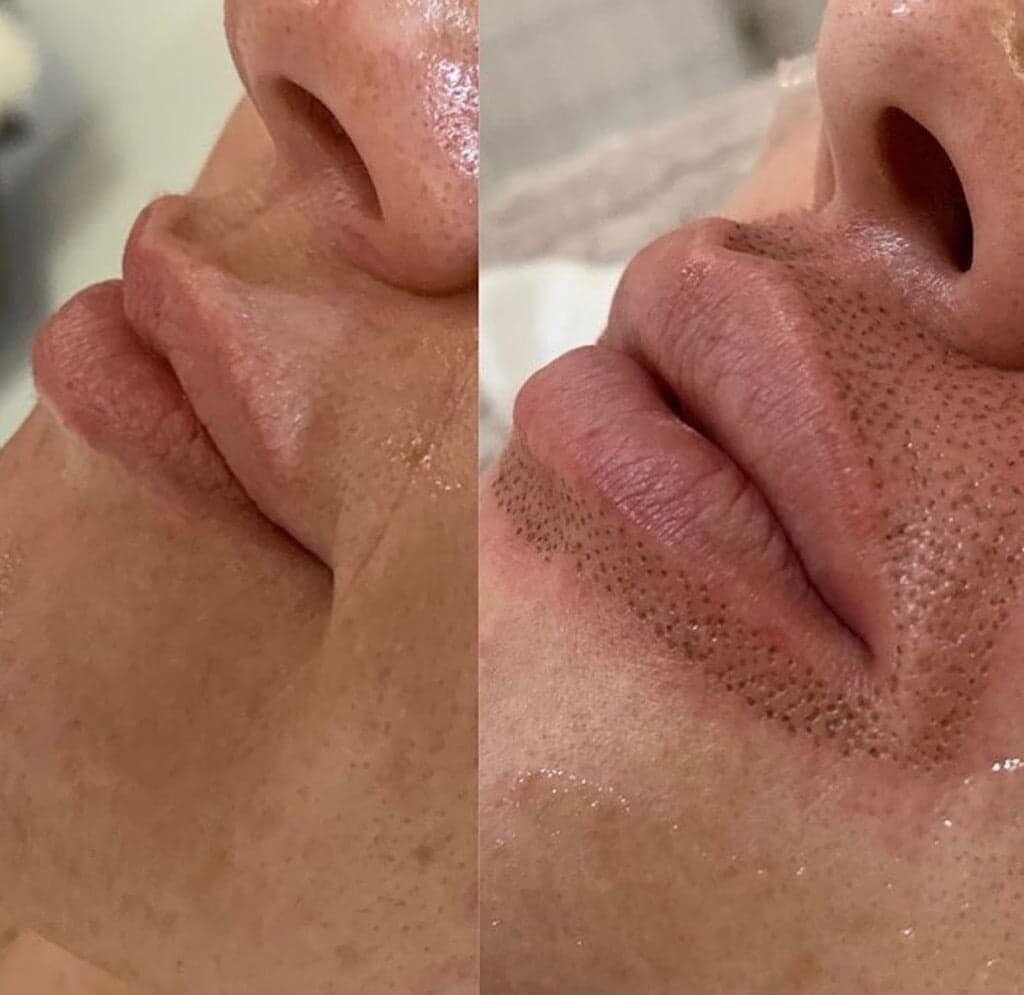
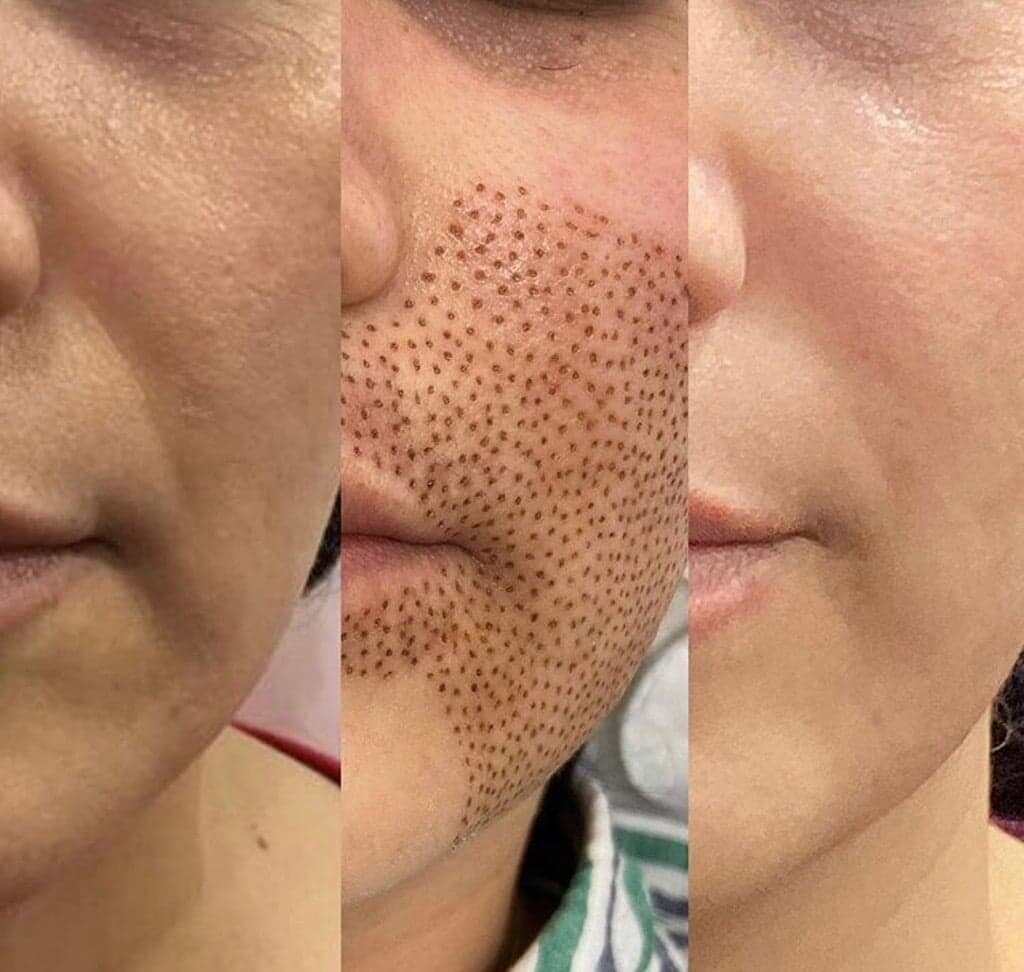
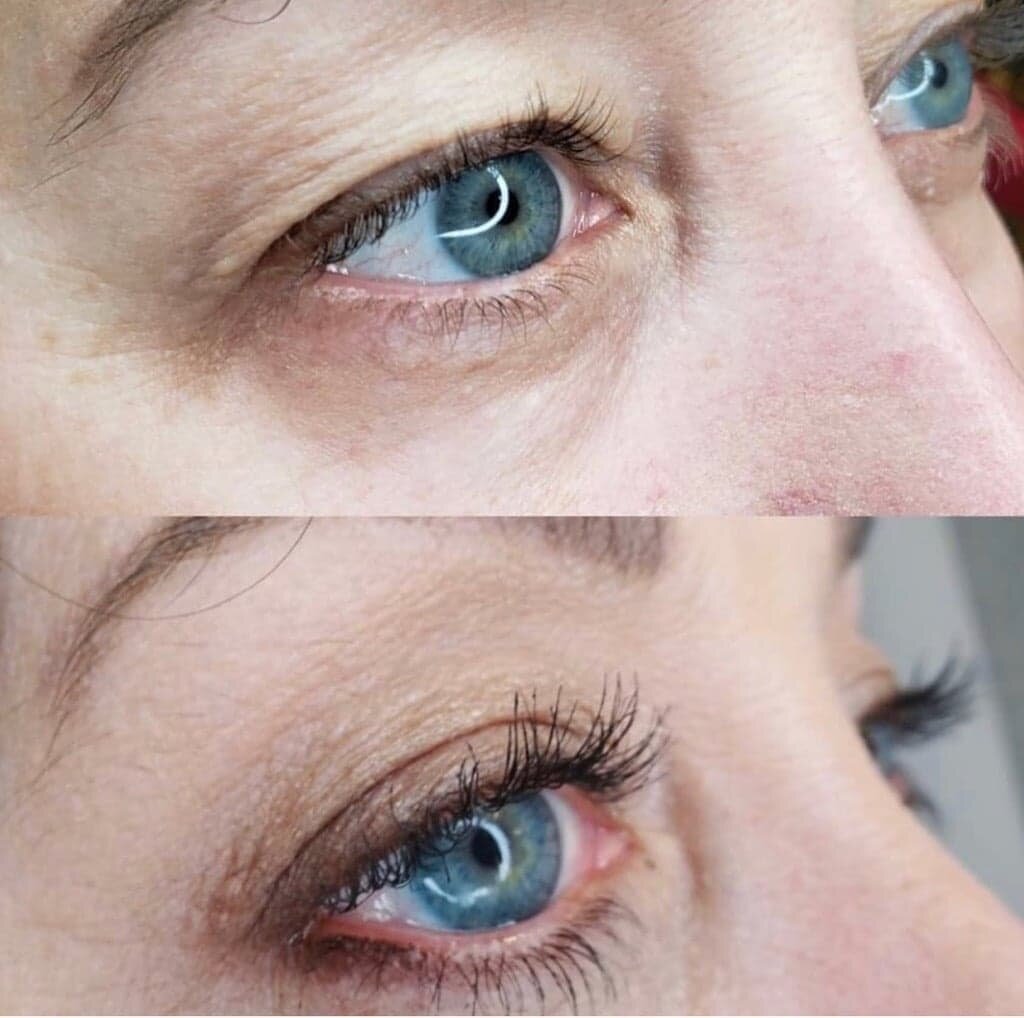
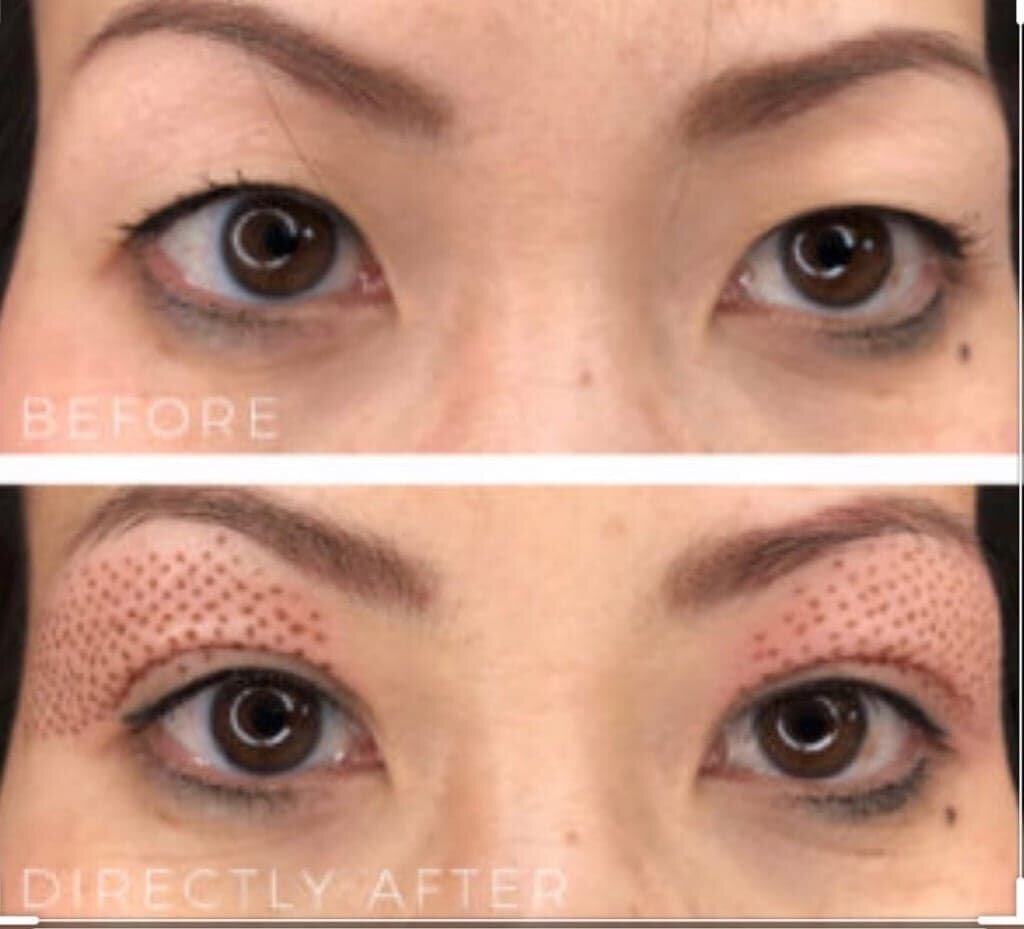
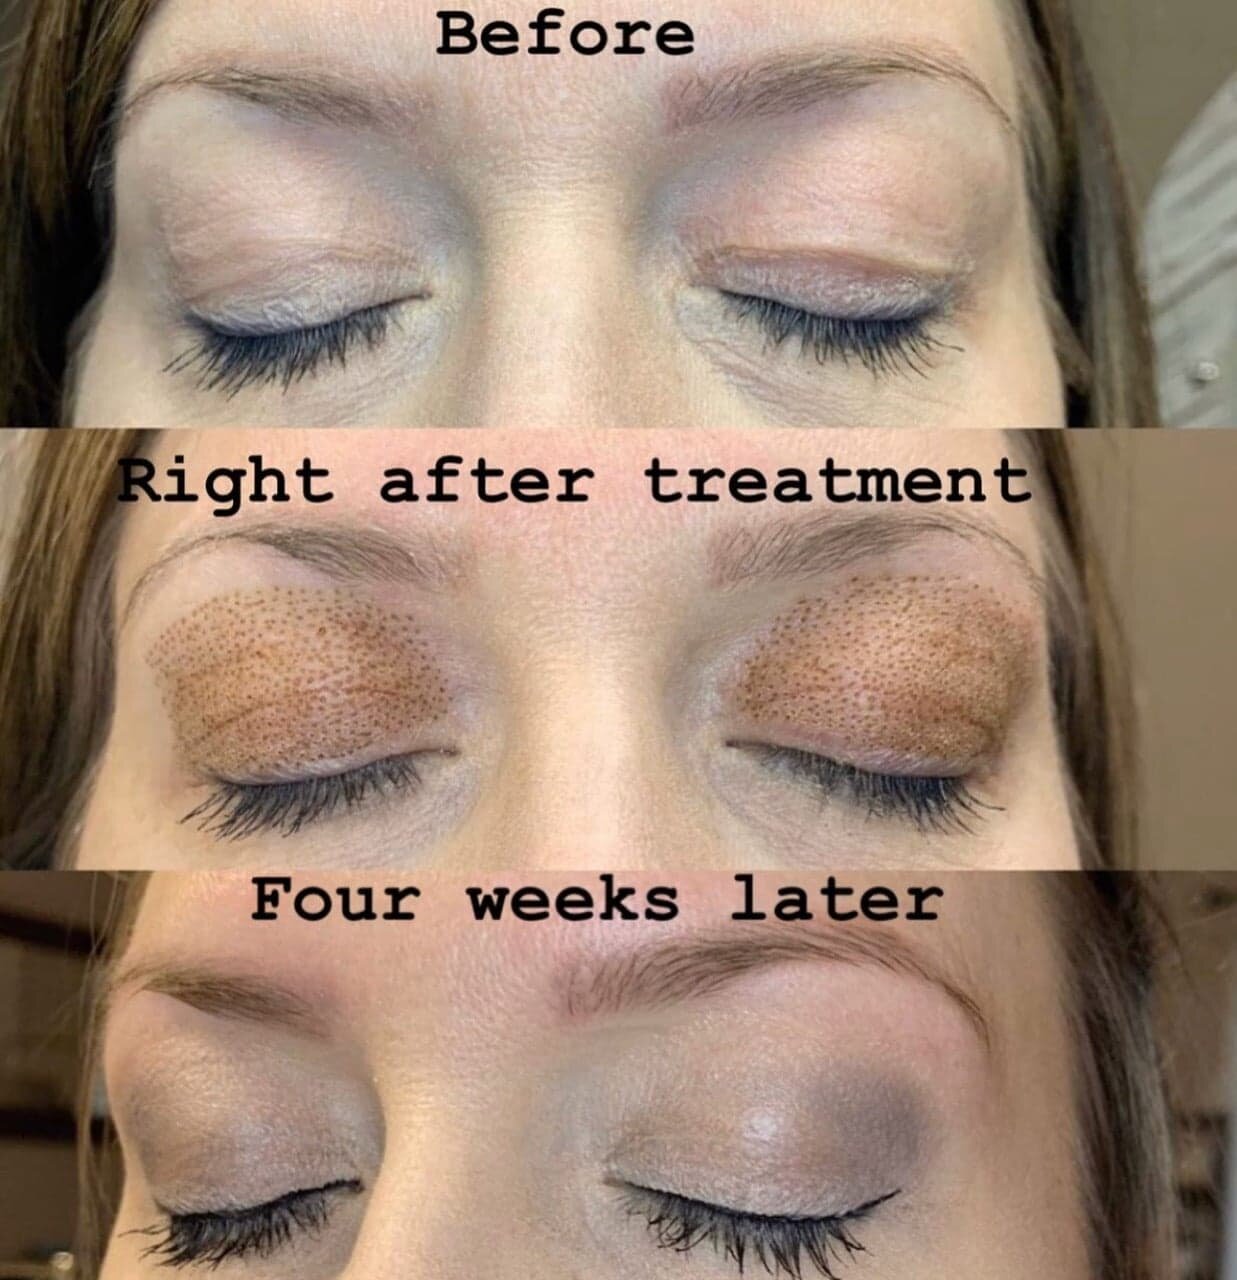
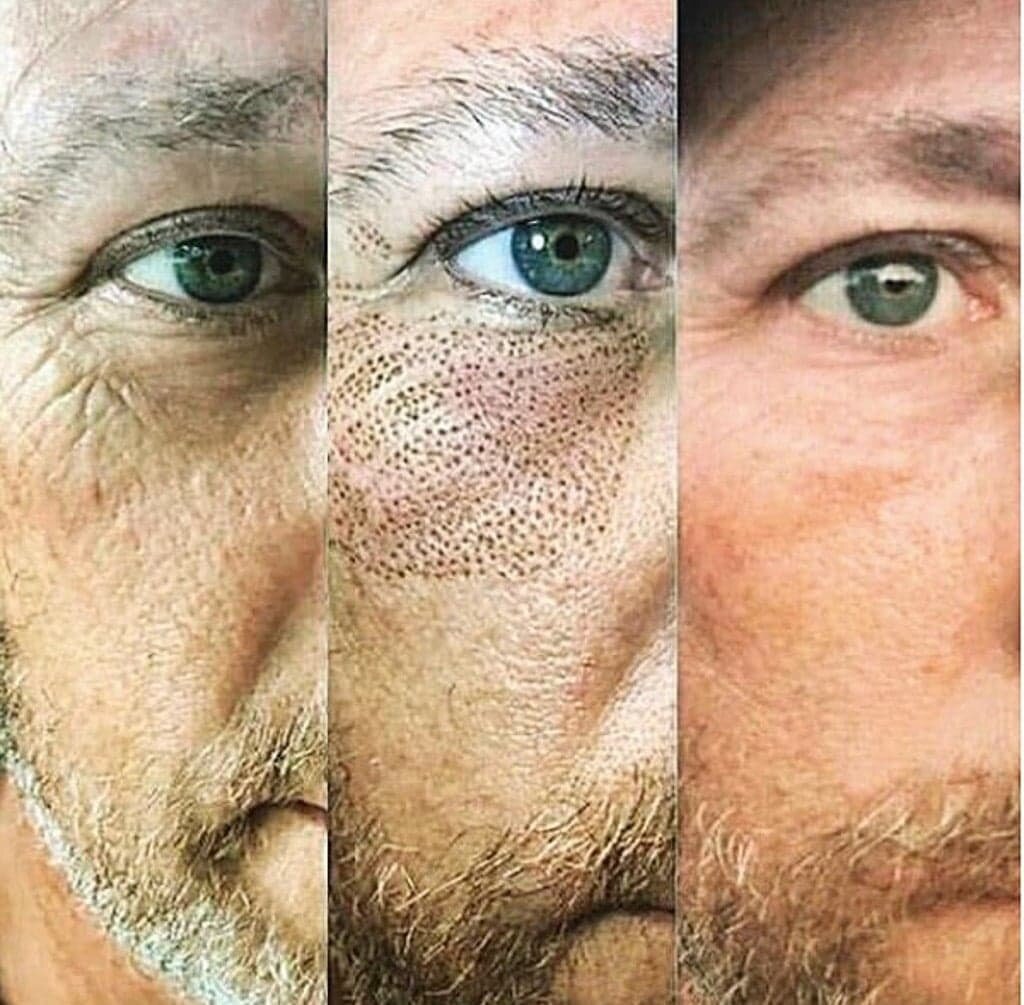
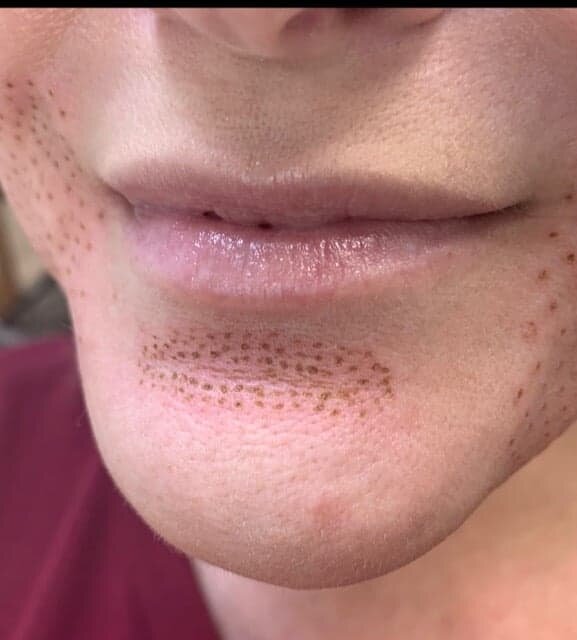
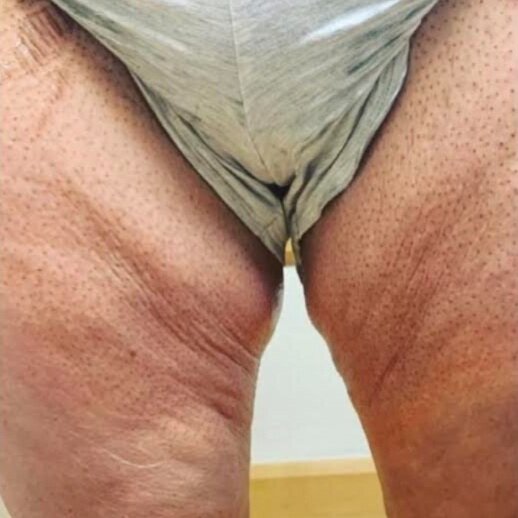
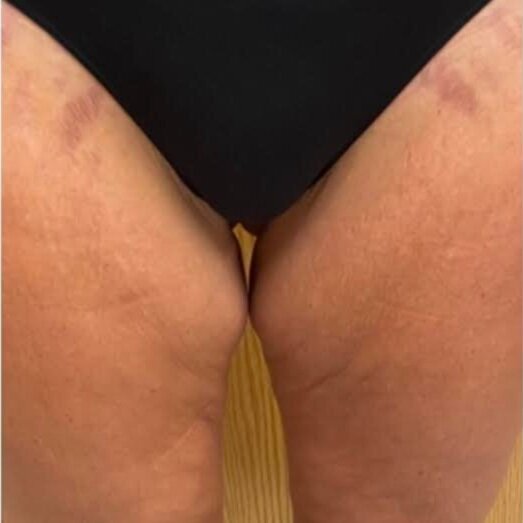
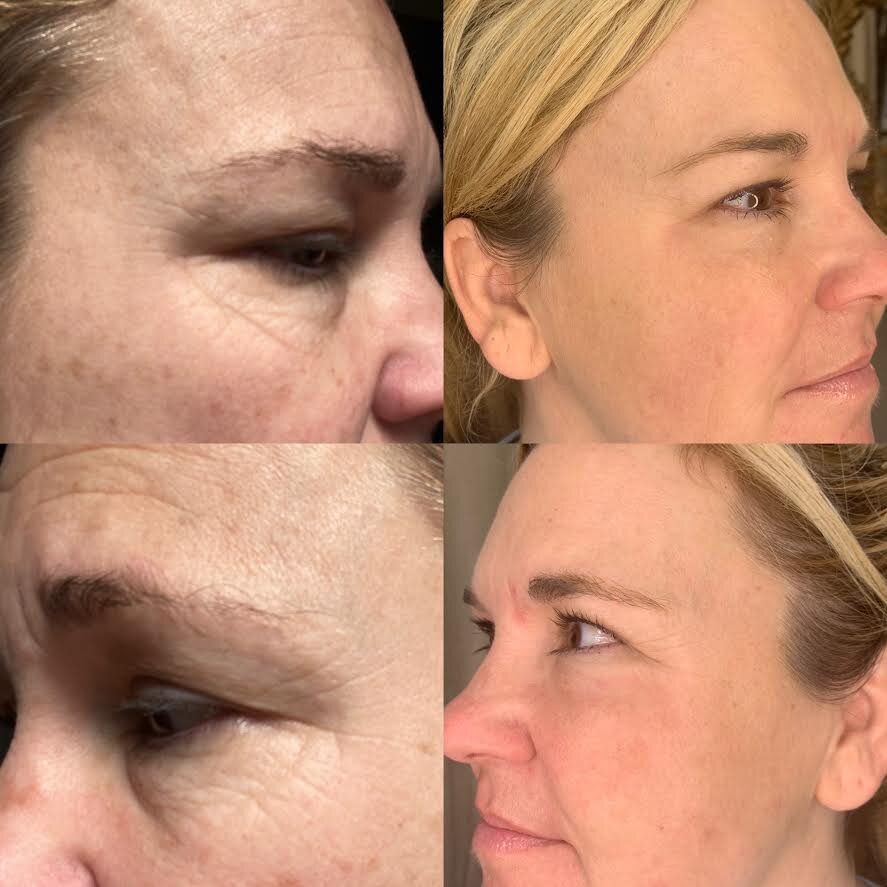
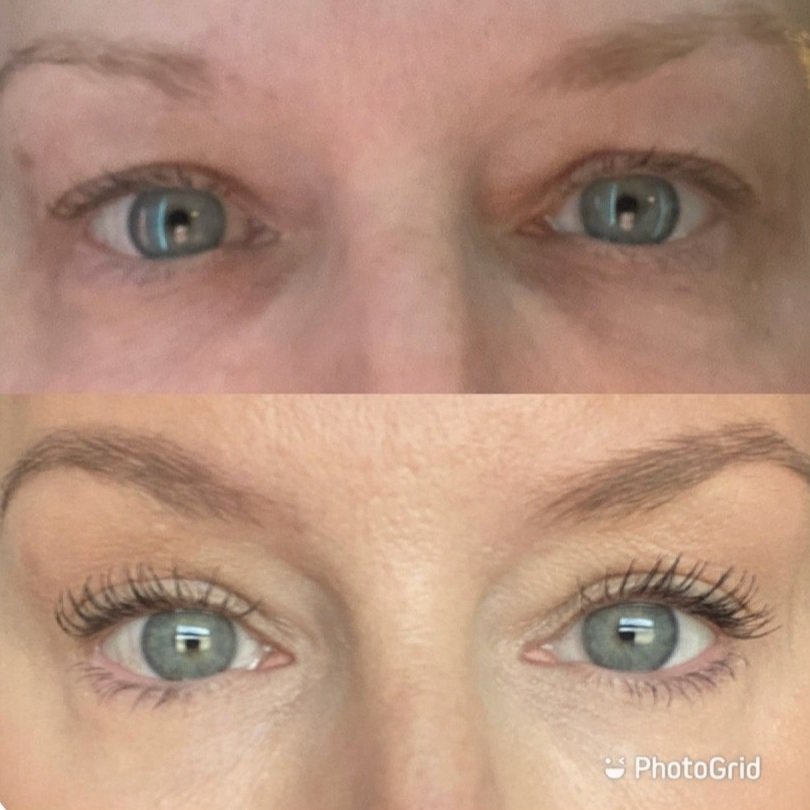
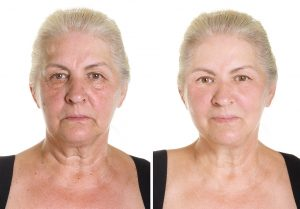
Fibroblast Plasma Pen